


- Stone Center
- Blog
Landscaping 101: How to Lay Natural Stone Paving in 8 Steps

Table of Contents
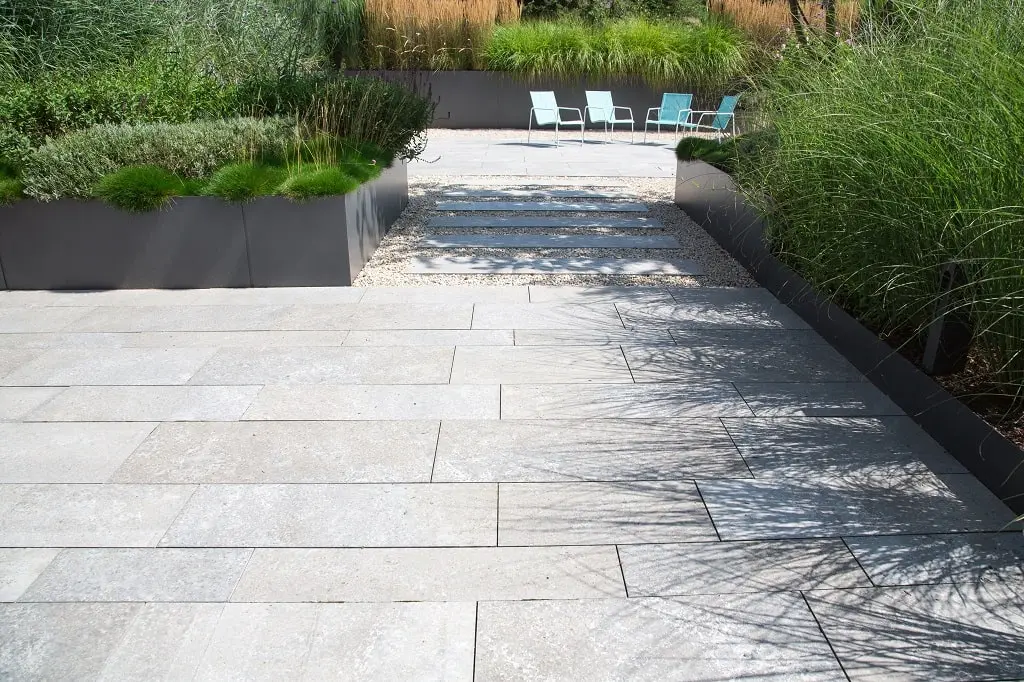
Homeowners all across Columbus and Cincinnati have discovered the appeal of natural stone pavers. Flagstone, granite, bluestone, marble, travertine, and slate — these stones make ideal pavers for walkways, patios, and garden paths. They look perfect in most landscape settings, are incredibly durable, require little maintenance, and offer great design potential.
Not everyone knows how to lay natural stone patio, however. Whether you’re a handy owner looking to do it yourself or you’re searching for a landscape professional, it helps to know what you’re getting into.
Safety Considerations Before Laying Natural Stone Pavers
When laying natural stone pavers, there are a few safety considerations to keep in mind. These also apply when learning how to lay sandstone pavers.
First, be sure to wear proper protective gear, such as gloves and safety glasses, to protect yourself from any sharp edges on the pavers. Second, make sure the area where you will be laying the pavers is clear of any debris or tripping hazards. Finally, it's a good idea to have a first aid kit on hand in case of any accidents.
Natural Stone Paving Codes & Regulations

Some common examples of codes and regulations that may be relevant to natural stone paving (as well as laying sandstone pavers) include:
- Building codes: These codes outline the minimum requirements for construction projects, including the materials and techniques used.
- Zoning regulations: These regulations may determine where and how to install natural stone pavers (or how to install sandstone pavers), as well as the type of pavers that can be used.
- Landscaping codes: These codes may outline specific guidelines for landscaping projects, including the installation of natural stone pavers.
- Permit requirements: In some cases, a permit may be required for a natural stone paving project, depending on the scope and size of the project.
What You'll Need for Laying Natural Stone Paving
When learning how to lay sandstone or laying natural stone, there are a few tools and materials that you will need to have on hand to ensure a smooth and successful project. Here are some examples:
Tools:
- Shovel
- Level
- Wheelbarrow
- Rake
- Tamper
- Hand tamper
- Hammer
- Chisel
- Mallet
- Measuring tape
- Mason's line
- Stakes
- String line
Materials:
- Natural stone pavers
- Sand
- Gravel
- Compatible base material (such as crushed rock or road base)
- Edging material (optional)
- Polymeric sand (optional)
- Landscape fabric (optional)
- Landscape adhesive (optional)
Both laying natural stone garden paving and laying natural stone patio paving can benefit from these materials.
Tips for Laying Natural Stone Paving
Laying natural stone paving can be a rewarding landscaping project that adds beauty and value to your home. However, it's important to carefully plan and execute the project to ensure the best possible results. Don’t just google “how to install natural stone pavers” or “how to lay sandstone slabs” without doing your homework first. Here are a few tips for laying paver stones:
Plan Ahead
Before starting your project, it's important to carefully plan the layout of your pavers and consider factors such as the shape and size of the area, the design of the pavers, and the overall aesthetic you want to achieve. It may be helpful to sketch out a rough plan or use a digital design tool to visualize the finished product.
Prepare the Base

A solid base is essential for a successful natural stone paving project. Begin by excavating the area to a depth of at least 6 inches and removing any debris or vegetation. Then, add a layer of compactible base material, such as crushed rock or road base, and use a tamper to compact it firmly.
Add a Layer of Sand
Once the base is prepared, add a layer of sand on top of it. Use a rake to smooth and level the sand, and use a hand tamper or a plate compactor to compact it firmly. The sand should be level and should extend slightly beyond the edges of the pavers.
Lay the Pavers
Begin laying the pavers in the center of the area and work outward, using a level to ensure that they are evenly spaced and aligned. You may need to cut some pavers to fit around corners or along irregular edges. Use a chisel and hammer or a wet saw to make precise cuts.
Fill Joints with Sand
Once all the pavers are in place, use a broom to sweep sand into the joints between the pavers. Use a hand tamper or plate compactor to compact the sand firmly, and add more sand as needed to fill the joints completely.
Consider Sealing the Pavers (Optional)
Sealing your natural stone pavers can help to protect them from stains and damage, and can also enhance their natural colors and patterns. There are various types of sealers available, including water-based and solvent-based options. Be sure to follow the manufacturer's instructions for application.
Conclusion
Natural stone pavers are perfect for many landscape applications. From patios to walkways to even driveways, they offer an attractive durable surface that will complement your home.
If you’re in the Columbus or Cincinnati area, we’d be happy to help you design, plan, and even build your next natural stone project. Stone Center has stores in both cities and can cut, carve, engrave, or restore stones. We sell a full range of materials, and our knowledgeable staff is happy to offer guidance and advice, showing you just how to lay natural stone pavers.
Contact us for all your natural stone paving needs!
8 Steps to Take to Install Natural Stone Pavers
Listed below are the eight steps for laying stone pavers. Laying natural stone patio has never been easier!
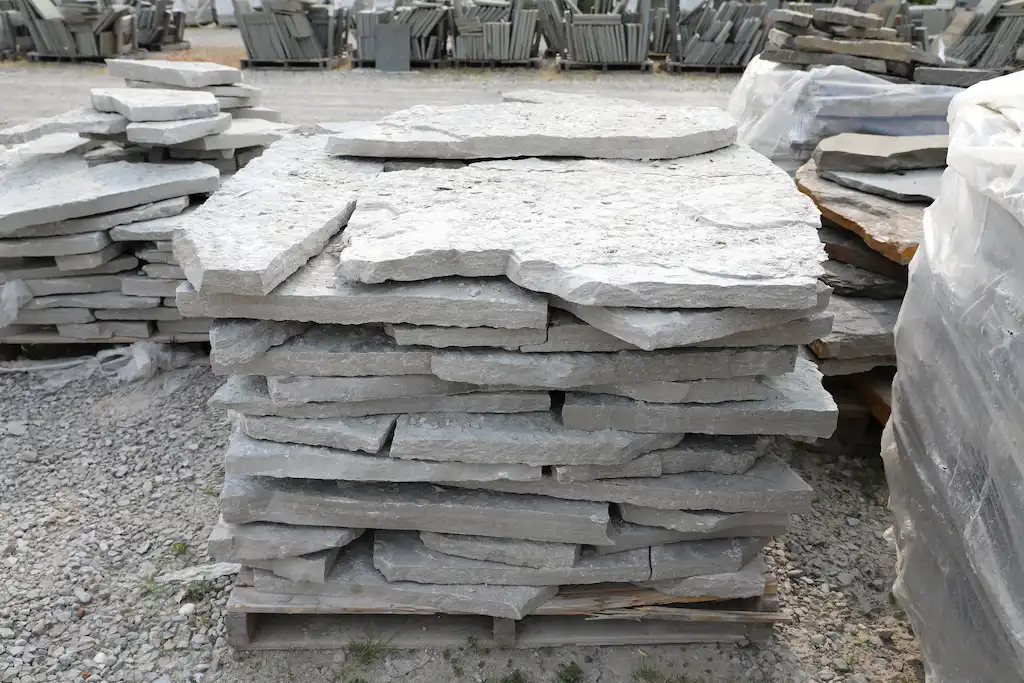
#1 Choosing Your Natural Stone Pavers

There are so many stones to choose from that the decision can be overwhelming. Should you go for granite or marble or flagstone? Large stones, small stones, or something in between? And what color? A Champlain grey paver sounds beautiful for a patio. Or perhaps something in a buff sandstone?
The options seem almost endless when laying paving stones. But there are a few things to consider that will help you narrow down your list.
The first is the application. Where do you plan to use them? The natural stone pavers you would use for a driveway are not the same as you would use to construct a patio, for example. Walkways and garden paths are different, too.
Factors to keep in mind include the width and thickness of the rock, density, underlayment, and how uniform they can be.
If you’re looking to repave a driveway, you would want a stone at least 2 inches thick. Whereas on a patio, you could get away with a thinner stone. Some materials lend themselves to different uses, too. A brittle stone-like slate would not work well on a driveway, while it might be fine along a garden path.
Stone Center can show you how to lay paver stones and help you make just the right choice.
#2 Marking the Area and Placing the Grade Stakes
Once you’ve decided upon your stones, the next step is to lay out the area where you want to set them. In other words, define the driveway or the patio, or the path. Some people like to do this with string. Others with spray paint.
Regardless, you’d typically mark the area with grade stakes, which look like foot-long pencils. On a naturally rectangular or square project, you’d anchor the stakes in the corners and run string in straight lines between them.
If you’re laying out a path or some other irregular shape, you might consider spraying paint, which is easier to use for curves.
#3 Digging Out
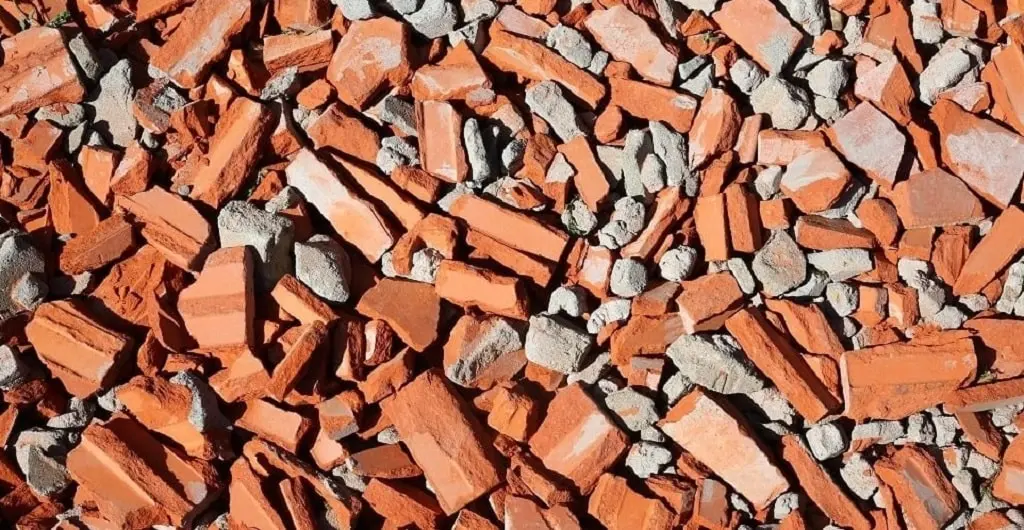
Next comes the hard part of hardscaping – digging out the area. First, you’ll need to take out all the obstacles in the way, like trees, boulders, shrubs, and old paving materials.
Then you’ll want to remove about 8 inches of topsoil to accommodate your base, which will provide a solid foundation for the project. Everything organic has to go because they’ll create cavities that might cave in someday. And you’ll want to allow for drainage.
As you dig, it’s a good idea to run a line perpendicularly across the area and use it to measure down from. This will keep your hole good and level.
#4 Laying the Base Materials
At your very base, you’ll want a 3-5-inch bed of screenings. These are small utility rocks that are leftover when larger material is cut, crushed, or pounded at a quarry.
They’re not the big pieces of stone a quarry might be working on or the dust that falls onto the ground below, but the little leftovers just large enough to be caught by the screen. Size depends on the openings in the screen itself.
Years ago, this would all be an unutilized byproduct — but now it makes for an ideal base layer because it provides a solid foundation while letting water pass through. Screenings might be limestone or crushed concrete and some landscapers also used crushed shells for this purpose.
Whatever material serves as your base, it should be at least 3-5 inches deep. A shallower base is fine for walkable surfaces, but driveways need 5 inches or more.
When you lay your base, you should prepare the area with water first, making sure it’s moist. Then place an even layer of base material atop it, compacting with a hand tamper or a rolling machine as you go. Wet the base layer and tamp some more.
#5 Apply Sand Bedding
Once you have a solid base, you can begin to pour your second layer, sand, on top. Just to be clear: sand is not a base but rather a bed.
In other words, it is the strata between your base and your pavers and provides a cushion for the pavers themselves to sit upon. It also fills in the cracks in the base layer, making for a flat, even surface.
Most homeowners laying natural stone in Columbus and Cincinnati use diamond sand, coarse white sand that has been filtered and screened to FDOT specifications, for this purpose. Pour about half an inch of sand down atop your base and smooth it out, creating an even surface.
The sand makes an excellent bed to keep your pavers laying where you want them. Once you are happy with the underlayment, it’s time to position the stones themselves.
#6 Laying the Pavers
Start by using a straight edge to keep your edges how you want them and lay the stones so they almost touch with just a bit of sand in between. Use your level to keep them at an even height.
If you find any depressions beneath your pavers, add more sand. If some loft up a little higher than others, stand on them or gently tunk them with a rubber mallet. If this doesn’t work, you might have to adjust the substrate, removing a little sand.
#7 Cutting the Pavers

It’s often necessary to cut pavers to fit your space. Sometimes this means trimming a large number, other times it may only be a handful.
The best way to cut stone is with a diamond blade. You can put one on a standard circular saw, attach one to a grinder, or rent a brick or masonry saw. These look like a traditional chop saw but come fitted with a diamond blade.
For centuries, of course, masons and stone layers used a hammer and chisel to neatly break rock. This method remains an option, especially if you only have a few cuts to make. Natural stone-cutting services through Stone Center make this job much easier.
#8 Placing the Restraining Edge
Once you have your pavers laid out and trimmed, it’s time to anchor them in place with a restraining edge. These long strips come in a variety of materials, from plastic and steel to concrete, and prevent your stones from sliding apart.
These can be laid in different lengths and shaped to fit your design. Many can be cut or bent to accommodate curving paths.
Another option might be to use natural stone copings along the edge of your pavers. These are larger blocks that can form a solid barrier to stop your walkways from, well, walking.
FAQ
.jpg)
Jon, the owner of Stone Center, is a knowledgeable expert in natural stone products, specializing in various types of stone for landscaping and architectural projects. Passionate about promoting the beauty and versatility of natural stone, Jon aims to use these blogs to inspire readers with creative ideas to upgrade their homes.
.jpg)


Check Out Our Products You May Like

Ozark Steppers
$620 - $775

Alpine Steppers
Fond Du Lac Steppers
.jpg)
Fond Du Lac Premium 1-2.5"
$800 - $1000