- Stone Center
- Blog
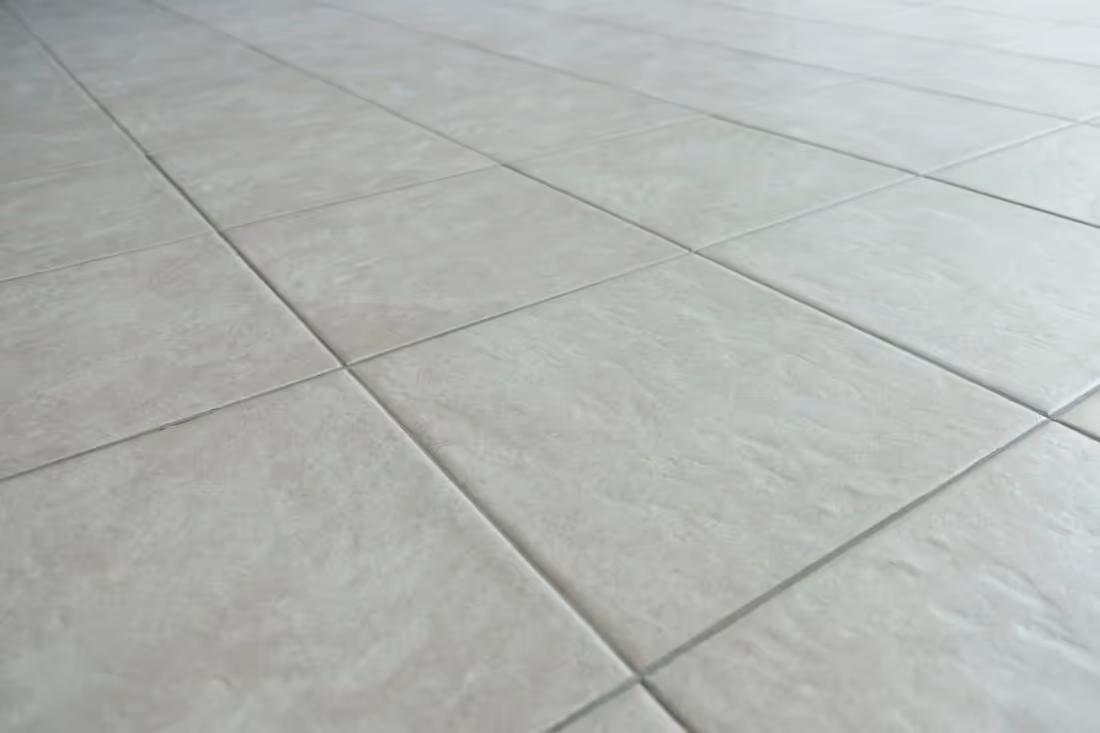
Safe and Simple: The Best Way to Clean Porcelain Tile Floors
14/11/2025
11/14/2025
Safe and Simple: The Best Way to Clean Porcelain Tile Floors
Love the sleek look of porcelain tiles, but you're unsure how to clean them? You're not alone! Whether it's the floors in your living room or the shower tiles in your bathroom, porcelain tiles are a stylish and practical choice, but keeping them looking their best requires the right cleaning approach. These surfaces are highly resistant to wear, making cleaning easy if you know how.
This is why our team at Stone Center has put together this guide that covers simple, effective methods for cleaning porcelain tile surfaces, whether polished, glazed, unpolished, or textured — making it easy to restore and maintain their shine. Your tile surfaces will look brand new in no time.
Get Ready for Spotless Porcelain Tiles
A little preparation goes a long way. Gathering the right tools and understanding key precautions ensures your porcelain tiles stay clean, shiny, and protected during every cleaning process.
What You Need to Clean Porcelain Tiles
The materials you'll need for cleaning porcelain tile floors depend on the dirt level and cleaning intensity. It's important that you choose the right tools to ensure spotless results and tile protection. Here's what you'll need:
- Broom or vacuum
- Mop, sponge, or soft brush
- Mop bucket
- Neutral detergent or dishwashing soap
- Vinegar
- Baking soda
- Microfiber cloth for streak-free results
- Spray bottle for cleaning solutions
- Acrylic stone sealer
Essential Pre-Cleaning Considerations to Keep in Mind
Don't rush into the process! The best cleaner for porcelain tile floors isn't always the strongest one. Cleaning porcelain tiles effectively isn't just about scrubbing and achieving a long-lasting shine; it's about preventing damage. Before you begin, here are some crucial points to consider:
- Avoid harsh chemicals: Alkaline cleaner products, acid cleaner solutions, сleaners containing chlorine, ammonia, or bleach can damage the tile's color and pattern and cause irreversible discoloration.
- No abrasive tools: Avoid steel wool, scouring pads, or stiff brushes to prevent surface scratches on your porcelain tile surfaces.
- Skip oil-based cleaners: Wax or oil-based detergents leave a residue that attracts dirt and dulls tiles.
- Water-wise: Too much water or hot water can damage unglazed porcelain tiles and the subsurface.
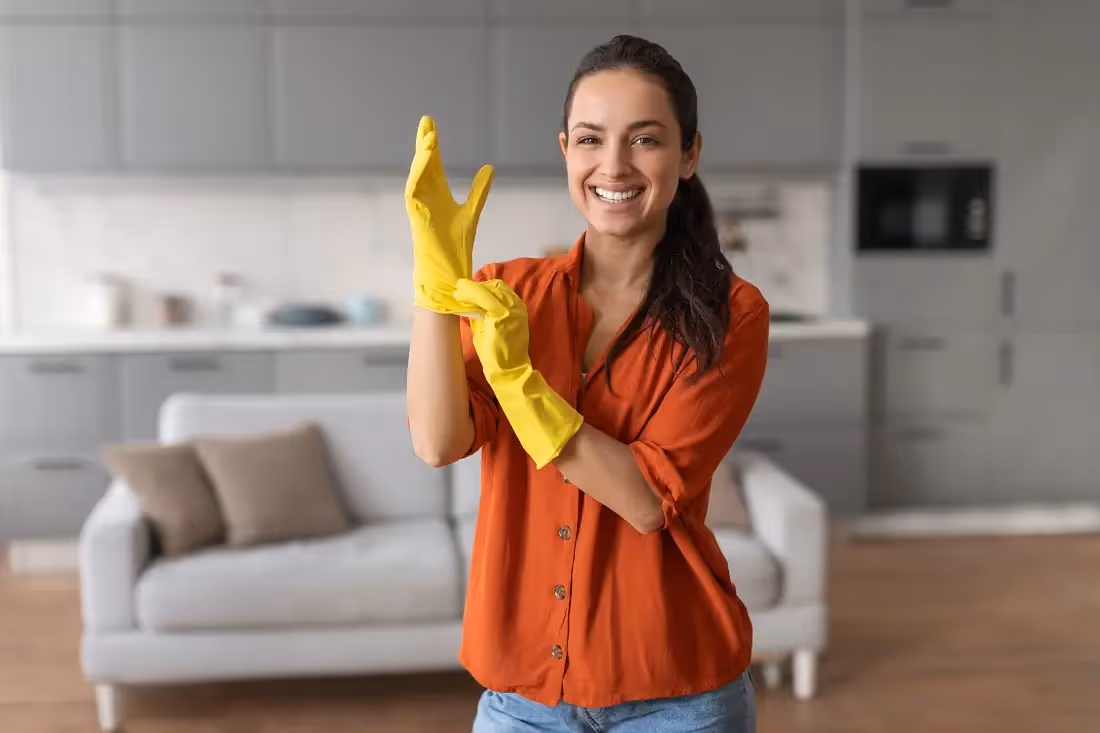
- Protect yourself: Wear gloves to protect your skin from chemicals that can cause irritation.
When you’re learning how to clean porcelain tile, remember that gentle, regular cleaning beats harsh, infrequent deep cleaning every time.
A Step-by-Step Guide to Cleaning Porcelain Tile Floors
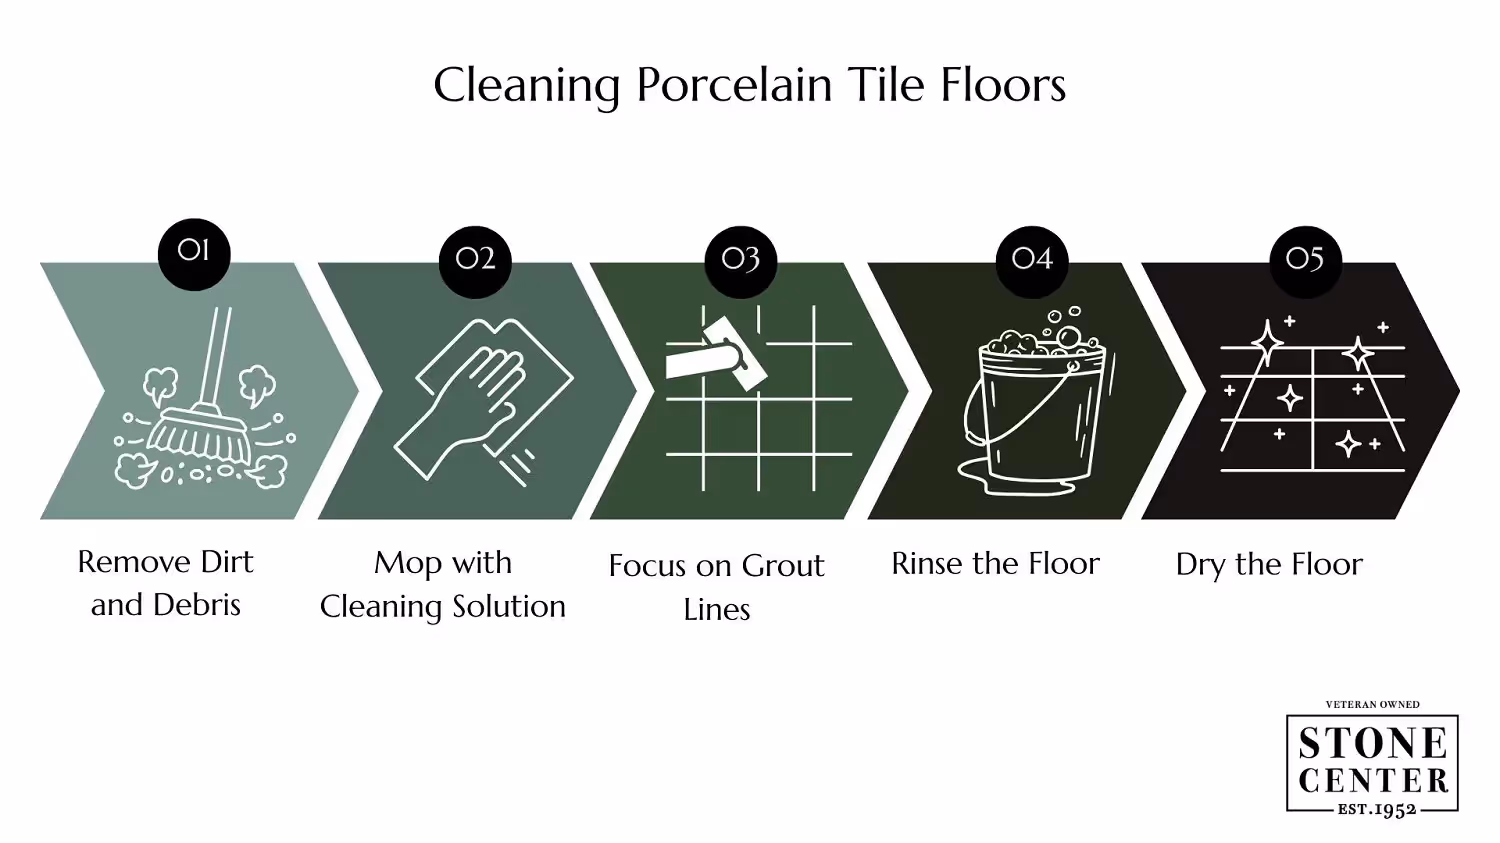
Step 1. Remove Loose Dirt and Debris
Start by sweeping or vacuuming the floor to get rid of dust, dirt, and debris. This routine cleaning step is essential to knowing the best way to clean porcelain floor tiles. To avoid scratching the tile, you'll want to use a soft-bristle broom or a vacuum with a hard floor attachment.
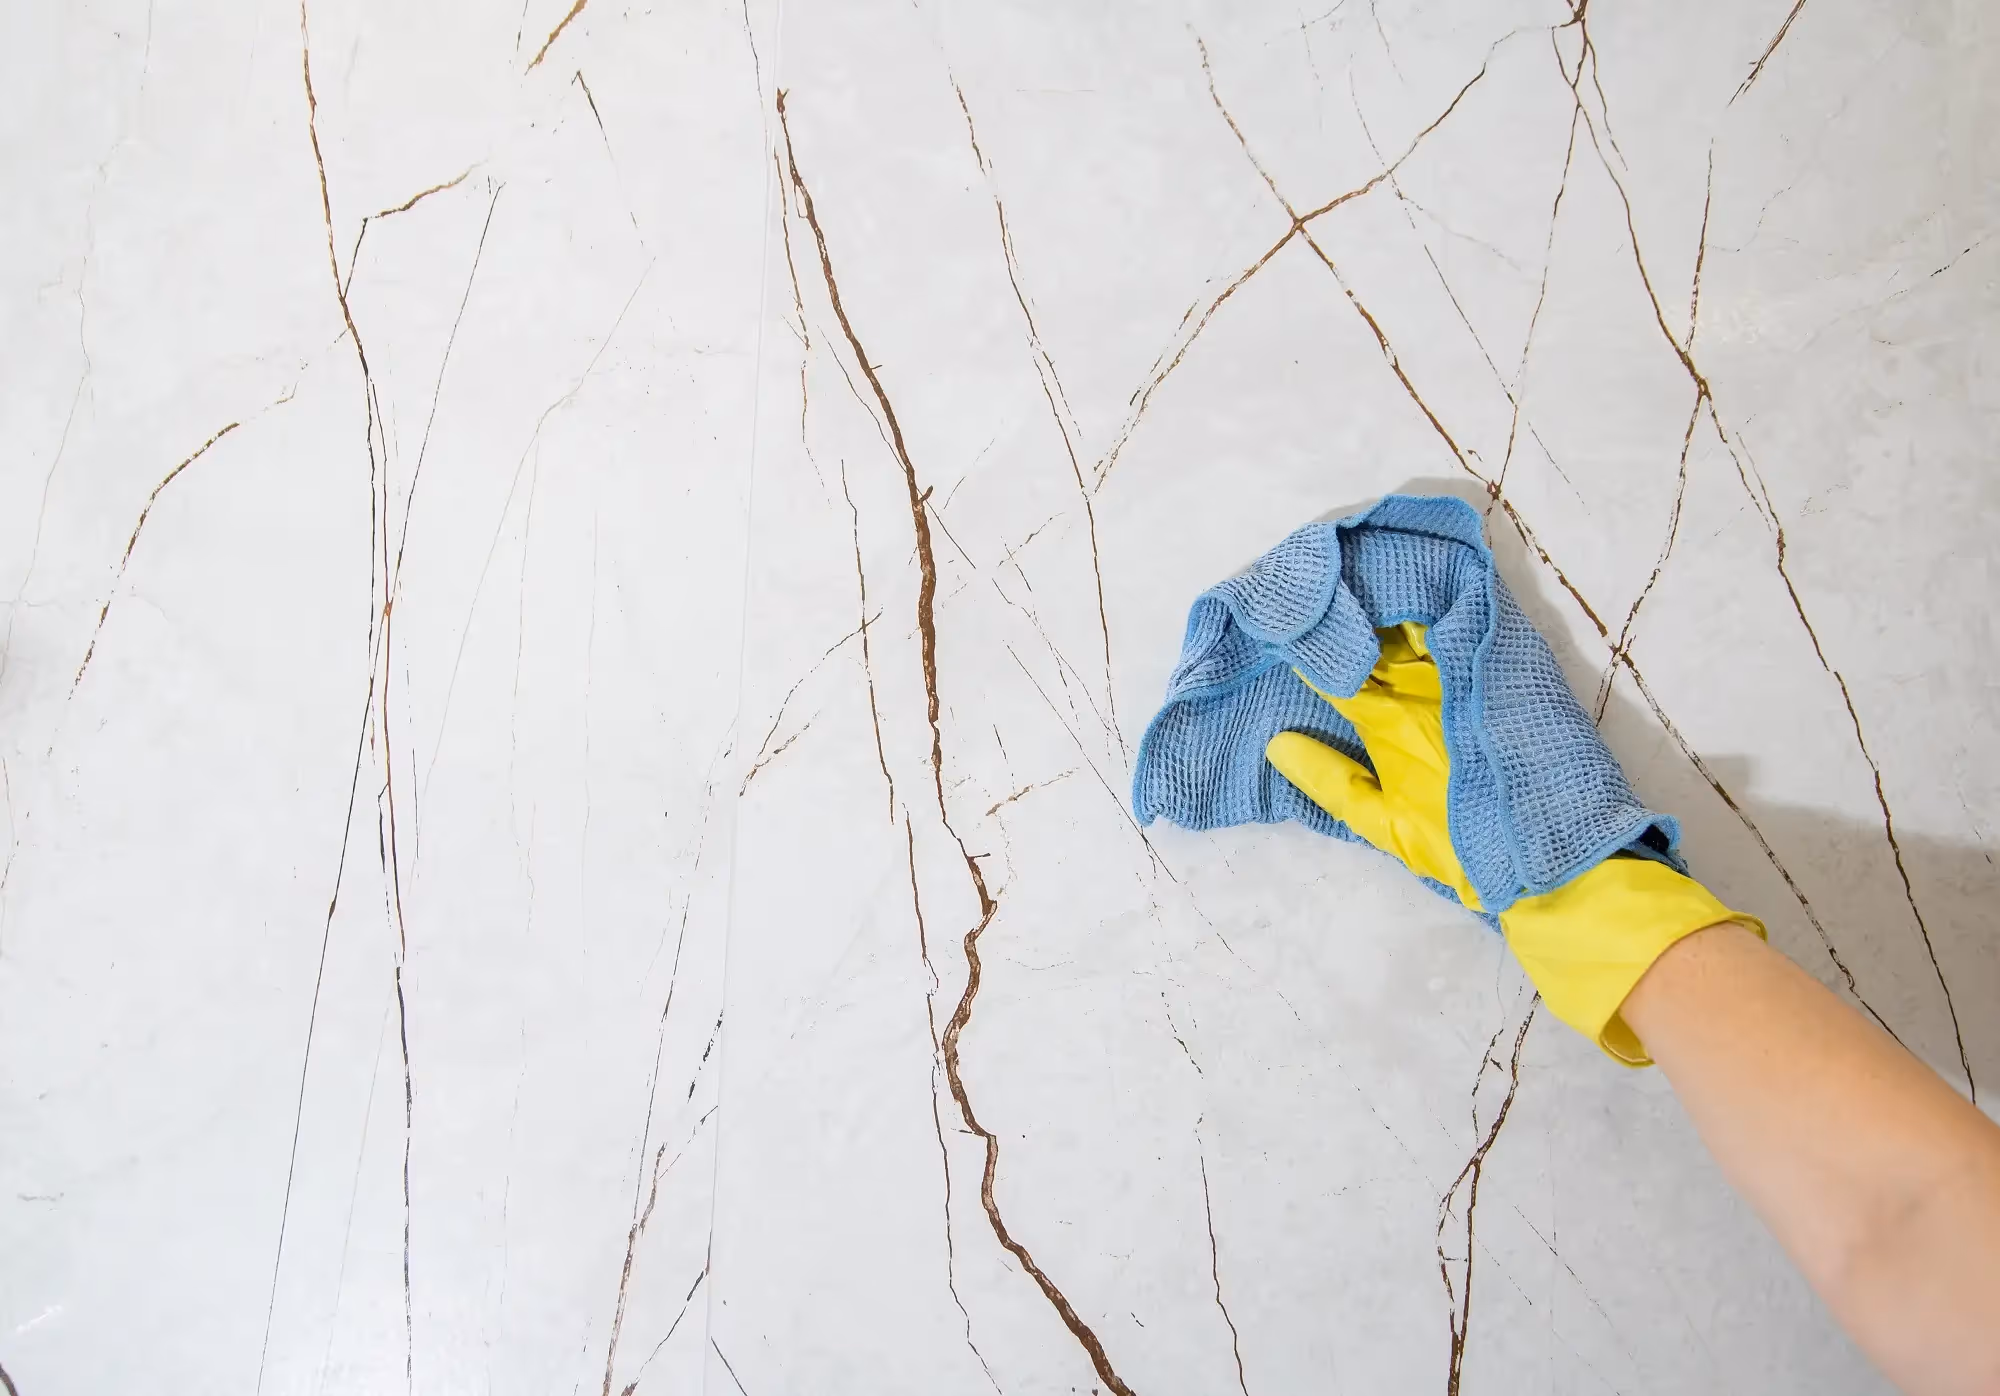
Step 2. Mop with a Neutral Cleaning Solution
Mix warm water with dishwashing soap or a pH-neutral cleaner that's designed for tile floors. Use a microfiber mop to clean the tiles, and be sure you wring out excess water to avoid leaving puddles that can seep into grout lines. If there are stained areas, you can scrub them gently with a soft tool. Always use a diluted neutral detergent.
Spot-test any new cleaner on a small, inconspicuous area first.
Step 3. Focus on Grout Lines
Use a small brush or a toothbrush with a mixture of baking soda and water to scrub and clean grout lines. This helps remove stains and accumulated dirt to keep your floor looking fresh and clean. If you have the same problem with persistent stains, this is a great solution.
Step 4. Rinse the Floor Thoroughly
After mopping, rinse the floor with clean water to remove any residue from the cleaning solution. This step prevents streaks left by soap and cleaner and ensures a spotless finish, removing any dirty water.
Step 5. Dry the Floor Completely
Use a soft microfiber cloth or a dry mop to thoroughly dry the tiles. This prevents water spots and ensures no moisture is left that can seep into grout or unsealed areas. This will make your house clean and sparkling!
Are you still deciding whether porcelain tiles are the right flooring choice for you? Read our related article to make an informed decision: Porcelain Tiles for Flooring: Pros and Cons.
A Step-by-Step Guide to Cleaning Porcelain Tile Showers
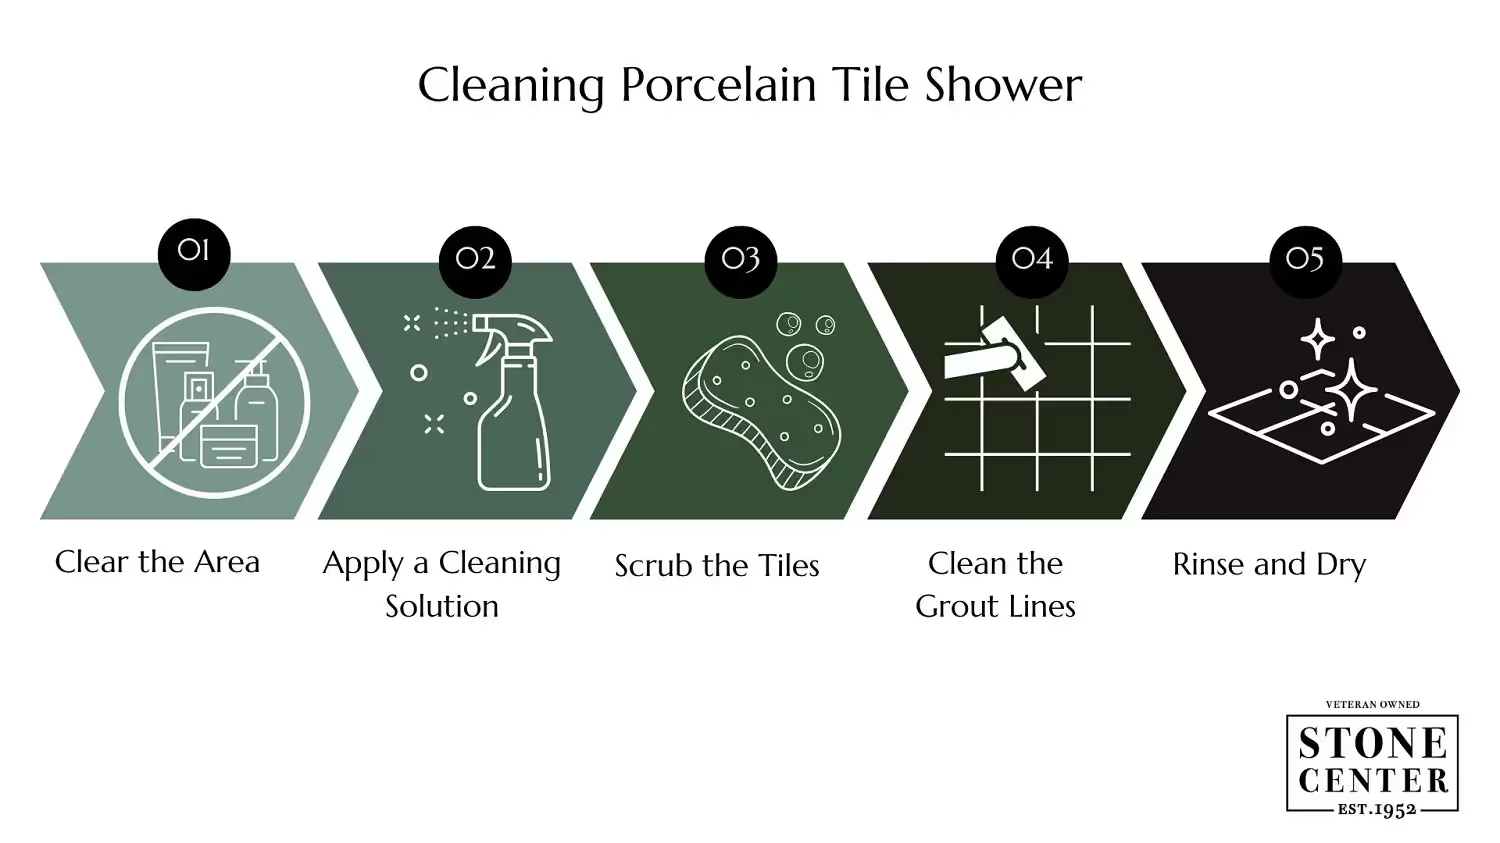
Step 1. Clear the Area
Start by removing all of your personal items, like soap dishes, shampoo bottles, and loofahs, to create an uncluttered workspace. Rinse the entire shower with warm water to loosen dirt, soap scum, and residue to make it easier to scrub away grime.
Step 2. Apply a Cleaning Solution
For general shower tile cleaning, you can use a pH-neutral cleaner. Spray the solution onto the tiles, focusing on areas with the left soap scum or mildew, and let it sit for 5-10 minutes to break down the grime.
Pro tip: If you don't have any pH-neutral cleaner, consider making a vinegar-water solution (1:1) as an alternative. For tougher stains, add a few drops of dish soap for extra power.
Step 3. Scrub the Tiles
After the solution has sat for a few minutes, scrub the tiles gently with soft tools like a soft-bristled brush, microfiber cloth, or sponge. Work in circular motions and pay special attention to corners and textured surfaces.
Step 4. Clean the Grout Lines
Mix baking soda and water into a paste, then apply it to the grout lines. Scrub with an old toothbrush or grout brush to lift stains and remove trapped dirt. Grout joints are often the dirtiest part of your shower, so give them extra care.
Step 5. Rinse and Dry Thoroughly
Rinse the tiles and grout thoroughly with warm water to remove all residue. Use a microfiber cloth or a clean towel to dry the tiles and prevent water spots. The grout lines should be completely dry to avoid mold or mildew growth.
Revive Your Grout: Deep Clean It Right
Grout often collects more dirt than the tiles themselves. Because it's porous, it can absorb stains, mildew, and grime, making regular deep cleaning essential to maintain a fresh, clean look.
- Pick the right cleaner: Use a pH-neutral tile and grout cleaner for safety, or a baking soda + water paste for tougher stains. Avoid harsh acids unless the tile is unsealed matte.
- Let it sit: Apply the cleaner generously and let it soak into the grout for 5–10 minutes. This helps loosen any buildup.
- Scrub gently: Use a toothbrush or soft grout brush to scrub the lines. Always avoid abrasive tools that could scratch tile edges.
- Rinse well: Wipe the area with clean water to remove any residue.
- Dry the surface: Finish with a clean, dry towel to prevent moisture buildup.
- (Optional) seal the grout: Apply a grout sealer to protect against future stains, especially in high-moisture areas.
Remember, clean grout makes clean tile stand out. A quick deep clean every few months helps preserve both the appearance and hygiene of your porcelain and even ceramic tile floors.
Polished/Glazed Tile vs. Unpolished Tile: Tailored Cleaning Techniques
Polished or glazed porcelain tiles have a smooth, stain-resistant surface, while unpolished tiles are more porous and prone to trapping dirt. Knowing the difference helps you choose the right cleaning method and protect your tile’s finish over time.
Whether polished or unpolished, the key is to clean gently but consistently, using the right tools and products for your tile’s finish. A little care now goes a long way in keeping your floors looking flawless for years.
#spoilers_start
Product Recommendation
If you’re looking for unbeatable protection on unpolished tiles, Aqua Mix Sealer's Choice Gold is a top-tier solution that we recommend at Stone Center. This sealer offers premium stain resistance while maintaining your tile’s natural beauty.
#spoilers_end
How to Clean Textured Porcelain Tile Floors
Textured porcelain tiles have an intentionally rough surface that makes them slip-resistant. However, this type of tile means you'll need to pay extra attention to clean dirt from the crevices:
- Sweep in two directions: To remove all dirt and debris trapped in the texture, first sweep with a soft-bristled broom following the direction of the tile texture, then sweep diagonally.
- Avoid excess cleaner residue: Use minimal cleaning solution and rinse thoroughly. Textured tiles can hold onto residues, which can attract more dirt if it isn't fully removed, leading to grout haze.
- Consider a steam cleaner (with caution): A steam cleaner can effectively loosen dirt in the crevices, but be sure to test it on a small, inconspicuous area first. You'll also want to use a low-pressure setting to avoid potential damage.
Keeping Your Porcelain Tile Clean Longer: Pro Tips
A few simple habits will set your floor up for long-term success. Consistent care — not constant scrubbing — is the key to keeping your tile looking fresh and lasting longer.
- Routine cleaning: How often you clean depends on foot traffic and usage. Generally speaking, aim to sweep or vacuum once or twice weekly (more often in high-traffic areas), mop weekly, and deep clean (including grout) monthly.
- Clean spills immediately: This can help you prevent stains. Use a soft, damp cloth for quick cleanup.
- Place rugs or mats: Place them in entryways, kitchens, and bathrooms to catch dirt and moisture, reducing wear in high-traffic areas.
- Seal grout: Apply a sealant to grout lines annually to create a barrier against stains and moisture.
- Keep surfaces dry: Wet tiles, especially in bathrooms or kitchens, can promote mildew. Wiping up moisture promptly helps maintain a clean, dry surface and reduces the risk of buildup.
- Check installation practices: Proper tile installation is key to easy long-term maintenance. Ensure grout lines are sealed and tiles are aligned correctly to minimize cleaning effort later.
Remember, the best way to clean porcelain tile is consistent maintenance rather than infrequent intensive cleaning.
Elevate Your Tile Care with the Best Porcelain for Your Project
Cleaning porcelain tiles effectively means you need to understand the nuances of different tile types and finishes. Following our tailored cleaning methods will help your tile remain clean and protected, and retain its beauty and value over time.
If you're planning a new project or looking for high-quality porcelain tiles, especially for outdoor spaces, Stone Center is here to help you choose the best products! For the past 72 years, we've helped countless customers achieve their design goals through our passion and high-quality products. Contact us to start exploring our various porcelain tile options.
FAQ
Rarely Asked Questions
My porcelain tiles have a hazy film. How do I remove it?
A hazy film is often caused by hard water deposits or soap scum buildup. Try cleaning the film with a solution of white vinegar and water. For stubborn buildup, a dedicated hard water stain remover might be necessary.
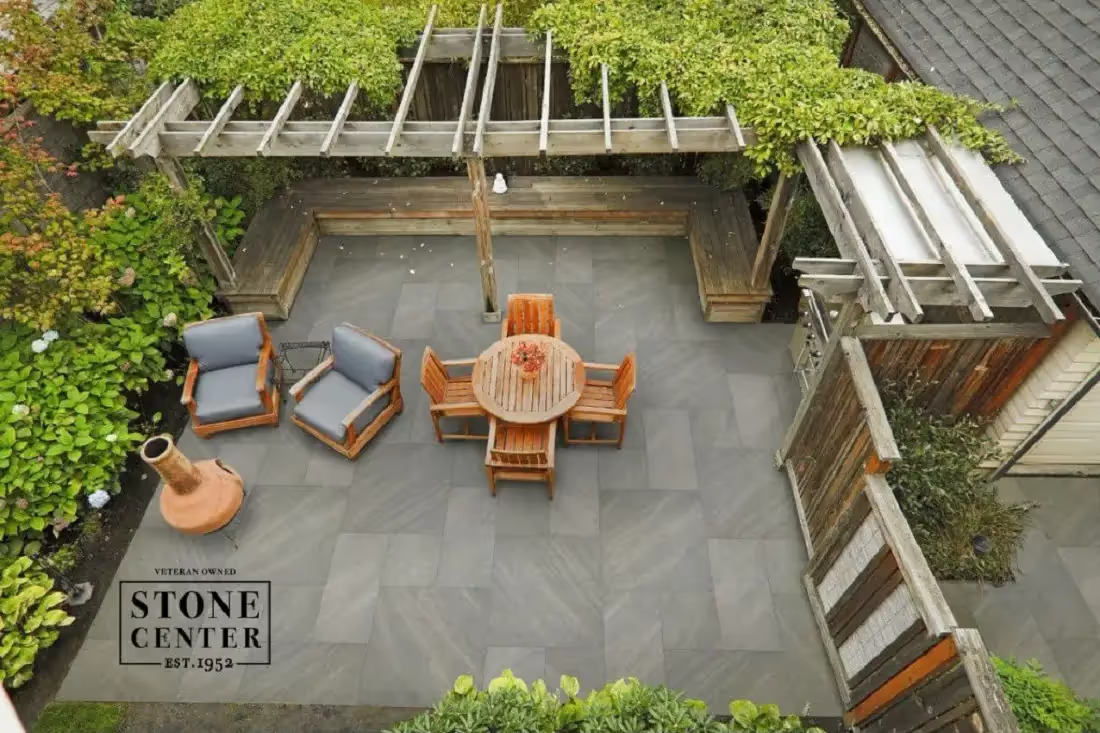
How do I clean outdoor porcelain tiles?
You may need to clean outdoor porcelain tile more often because of exposure to dirt, debris, and weather. Follow the general steps above, but use specialized cleaners for tough stains caused by elements like mildew or algae. You can consider using a pressure washer, but test it on a small, hidden area first to avoid damage.
How do I clean porcelain tiles that are near a fireplace?
Soot and smoke particles can leave a residue, so regular sweeping and vacuuming are needed around fireplace surrounds. For more stubborn soot buildup, try a mild detergent and warm water solution, making sure to rinse thoroughly.
.avif)
Jon, the owner of Stone Center, is a knowledgeable expert in natural stone products, specializing in various types of stone for landscaping and architectural projects. Passionate about promoting the beauty and versatility of natural stone, Jon aims to use these blogs to inspire readers with creative ideas to upgrade their homes.


Check Out Our Products You May Like
.avif)
Quarzo Gray
$7.50-$15.50 (square feet)
.avif)
Silver Mist
$7.50-$15.50 (square feet)
.avif)
Tierra Ivory
$7.50-$15.50 (square feet)
.avif)
Vulkon Nero
$7.50-$15.50 (square feet)
How much does it cost to get a stone restored?
How much you end up spending to restore stone varies on the type of stone, the technique, and the stone’s current condition. Stone in good condition will cost less to restore, whereas stone that has a lot of wear and tear may require a longer restoration.