- Stone Center
- Blog
How to Lay Patio Stones: A Complete Guide for Patios, Driveways, Walkways & More
10/3/2026
2/27/2026
How to Lay Patio Stones: A Complete Guide for Patios, Driveways, Walkways & More
Homeowners all across Columbus and Cincinnati have discovered the appeal of natural stone patio pavers. Flagstone, granite, bluestone, marble, travertine, and slate — these stones make ideal pavers not only for patios but also for walkways, driveways, and garden paths.
With just a weekend and some basic tools, you can transform your outdoor space into a beautiful stone patio that lasts for years. While stone pavers are ideal for patios, they're also perfect for driveways, walkways, and pool surrounds. Our experts at Stone Center have put together this guide that focuses on how to lay a stone patio. You can even leverage these tips in your other outdoor projects.

Before You Begin: Safety and Planning Considerations
Before you start hauling stone pavers and digging up your yard, take the time to plan. This will save you countless headaches and ensure your patio project's success. Proper planning includes understanding local regulations and selecting the right materials.
Natural Stone Paving Codes & Regulations
Natural stone projects may require compliance with local regulations, especially for larger installations. Understanding these requirements upfront can prevent costly mistakes and delays. Some common examples of codes and regulations that may be relevant to natural stone paving include:
- Building codes: These codes outline the minimum requirements for construction projects, including the materials and techniques used.
- Zoning regulations: These regulations may determine where and how to install natural stone pavers (or how to install sandstone pavers), as well as the type of pavers that can be used.
- Landscaping codes: These codes may outline specific guidelines for landscaping projects, including the installation of natural stone pavers.
- Permit requirements: In some cases, a permit may be required for a natural stone paving project, depending on the scope and size of the project. For example, according to Columbus Permits and Plan Review Requirements, you typically don't need permits for residential patios unless they're attached to the house or exceed certain dimensions.
- Call before you dig: Ohio law requires calling 811 or submitting a notification at least 48 hours before digging. This free service marks underground utilities, preventing accidents with gas, water, or electric lines during excavation.
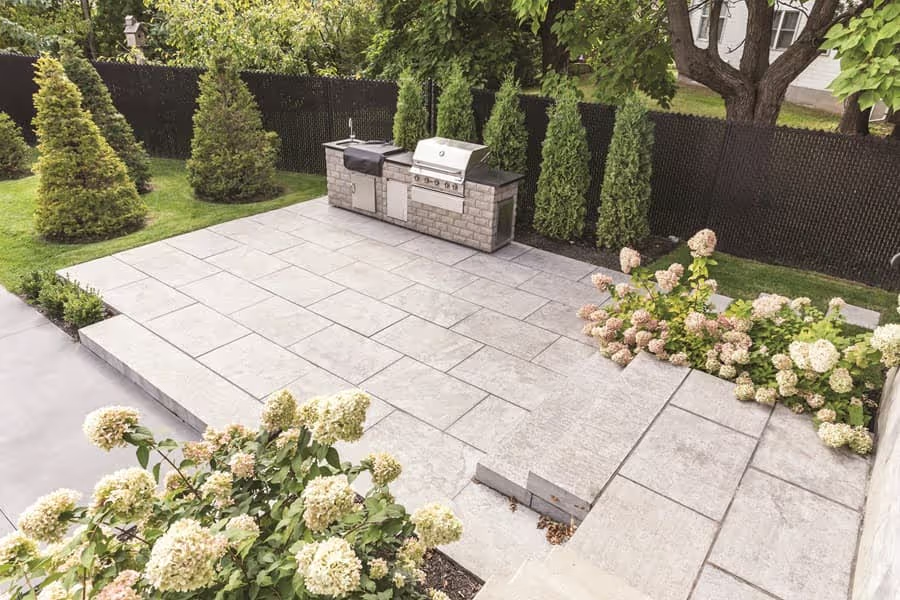
How to Choose the Best Materials for Patio Pavers

Natural stone pavers, including limestone, granite, bluestone, slate, and flagstone, offer outstanding durability, while concrete pavers provide a consistent appearance at a lower cost. When selecting stone for your patio, consider aesthetic appeal and practical factors like climate resistance and intended use.
When choosing paving stones, several factors determine the best material for your outdoor space:
- Application requirements: Driveways need thicker, denser pavers, while patios and walkways can use thinner stones based on traffic levels.
- Thickness and density: Heavier-use areas require 2-inch or thicker pavers; dense stones like granite or bluestone resist wear better than softer materials.
- Climate compatibility: Choose dense, low-porosity stones that handle freeze-thaw cycles, with bluestone performing especially well.
- Base preparation: A compacted gravel base and proper underlayment help prevent shifting, settling, and long-term damage.
- Alternatives to consider: Poured or stamped concrete, decomposed granite, and wood decking offer different looks, costs, and performance benefits.
Get a clear idea of how much stone or concrete you'll need with our quick Patio Paver Calculator tool!
Tools and Materials You Need
When learning how to lay stone pavers, there are a few tools and materials that you will need to have on hand to ensure a smooth and successful project.
Tools:
- Tape measure and string
- Stakes and marking paint
- Shovel and pickaxe
- Wheelbarrow
- Level (4-foot recommended)
- Garden hose or irrigation pipe
- Tamper or plate compactor (can be rented)
- Rubber mallet
- Diamond blade saw, or masonry saw (for cutting pavers)
- Broom
- Landscape rake
- Screed board (straight 2×4)
- Edging tool
Materials:
- Stone pavers of choice
- Landscape fabric
- Gravel (¾-inch)
- Leveling sand or paver sand
- Paver edging
- Polymeric sand (optional for joints)
- Paver sealer (optional)
SAFETY FIRST: Wear protective equipment, including gloves, safety glasses, knee pads, steel-toed boots, and dust masks when cutting. Bend at the knees when lifting heavy pavers. Keep tools maintained, avoid extreme weather, and, when possible, work with a partner.
How to Build a Stone Patio: 9 Essential Steps for Success
Systematic preparation and proper technique are at the core of installing a natural stone patio. One of the best examples of this process is Sean Markee's instructional video. With over 900,000 views and hundreds of positive comments, his demonstration perfectly complements the steps below.
If you're planning to use pavers for a driveway or walkway rather than a patio, you can skip to the Additional Applications section. Now, let's get started with laying your stone patio!
Step 1: Mark and Prepare the Area
Start by outlining your patio's perimeter using stakes, string, and a garden hose for curved edges. Measure the entire area in square feet to calculate material requirements. Plan for a slight slope of ¼-inch per foot away from your house for proper drainage.
Strip away the sod and dig out soil to a depth of 7-9 inches below your desired final patio height. This provides room for your base materials and patio pavers while ensuring proper drainage.
Pro tip: For areas with poor drainage, consider installing a perforated drainage pipe at the lowest point to direct water away from your patio and home.
Step 2: Calculate Your Excavation Depth
The excavation depth determines your patio's long-term stability. Ensuring proper depth provides space for the gravel base, sand bedding, and paving stones while preventing settling.
Calculate total depth by adding: 4-6 inches for the gravel base, 1 inch for sand bedding, and the thickness of your patio stones (typically 1-2 inches). If the patio will be connected to your home, ensure the finished height will be at least 1 inch below door thresholds to prevent water intrusion.
Create clean, vertical edges around your perimeter and remove any tree roots that may interfere. Use a long, straight board with a level to check for evenness while maintaining proper slope, then compact the subgrade (native soil) using a hand tamper.
Step 3: Install Geotextile Fabric
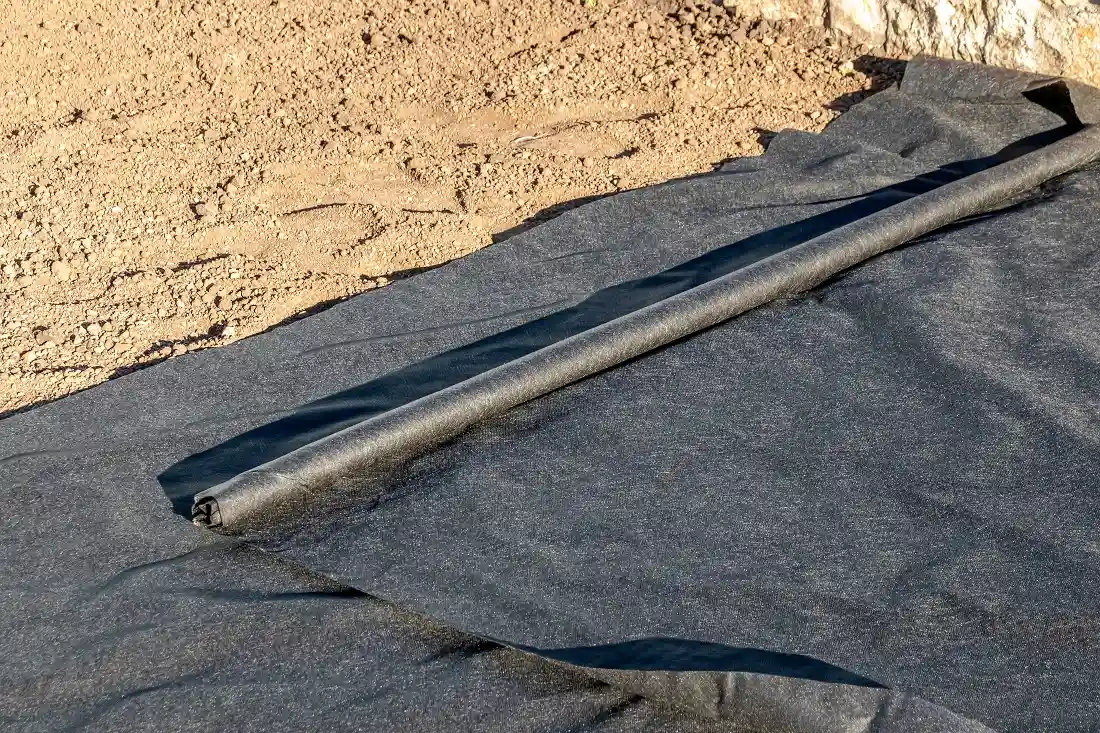
Geotextile fabric, or weed barrier, prevents weed growth, reinforces the subgrade, and keeps base materials separated from soil beneath.
Lay the geotextile over your excavated area, extending it slightly up the sides. When using multiple pieces, overlap the edges by at least 6 inches and secure with landscape staples. This simple step saves countless hours of future maintenance by significantly reducing weed intrusion between your paving stones.
Step 4: Add and Compact the Base Layer
Use ¾-inch clean, angular gravel (also called road base or ¾-inch minus) for your base layer, adding it in 2-inch lifts and compacting each layer thoroughly before adding the next. For patios larger than 200 square feet, rent a plate compactor, as it will save time and provide better results than a hand tamper.
Spread the gravel evenly, lightly spray with water to help with compaction, then run the compactor over the entire surface in multiple directions. In Ohio, you can easily rent a plate compactor for a certain period to reduce expenses. The final compacted base should be 4-6 inches thick, firm enough that walking on it leaves minimal footprints, and maintain the planned slope for drainage. When the base is compacted properly, it prevents your patio pavers from settling and shifting.
Need to know how much gravel you'll need? Use our accurate Gravel Calculator to get precise measurements and avoid overbuying or running short.
Step 5: Apply Sand Bedding
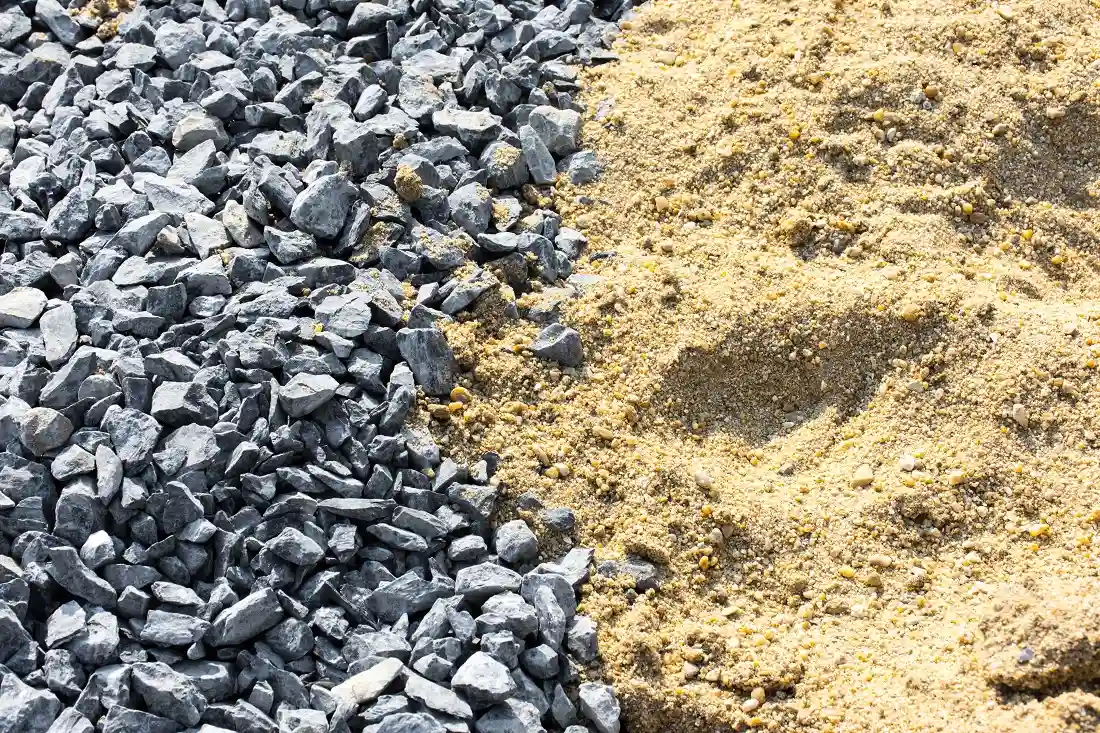
Once you establish a solid base, spread a 1-inch sand layer on the compacted gravel. This bedding sand cushions pavers and fills cracks in the base layer, creating a flat, even surface through the screeding process.
Sand serves as a bedding layer, not the base, creating a cushion between the gravel foundation and the patio pavers.
Many homeowners laying natural stone in Columbus and Cincinnati use Mason Sand for this purpose. Pour about 1 inch of sand atop your base and smooth it out, creating an even surface.
Step 6: Cutting the Patio Pavers
Trimming pavers to fit your space often requires cutting numerous pieces, though sometimes only a handful.
The best way to cut stone is with a diamond blade. Attach one to a circular saw, mount one on an angle grinder, or rent a masonry saw; these resemble traditional chop saws but feature diamond blades designed for stone cutting.
Traditionally, masons used a hammer and chisel to break rock neatly. This method remains an option, especially if you only have a few cuts to make. Natural stone-cutting services through Stone Center make this job much easier.
Step 7: Lay the Pavers
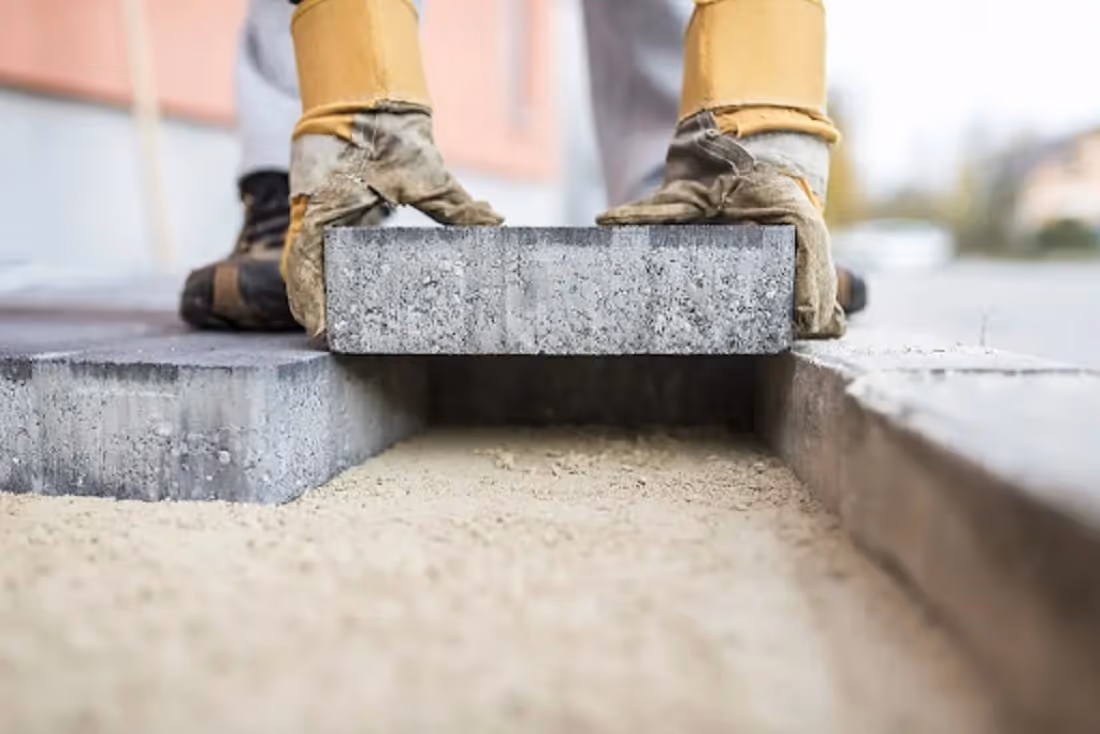
Begin by establishing straight edges and laying pavers so they nearly touch, with minimal gaps for sand joints. Use your level to maintain a consistent height across the surface.
The most rewarding part of building your patio comes when placing each paver into position. For irregular paver stones, arrange them to create pleasing patterns with consistent joint spacing (typically ¼ to ½ inch).
If you find any depressions beneath your pavers, add more sand. If some lift up a little higher than others, stand on them or gently tap them with a rubber mallet. If this doesn't work, you might have to adjust the substrate, removing excess sand.
Step 8: Place the Restraining Edge
After laying and trimming all pavers, anchor them with edge restraints. These rigid edging systems prevent lateral shifting and maintain your patio's shape.
Install paver edging tight against the outer patio pavers with the lip overlapping their edge, then secure with paver spikes every 12 inches. Edge restraints come in plastic, aluminum, or concrete options, each providing the necessary stability.
Another option might be to use natural stone coping along the edge of your pavers. These are larger blocks that can form a solid barrier to stop your walkways from, well, walking.
Step 9: Fill Joints and Seal (Optional)
For standard joint sand, simply sweep material into gaps and compact. For polymeric sand, follow the manufacturer's instructions: sweep into joints, remove excess from paver surfaces, then lightly mist with water to activate the bonding process. Avoid oversaturation.
Sealing natural stone pavers can help to protect them from stains and damage, and can also enhance their natural colors and patterns. There are various types of sealers available, including water-based and solvent-based options. Be sure to follow the manufacturer's instructions for application.
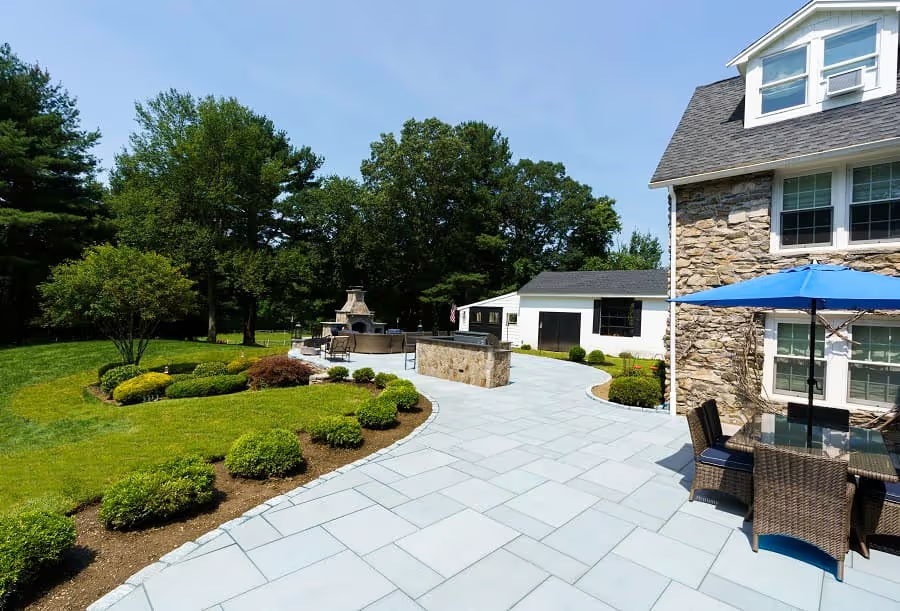
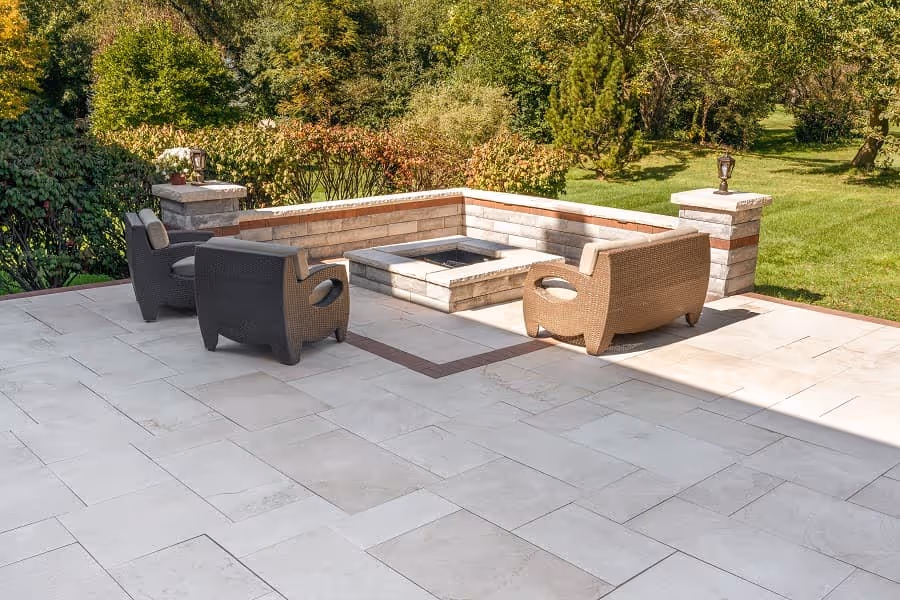
Additional Applications for Natural Stone Pavers
Natural stone pavers work beautifully beyond patios in various outdoor applications. While the installation is similar, each use has specific requirements.
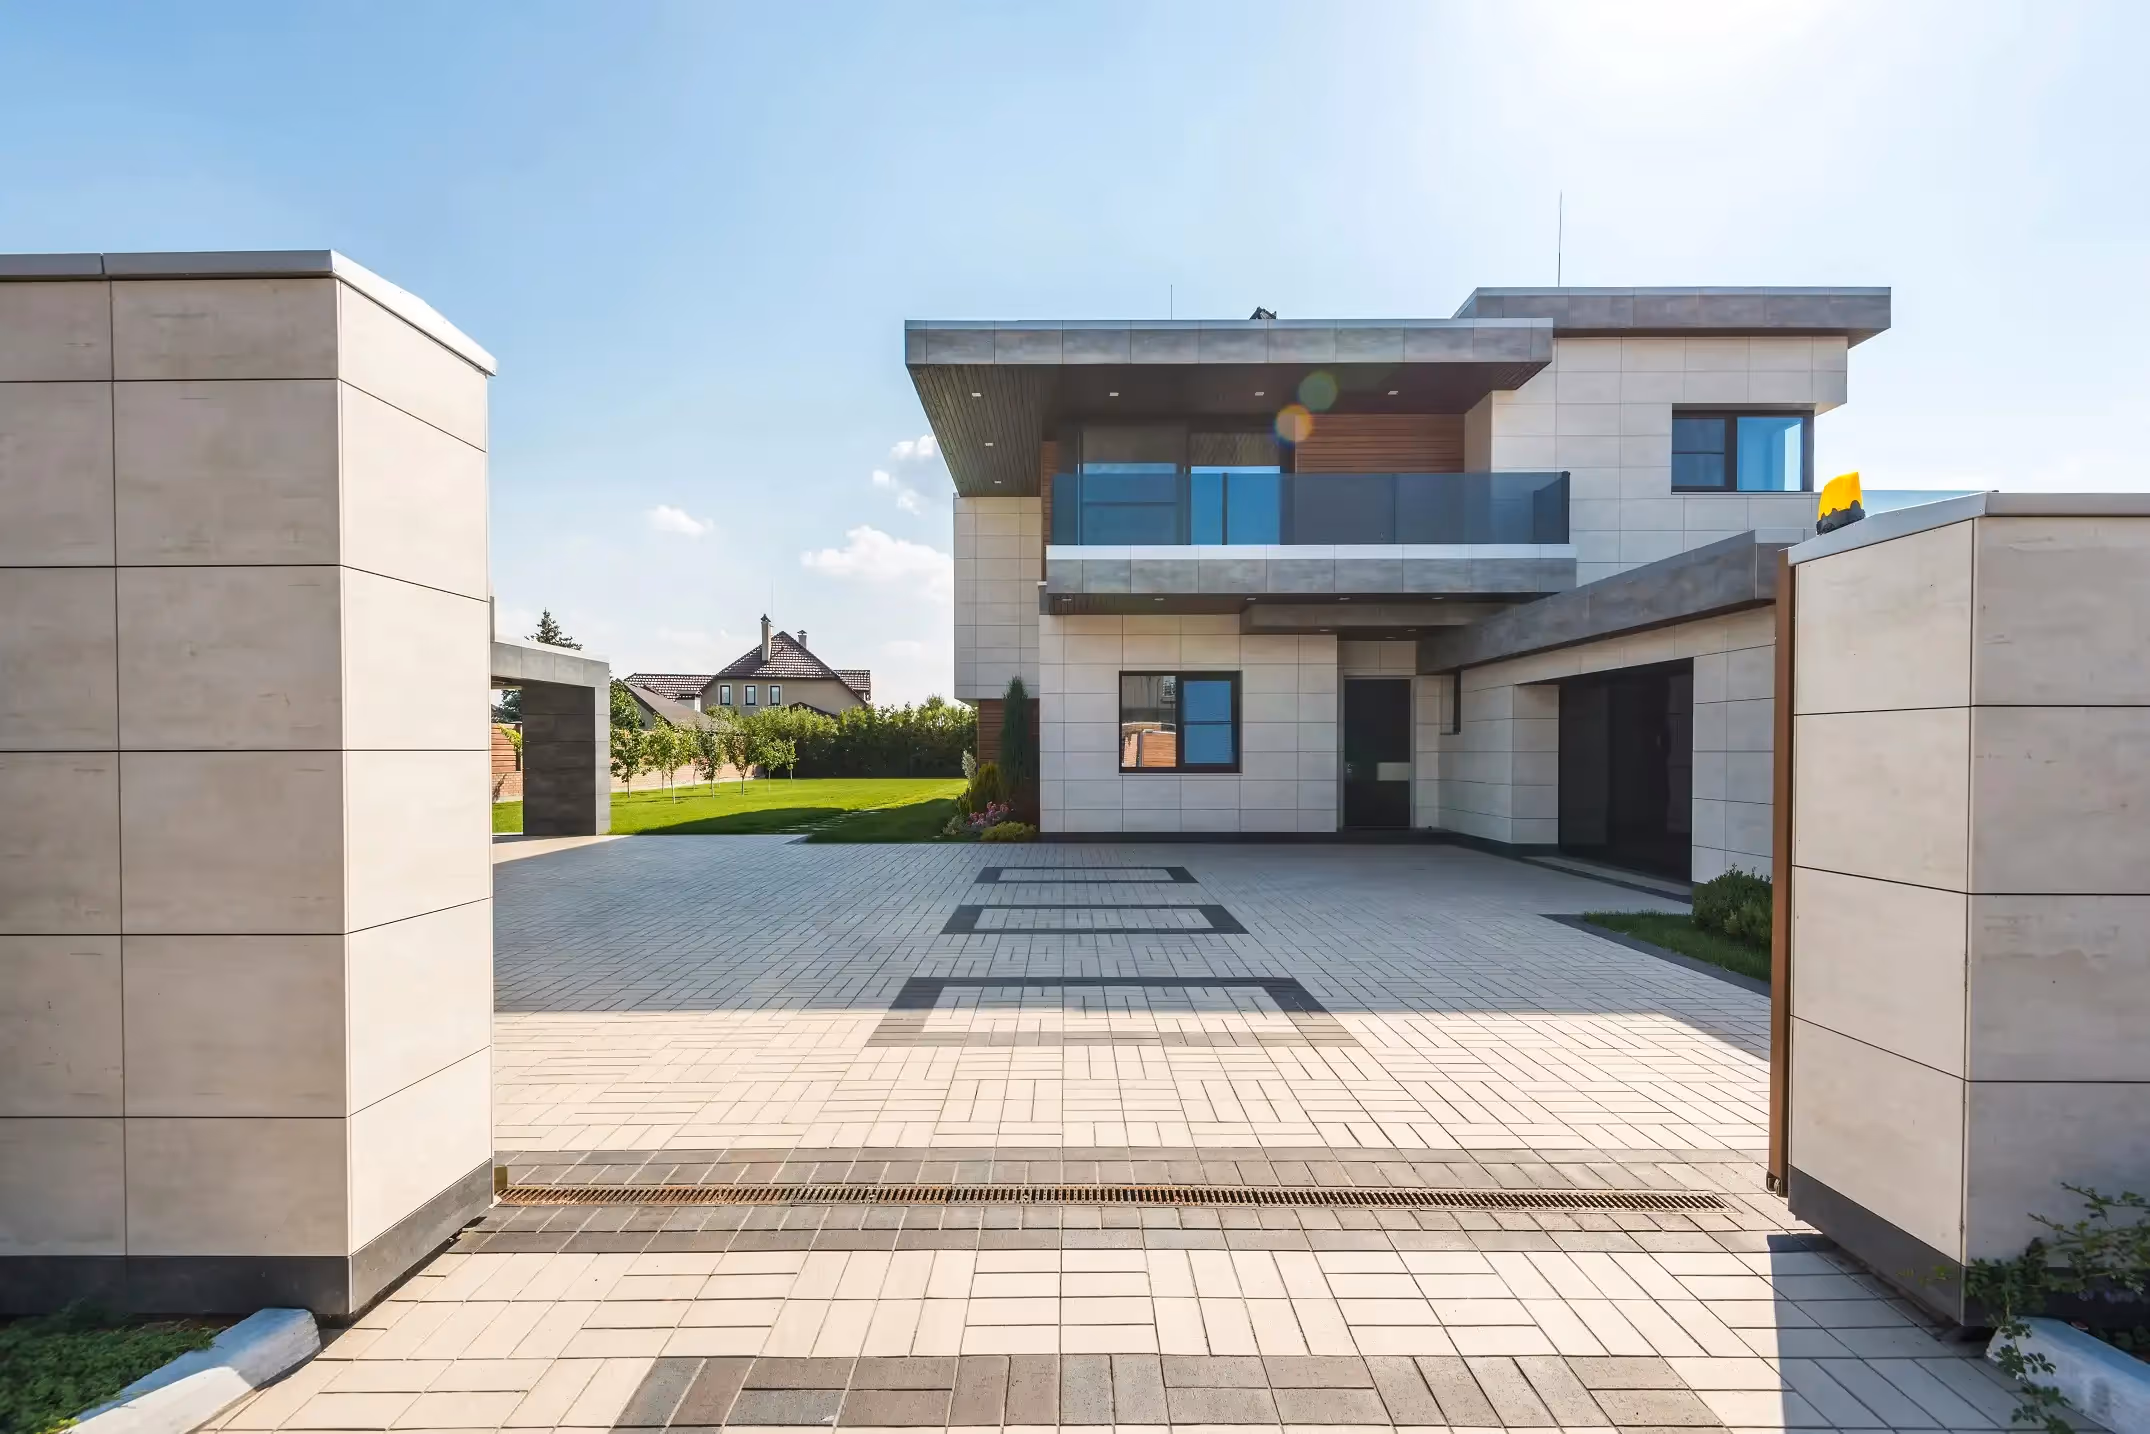
Using Patio Stones for Driveways
For driveways bearing heavy vehicles, use thicker stone pavers (minimum 2-3 inches) with exceptional hardness — granite and bluestone are excellent choices. Key requirements include:
- Base depth: A solid foundation requires 10-12 inches of depth, with at least 8 inches of compacted gravel to support vehicle weight.
- Edge restraints: Use stronger edge restraints, such as concrete curbing or heavy-duty metal edging, to prevent shifting and maintain stability over time.
- Drainage system: Incorporate an enhanced drainage system to reduce water buildup and prevent paver movement or damage.
For Ohio winters, consider installing heating systems beneath premium stone driveways to prevent ice buildup.
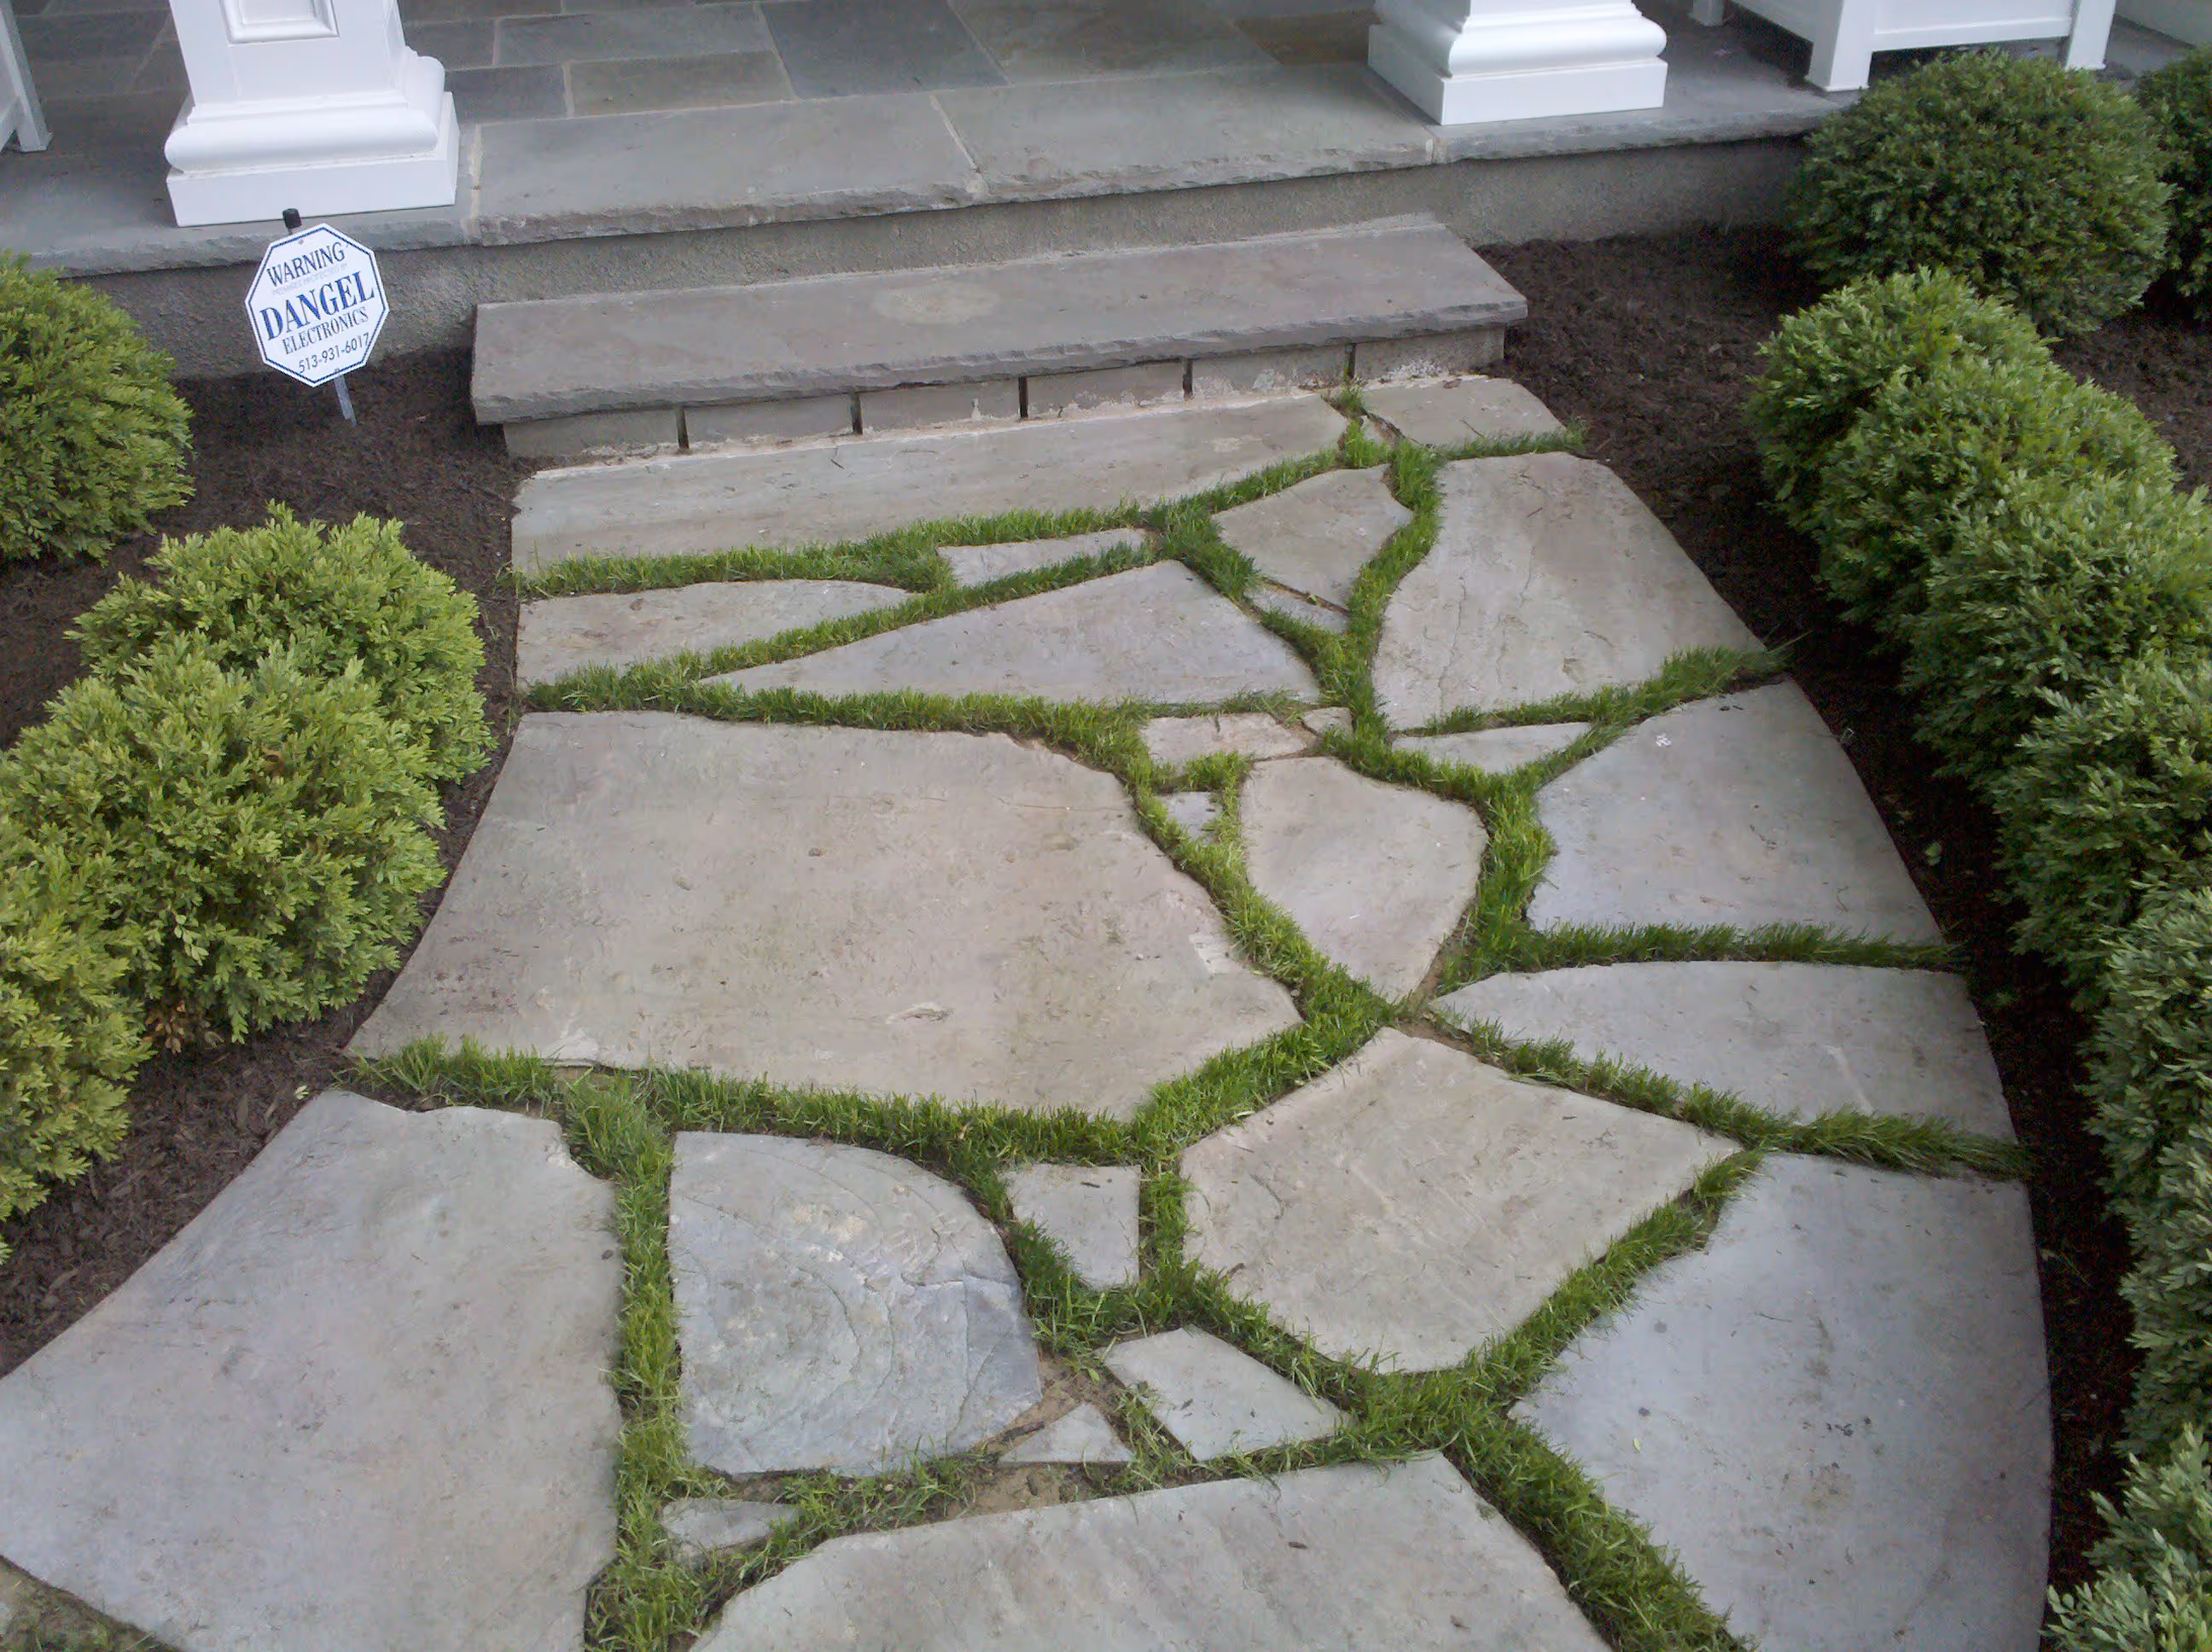
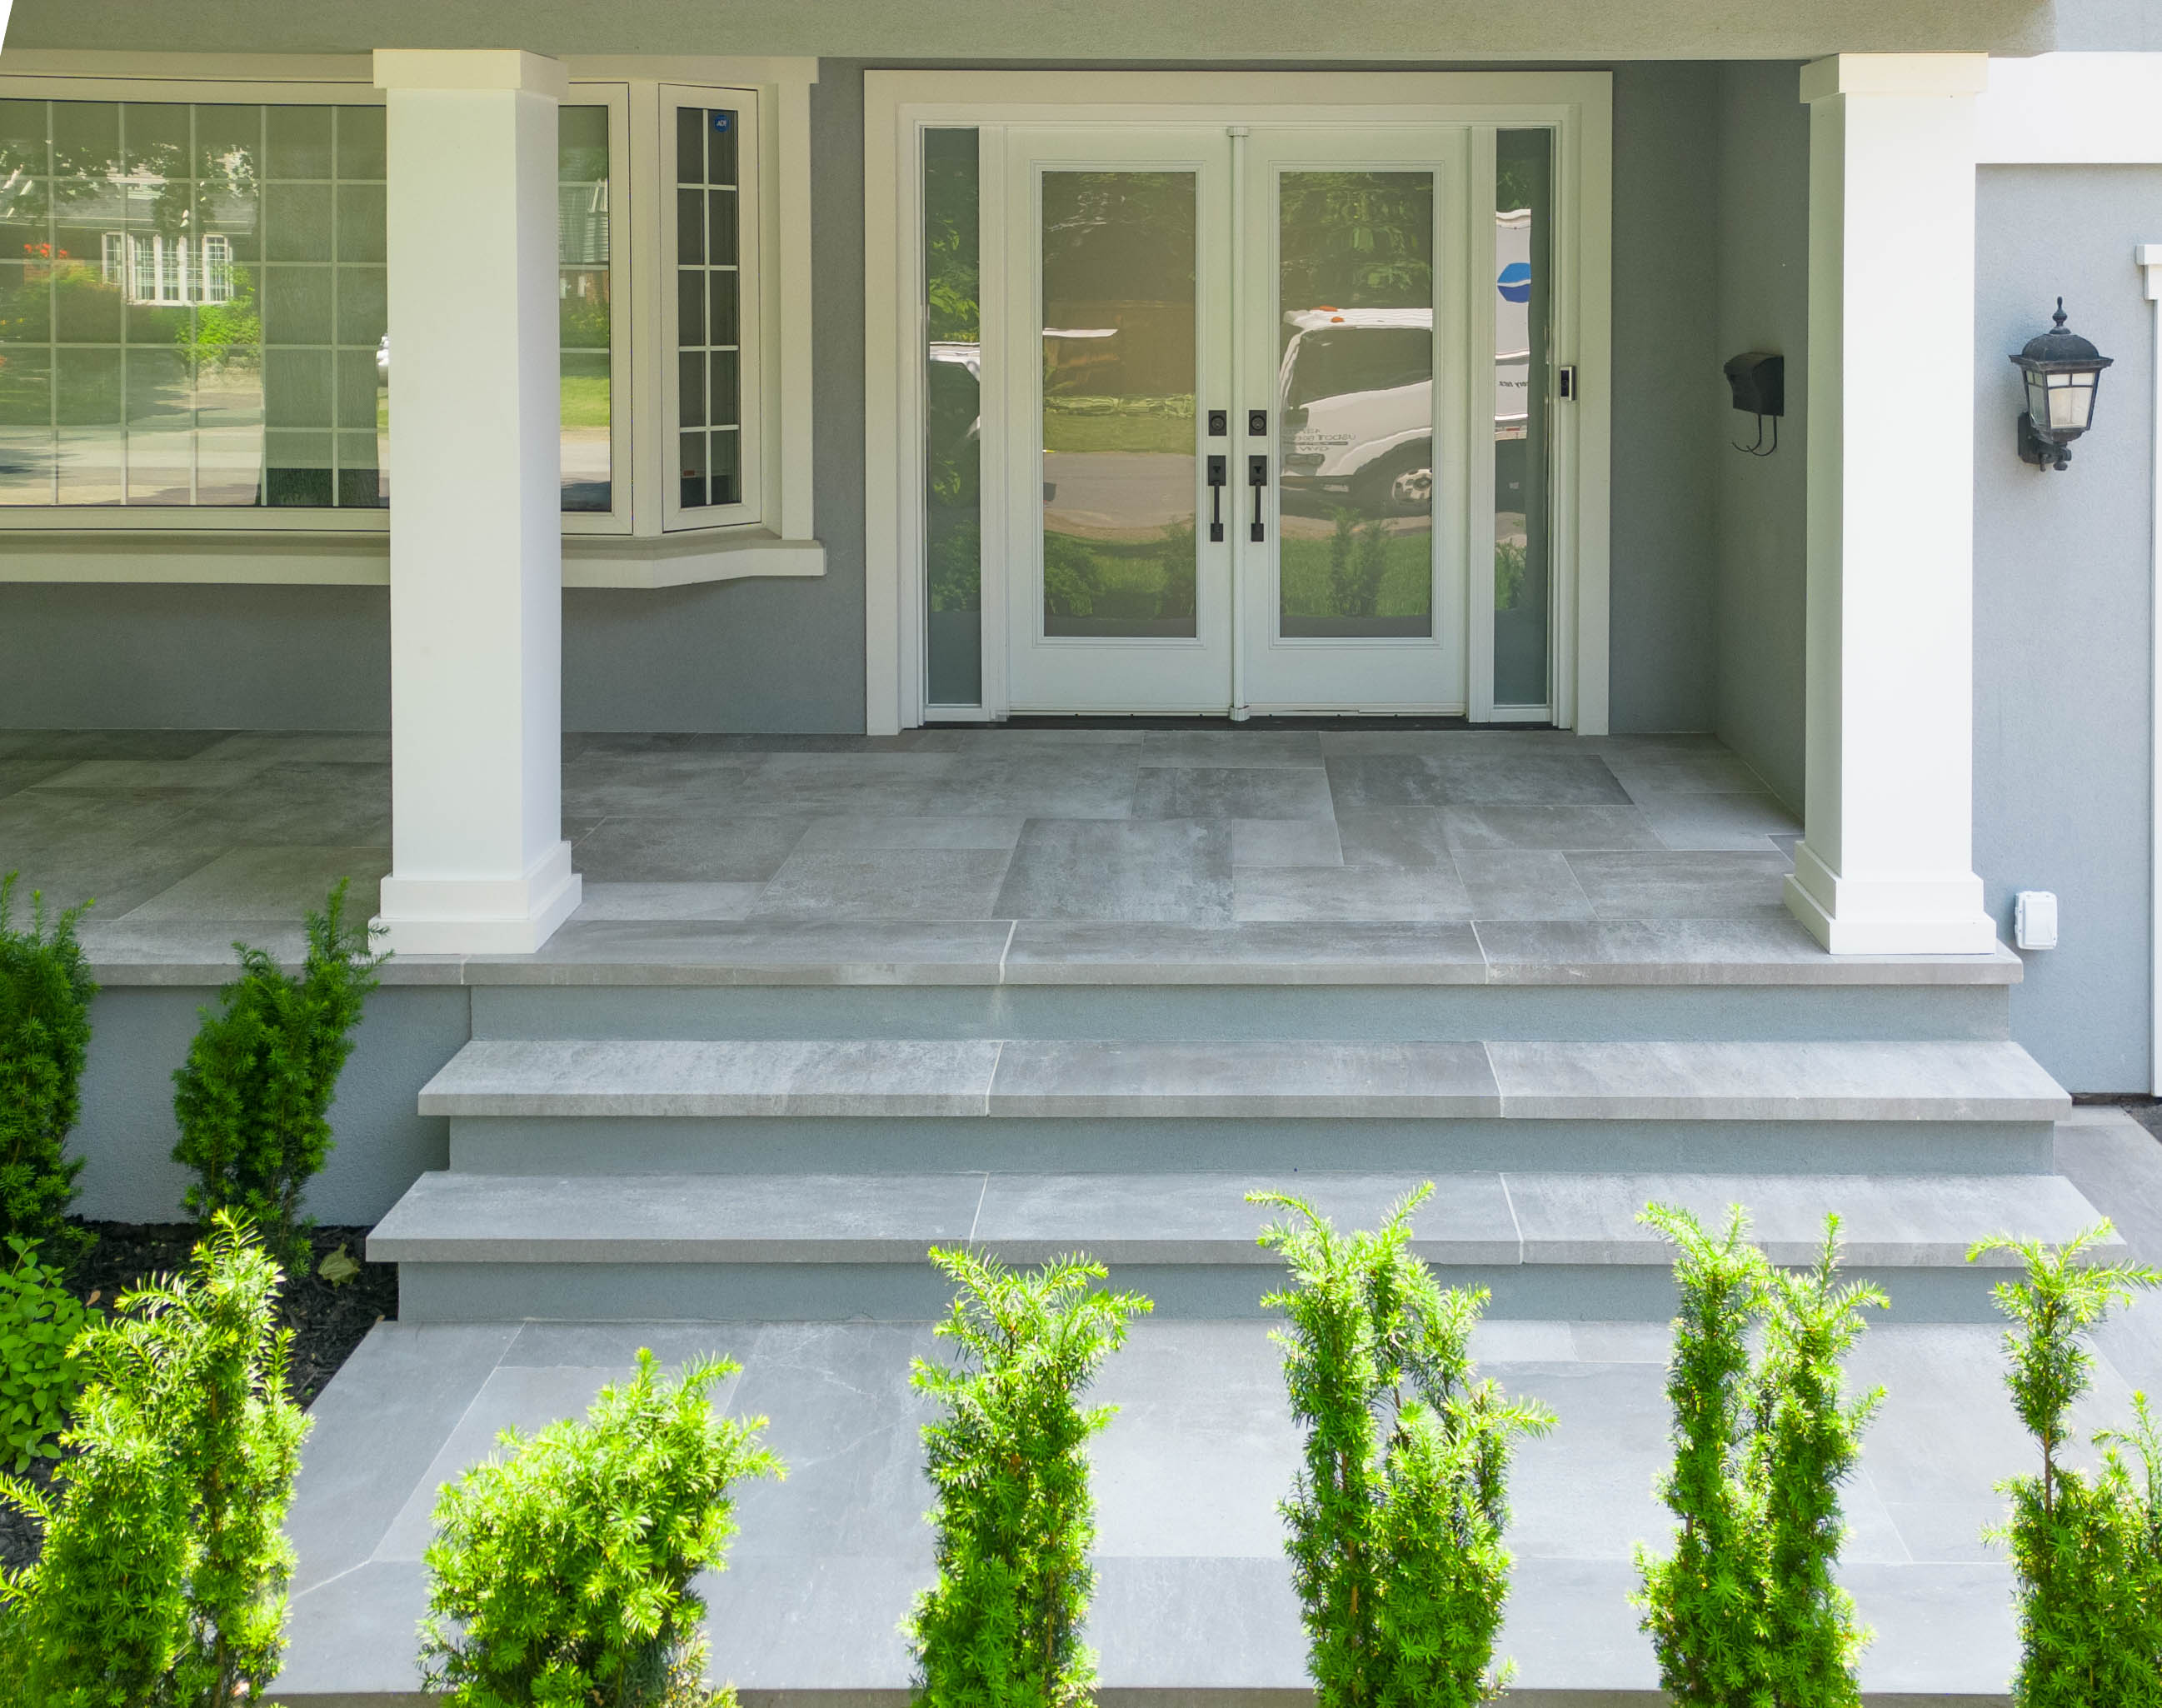
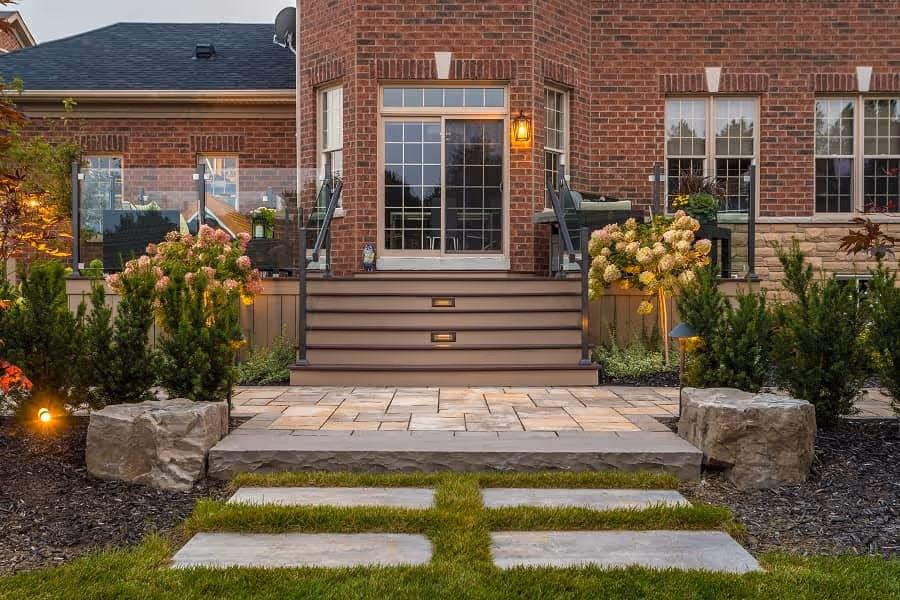
Installing Walkways with Patio Stones
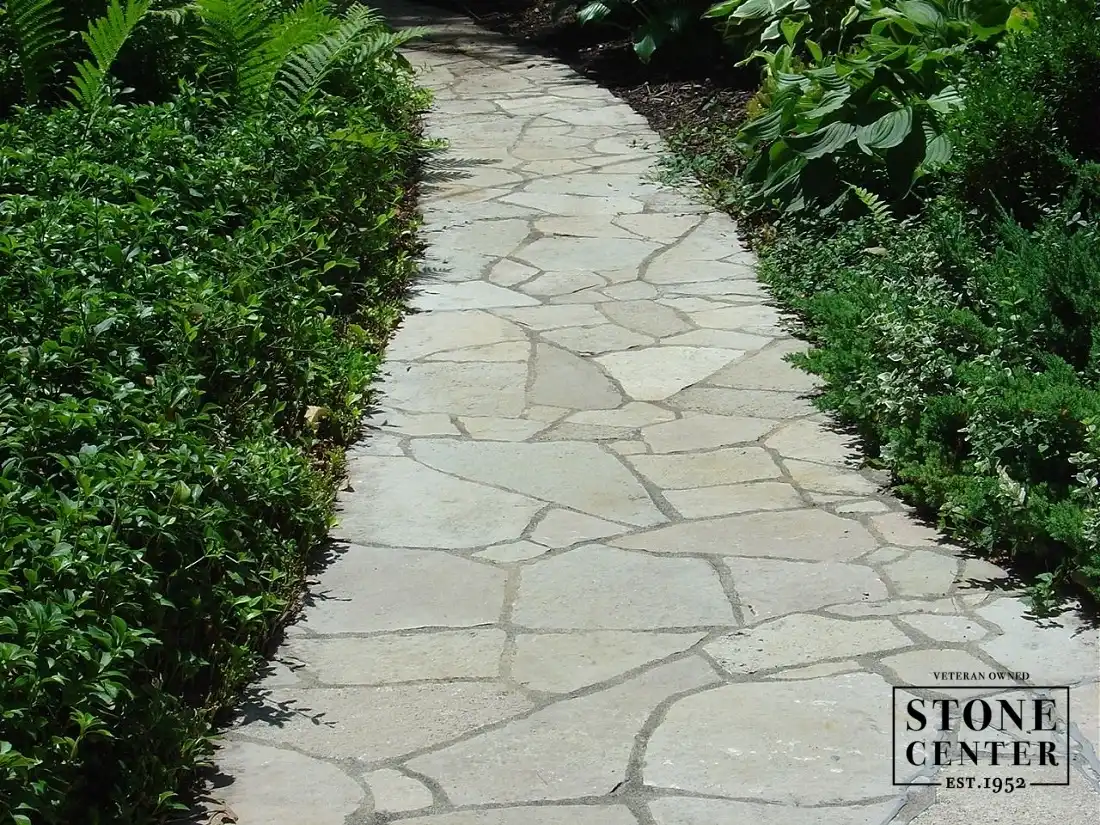
Walkways follow similar installation methods as patios, with modifications for foot traffic patterns and aesthetic preferences.
- Stone thickness: Use pavers 1-2 inches thick, which is typically sufficient for foot traffic areas like garden paths and walkways.
- Base depth: Prepare a 6-8 inch base, with at least 4 inches of compacted gravel to provide stability and prevent shifting over time.
- Path width: Plan for 3-4 feet wide for primary walkways to comfortably accommodate foot traffic, and 2-3 feet for secondary or decorative paths.
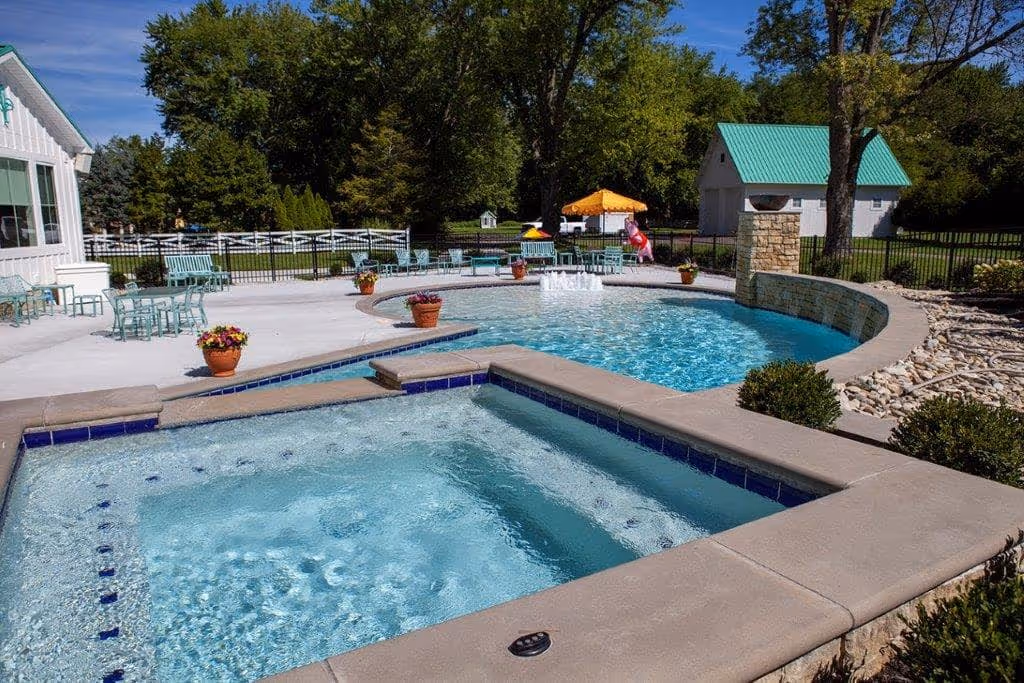
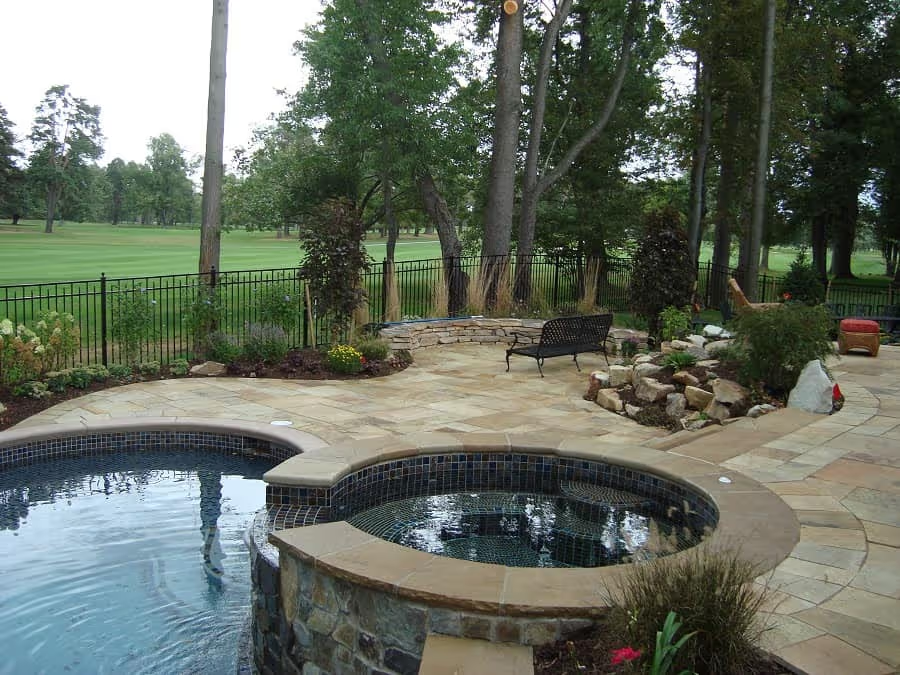
Installing Patio Stones for Pool Decks
Pool surrounds demand slip-resistant, chlorine-resistant materials that remain cool underfoot.
- Slip resistance: Choose textured stone pavers like travertine, bluestone, or sandstone, which provide natural slip resistance even when wet, making them ideal for pool areas.
- Stone thickness: Select 1.5 to 2-inch-thick pavers to provide stability without unnecessary bulk, ensuring comfort for barefoot traffic.
- Pool copings: Finish the edges of your pool with pool copings, which provide a smooth, safe, and attractive transition between the pool structure and the deck.
Estimate pool coping requirements with our Pool Coping Cost Calculator for accurate project budgeting.
Create Your Dream Outdoor Space Today
Natural stone pavers are perfect for many landscape applications. From patios to walkways to even driveways, they offer an attractive, durable surface that will complement your home.
If you’re in the Columbus or Cincinnati area, we’d be happy to help you design, plan, and even build your next natural stone project. Stone Center has stores in both cities and can cut, carve, engrave, or restore stones. We sell a full range of materials, and our knowledgeable staff is happy to offer guidance and advice. Contact us for all your natural stone paving needs!
FAQ
Frequently Asked Questions About Installing Stone Patios
Can you lay patio stones on dirt?
No, laying pavers directly on dirt leads to settling, shifting, and weed growth. Proper installation requires excavation, a weed barrier, a compacted gravel base (4-6 inches), and sand bedding (1 inch) before placing pavers. This layered approach ensures the patio is stable and will last.
How do you prepare the ground for patio stones?
Ground preparation involves five critical steps: excavate 7-9 inches below the desired patio height, compact the soil, install landscape fabric as a weed barrier, add and compact 4-6 inches of gravel in layers, then spread 1 inch of leveling sand. Each layer must be properly compacted to build a stable foundation that prevents settling.
How much does a 20x20 stone patio cost?
A 20x20 stone patio (400 square feet) typically costs $4,000-$12,000, depending on stone type and installation complexity. Flagstone and limestone average $10-$16 per square foot, while premium granite or bluestone runs $15-$30 per square foot. While DIY installation saves on labor, it requires renting tools. Visit our detailed cost breakdown for material and labor estimates.
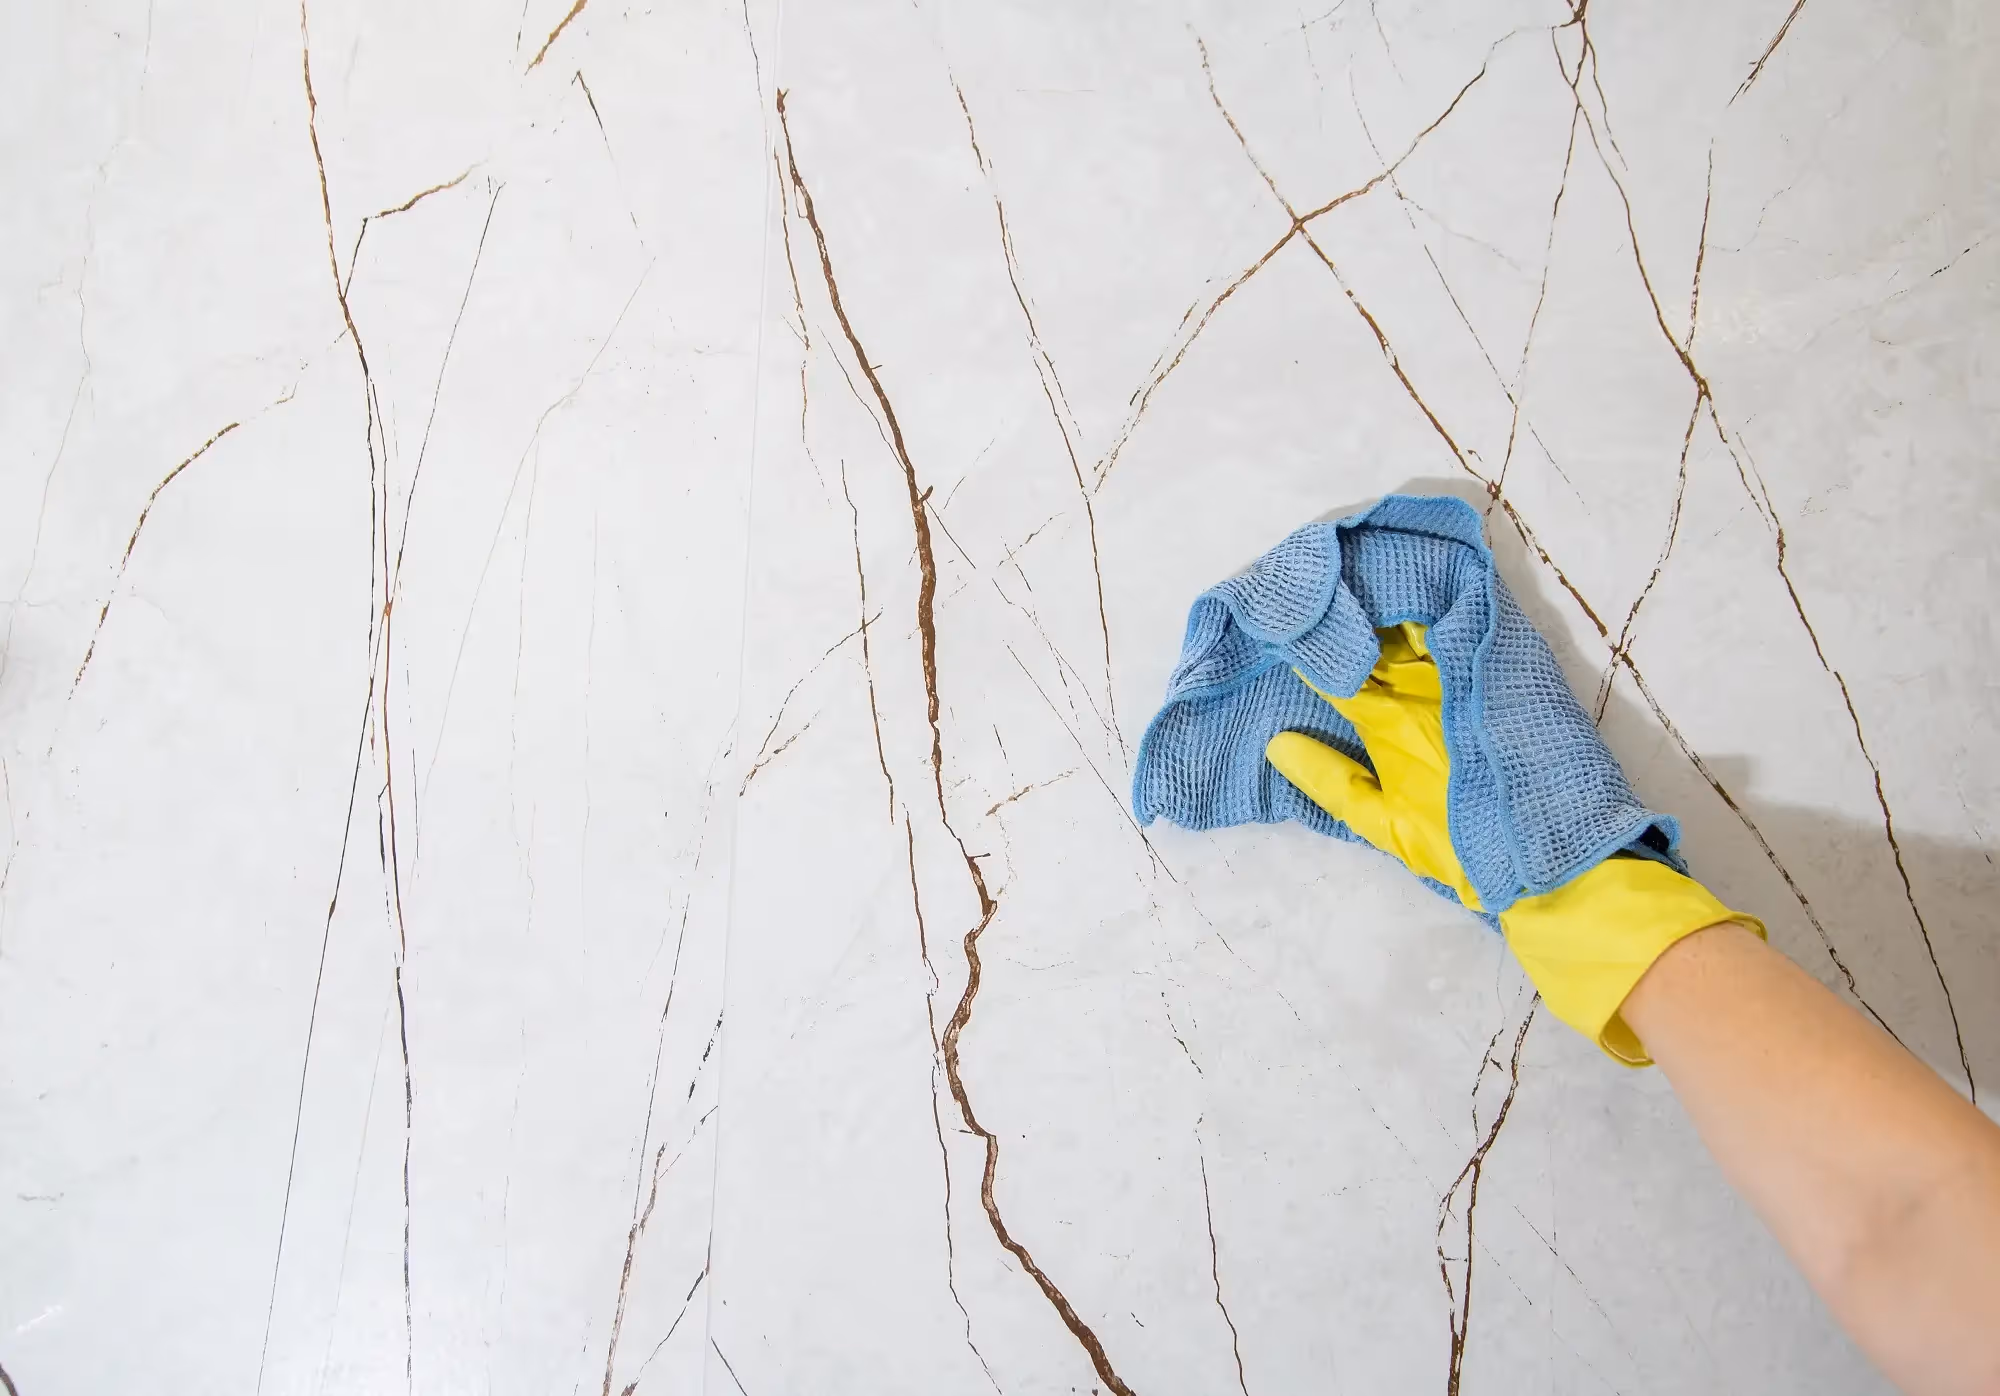
How do you prevent weeds and white deposits on pavers?
Installing geotextile fabric beneath the base and using polymeric sand in joints can prevent weed growth. The polymeric bonding creates a flexible seal that blocks weed seeds. White powdery deposits (efflorescence) occur when salts migrate through pavers. Use specialized efflorescence cleaners to remove them. To prevent weeds from growing, ensure proper drainage to minimize water saturation.
.avif)
Jon, the owner of Stone Center, is a knowledgeable expert in natural stone products, specializing in various types of stone for landscaping and architectural projects. Passionate about promoting the beauty and versatility of natural stone, Jon aims to use these blogs to inspire readers with creative ideas to upgrade their homes.


Check Out Our Products You May Like
Silver Grey
French Riviera
Blue Ice Thermal
Oxford Buff
Fossil
Slate Grey
How much does it cost to get a stone restored?
How much you end up spending to restore stone varies on the type of stone, the technique, and the stone’s current condition. Stone in good condition will cost less to restore, whereas stone that has a lot of wear and tear may require a longer restoration.