- Stone Center
- Blog
Natural Stone Crack Repair: Easy Fixes for Chips and Deep Cracks
12/2/2026
11/11/2025
Natural Stone Crack Repair: Easy Fixes for Chips and Deep Cracks

Finding a crack in your granite countertops, marble fireplace, or limestone patio isn’t ideal. You wonder if the damage is permanent, whether it'll spread, and what repair costs you're facing. The good news is that most natural stone crack repair projects are manageable. With the right materials and techniques, you can fix cracks to near-invisible results.
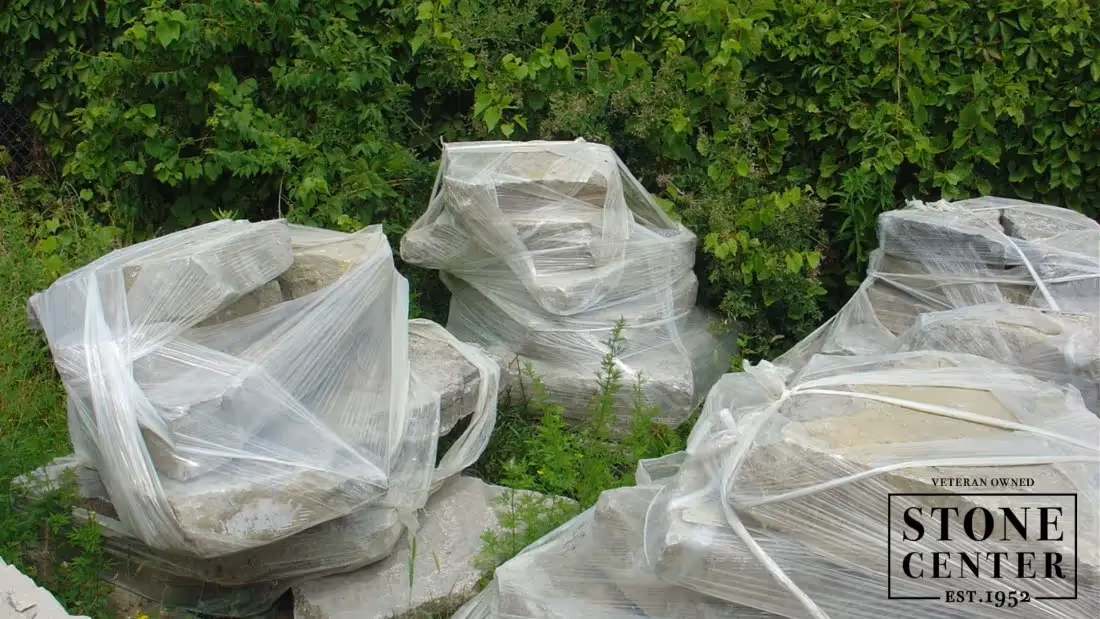
Stone Center has put together this guide that covers everything about repairing cracked stone, from countertops to steps, fireplaces to patios. You'll learn which cracks you can tackle yourself, and when getting natural stone repair services makes sense.
Why Natural Stone Cracks Happen
Understanding what caused your stone to crack helps you fix it right and prevent future damage. Most cracks come from stress that the stone wasn't designed to handle.
- Freeze-thaw damage: Water enters stone pores, freezes, expands, and causes internal cracks. Limestone and sandstone are most at risk in cold climates.
- Foundation settling: Shifting buildings transfer stress to stone. Cracks appear in countertops, stone steps, and wall cladding.
- Poor installation: Missing joints, weak mortar, or no base prep lead to cracks. Kitchen countertops without the right support often crack from everyday wear.
- Impact damage: Dropped pots or dragged furniture chip edges and create hairline cracks that worsen with moisture.
- Thermal stress: Heat causes stone to expand, and cold makes it contract. This is common in fireplaces and sunny patios exposed to temperature swings.
Usually, several environmental factors contribute. A stone step might be well-supported but lacks the proper drainage, leading to hidden water damage that expands and cracks the stone over time.
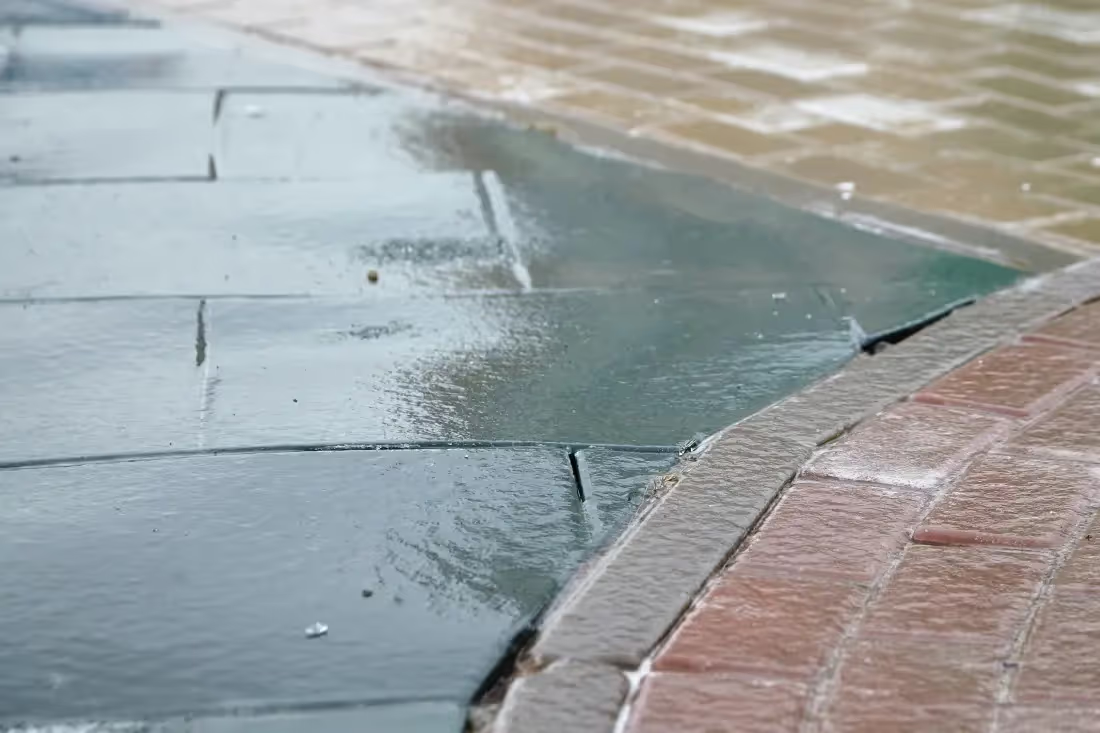
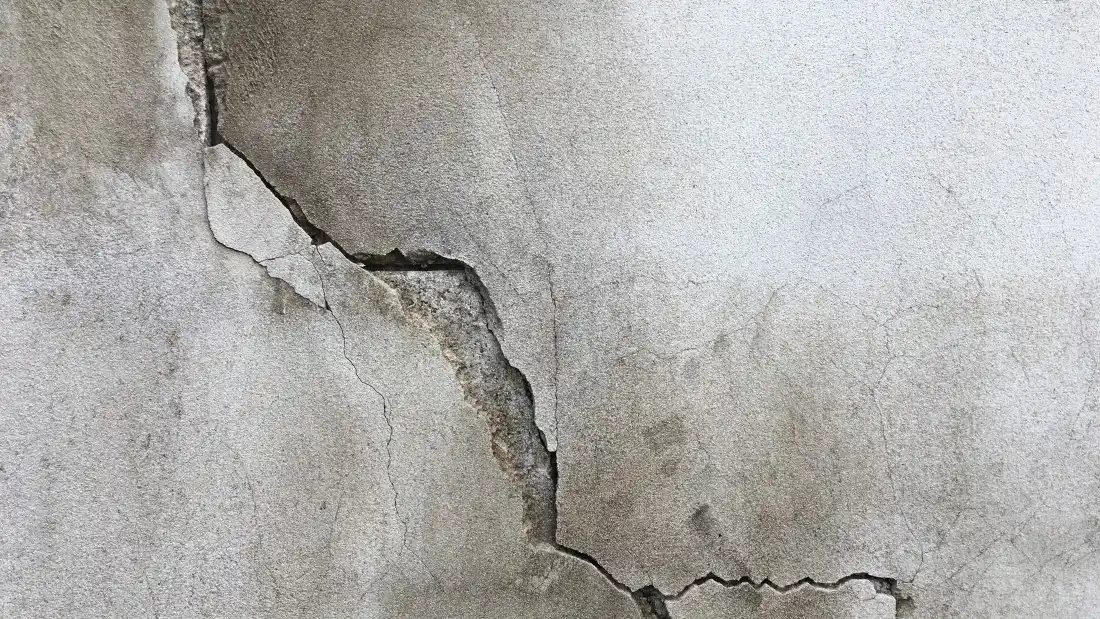
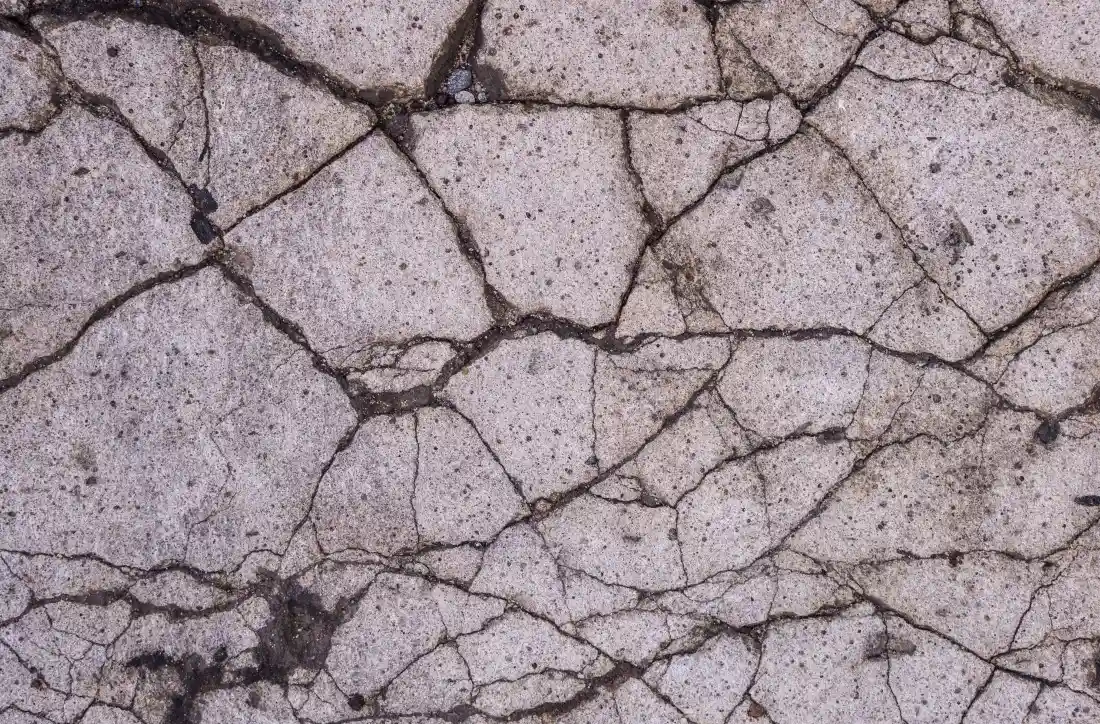
Types of Cracks and Damage: Assessing What You're Dealing With
Different types of cracks need different repair methods. Before you start work, be sure to examine your damage carefully.
Use a ruler to measure the width of cracks, take photos from multiple angles, and apply pressure to check for loose stones. Small cracks under 1/4" can often be repaired with epoxy, while larger cracks will require a mortar mix or even concrete.
Essential Materials and Tools for Stone Repair
Organize your supplies before starting. Stone crack repair needs specific materials that bond with natural stone, like limestone or sandstone. These materials can handle stress:
- Two-part epoxy made for natural stone.
- Colorants or matching stone dust to blend with the existing surface.
- Acetone to clean the cracks and remove excess epoxy.
- Razor blade, putty knife, and damp sponge for precise application.
- Concrete patching compound or masonry crack filler for wide gaps.
- Polymer-modified mortar to fix cracks and re-bond loose stones.
- Backer rod to support deep repairs.
- Wire brush, grinder with diamond blade, and vacuum for surface prep.
- Safety gear — gloves, goggles, and a dust mask.
Cheap products don’t last; rather, they peel, discolor, or fail to bond. This is why it’s always worth it to invest in quality materials upfront for a durable and visually appealing result.
Step-by-Step: Repairing Cracks in Natural Stone
Follow these procedures carefully for repairs that blend seamlessly with the original stone and provide lasting results. The repair process varies slightly based on crack size and stone type, but we’ve outlined the core techniques that apply to most situations.
Step 1: Clean the Damaged Area Thoroughly
Start by scrubbing the cracks with a wire brush to loosen dirt, debris, and loose particles. For deeper grime, use a stone-safe cleaner and let the area dry completely, ideally for 24 hours. After brushing, vacuum the area to clear fine dust, then wipe it down with acetone using a lint-free cloth to ensure the stone’s surface is clean.
Step 2: Widen Hairline Cracks (Optional)

For better bonding, use an angle grinder with a diamond blade to carefully widen small hairline cracks into a shallow V-shape (about ¼ inch at the surface). This helps the repair material lock in more securely. After grinding, vacuum it again and clean the area with acetone.
Pro tip: If it’s your first time using a grinder, practice on a scrap piece of stone first. Diamond blades cut the stone fast, so it's easy to remove more than you want.
Step 3: Apply Epoxy for Small Cracks

Mix your two-part epoxy according to the manufacturer’s instructions. Add stone dust or colorant to match the surrounding stone surface. Using a putty knife, press the epoxy deep into the crack and slightly overfill it. After about 10–15 minutes, gently scrape off any excess epoxy with a razor blade, then wipe the area clean using a damp sponge.
Step 4: Fill Larger Cracks with Mortar

For cracks between ¼ and 1 inch wide, start by inserting a backer rod. Mix polymer-modified mortar into a thick, workable paste. Lightly dampen the inside of the crack, then pack in the mortar from bottom to top. For deeper cracks, apply it in ½-inch layers. Shape the surface to match the original texture, and keep the area moist for 24–48 hours to ensure it cures properly.
Pro tip: If the repair is in a visible spot, leave the mortar just 1/16 inch below the surface. Once fully cured, add a thin skim coat of color-matched epoxy for a nearly invisible finish.
Step 5: Reattach or Replace Loose Stones
Start by removing any loose stones, carefully chiseling around the edges, and clearing out the old mortar. Clean the stone thoroughly to ensure a solid bond. Check the base underneath; if it has settled, replace the material with compacted gravel to stabilize it. Then, lay down a fresh 1–2 inch mortar bed, and reset the stone, tapping it gently into place with a rubber mallet. Ensure it’s level, and allow for a slight slope, about ⅛ inch per foot, to ensure it drains properly.
Step 6: Let Repairs Cure Fully and Seal for Lasting Protection

Let your repair cure fully before using the area. Epoxy usually takes 24–48 hours to harden, while mortar may need up to a week to support weight. Always stick to the manufacturer’s instructions for curing times to ensure the repair is solid and long-lasting.
Once cured, apply a natural stone sealer to protect against moisture, stains, and weathering. Seal the entire stone surface for a consistent finish, and choose a breathable formula made for natural stone. Reapply the sealer every 2–3 years to maintain the stone’s durability and appearance.
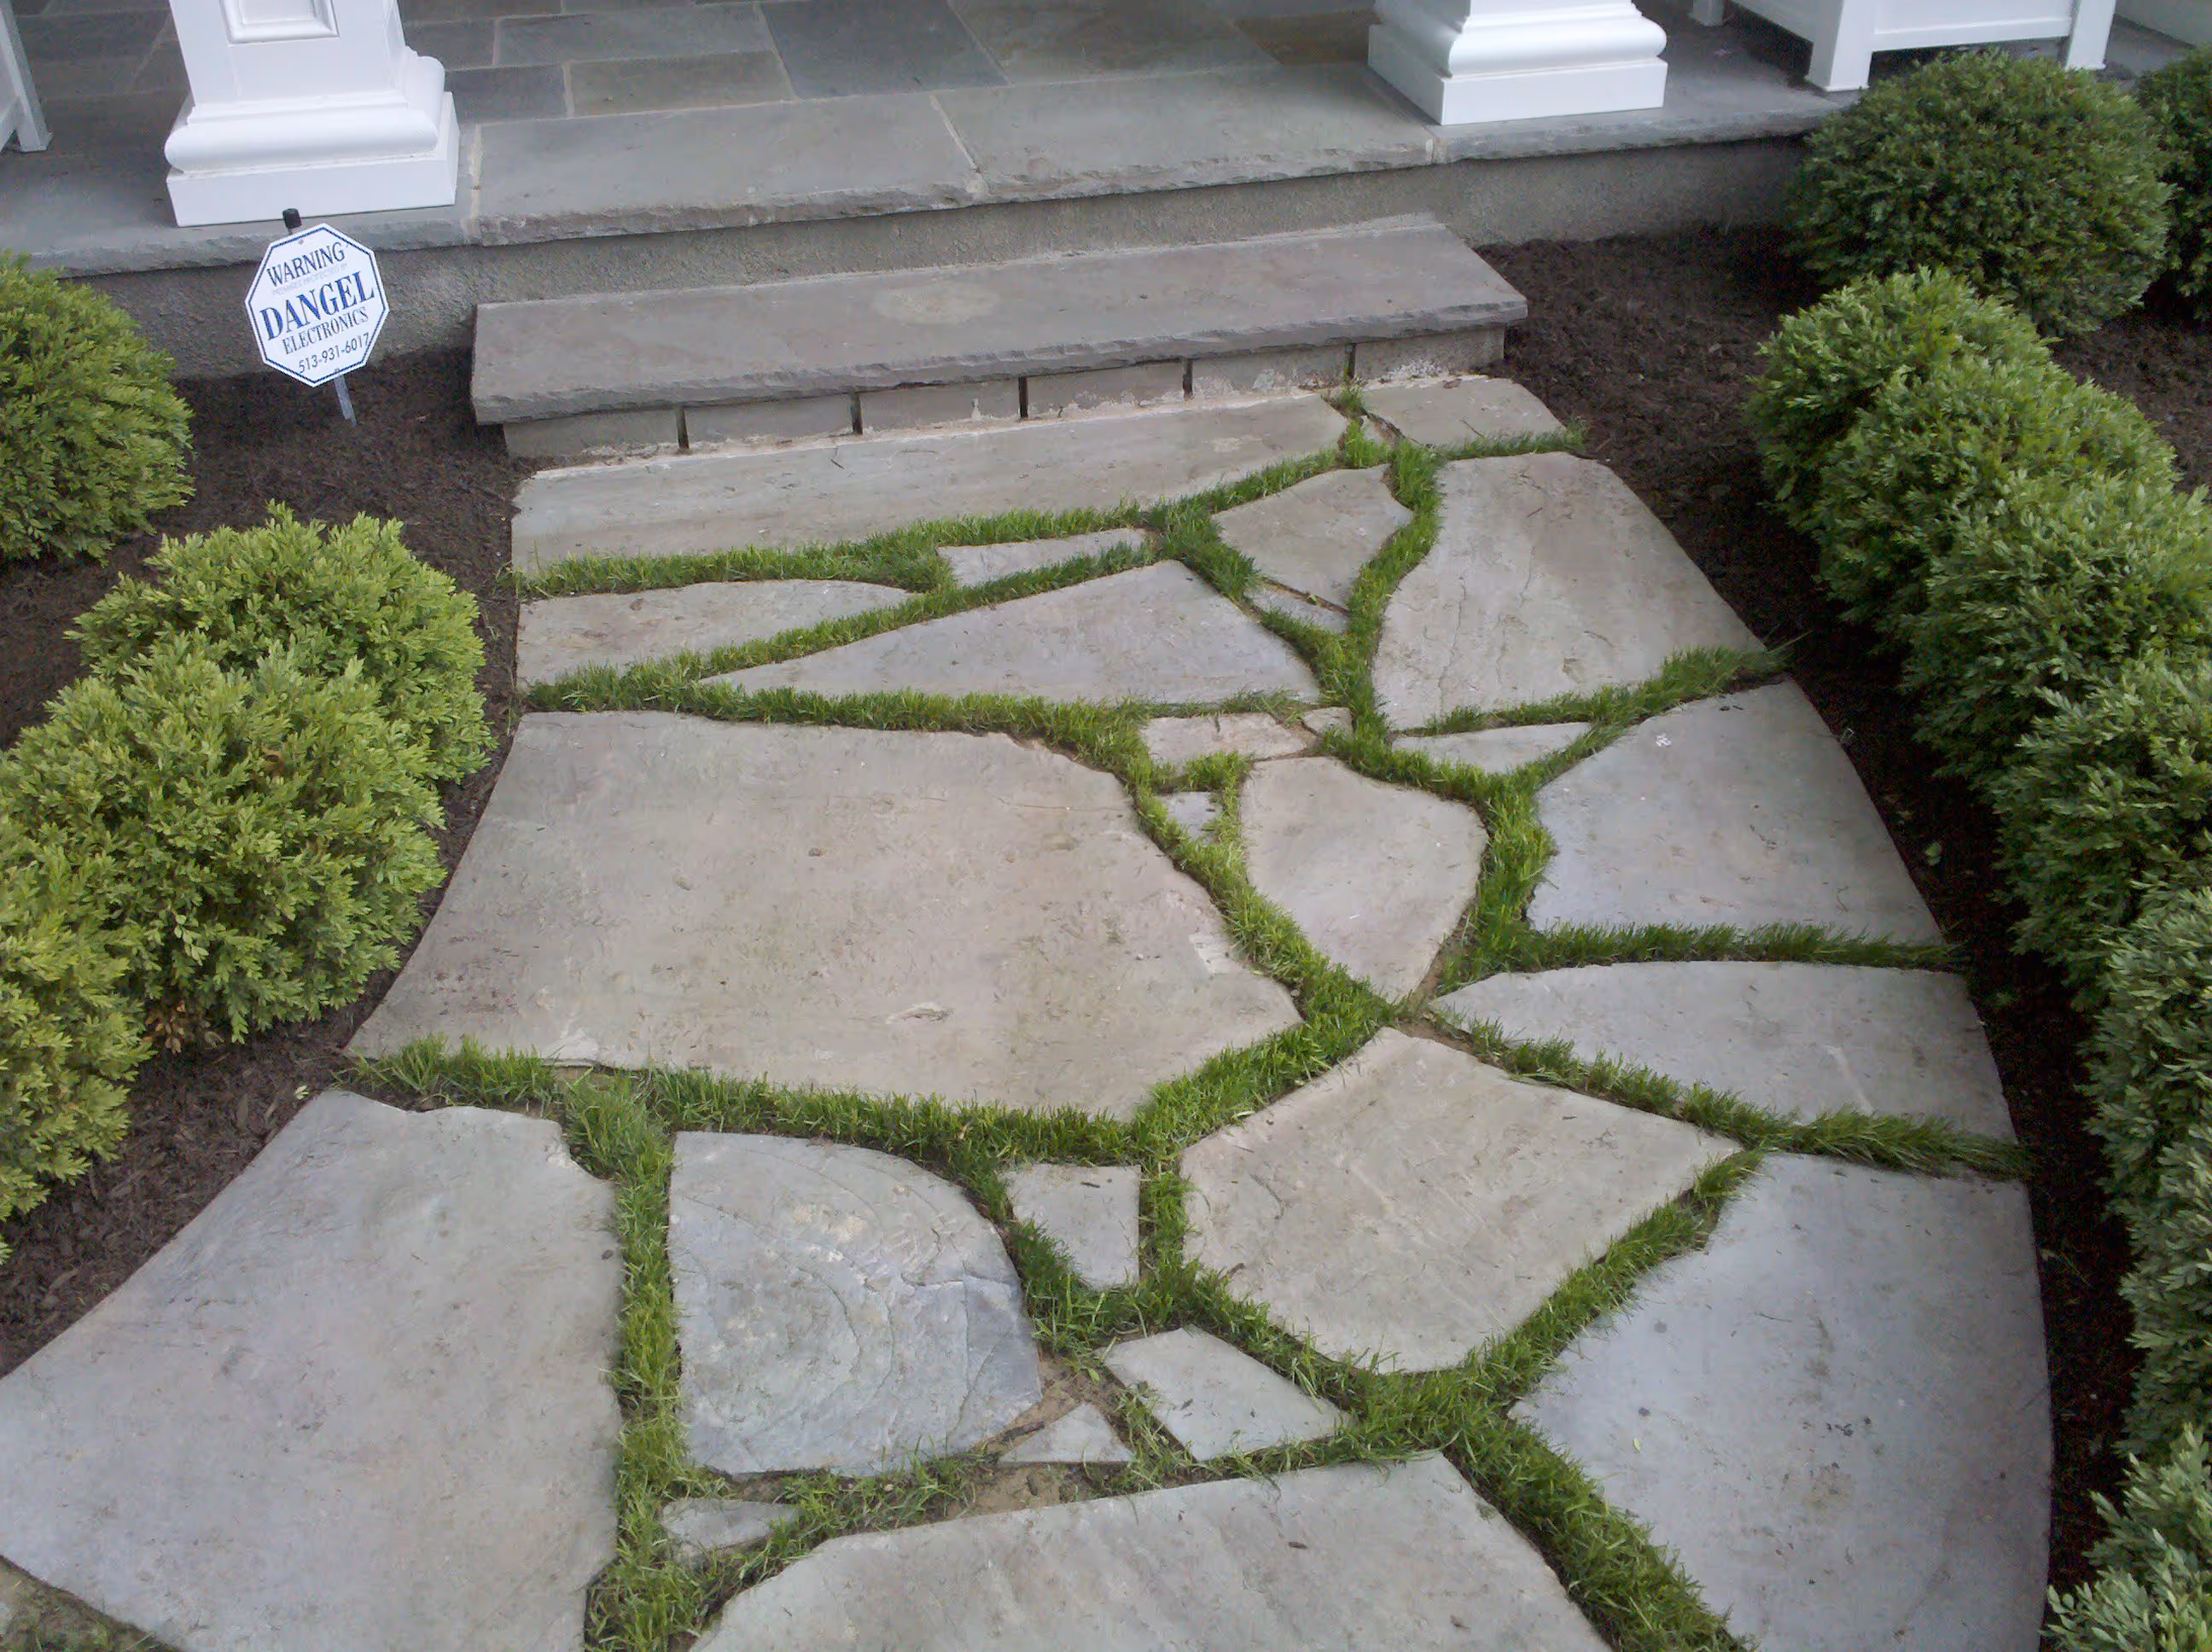
How to Repair Cracked Stone Steps: Specialized Tips
Natural stone steps face constant wear from foot traffic, weather exposure, and safety demands. Use this clear, step-by-step method to achieve successful stone step repairs.
- Inspect for damage: Check each step for edge chips, cracks, or movement under pressure. Look for signs of settling, moss, erosion, or salt deposits. You can test stability by stepping on different areas.
- Thorough cleaning: Use a wire brush to remove dirt, debris, and old mortar. If needed, pressure wash on low and allow to dry completely for 24–48 hours. Vacuum and wipe cracks with acetone.
- Reset loose stones: If a step wobbles or rocks, remove it altogether. Clean off old mortar, inspect the base, replace settled material with compacted gravel, then reset and level the stone.
- Fix chipped edges: For chipped noses or corners, slightly undercut the area to help the epoxy bond. Clean, then apply industrial-grade epoxy in thin layers to rebuild the profile.
- Repair cracks in treads and risers: Inject epoxy into hairline cracks. For wider gaps, insert a backer rod and fill with mortar. On visible steps, skim with color-matched epoxy after curing.
- Allow full curing: Let the epoxy cure for 24–48 hours, and the mortar for at least a week. Keep the area moist during the first 48 hours. Follow all manufacturer’s instructions.
- Seal for protection: After curing, apply a penetrating natural stone sealer to prevent moisture damage and freeze-thaw cycles. Reseal every 2–3 years for long-term durability.
Stone step repairs need precision, as these surfaces handle constant stress. In other words, take time to do it right the first time. However, for extensive damage, call professionals.
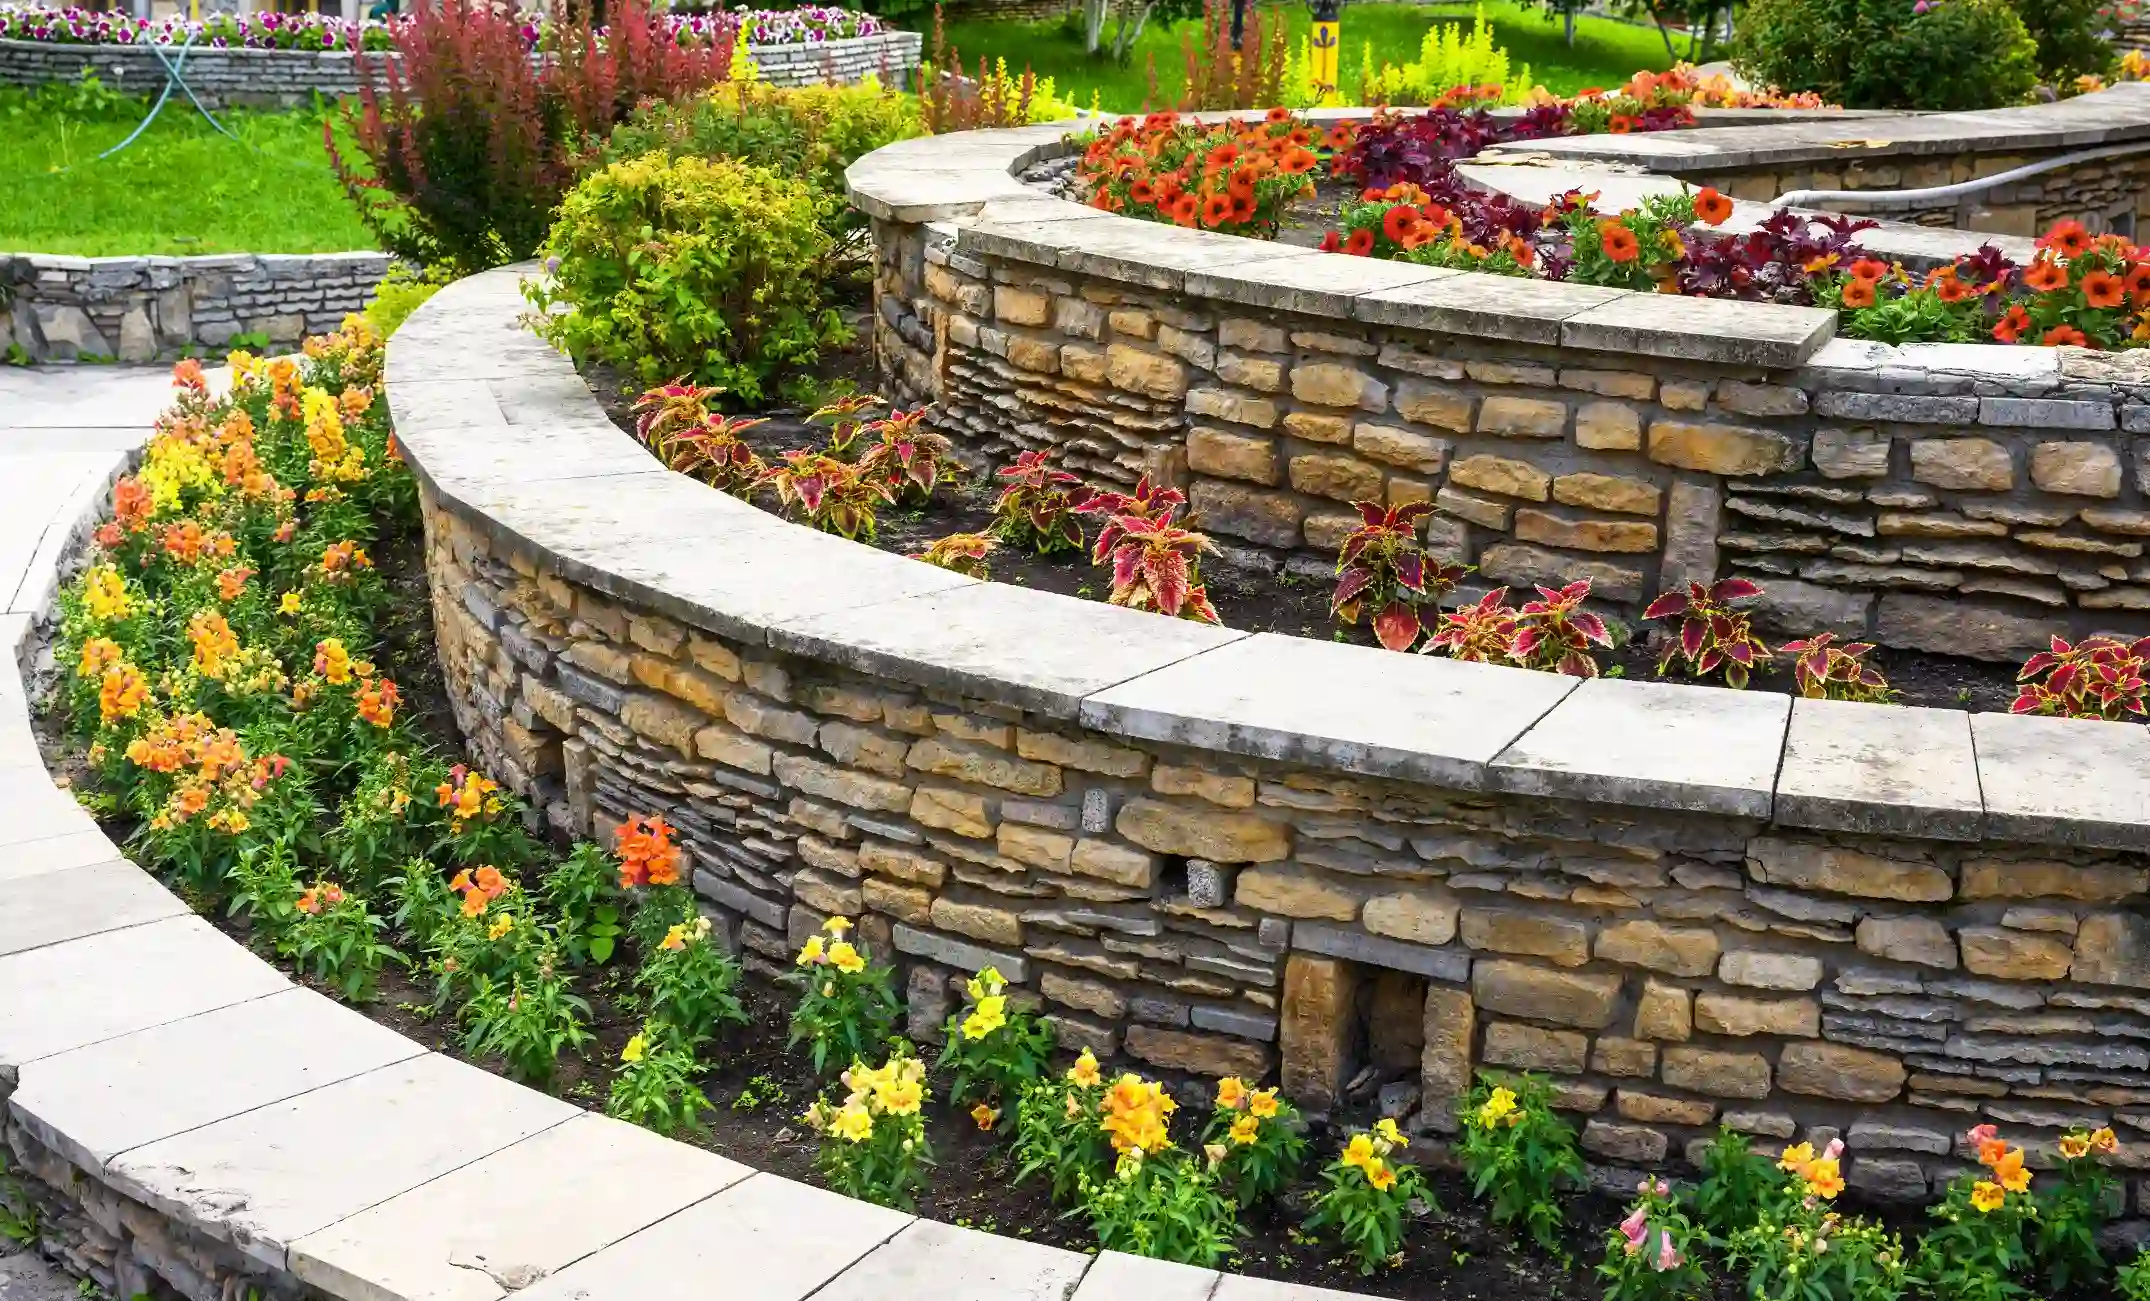
Preventing Future Stone Damage
Regular maintenance extends the life of the stone and reduces the likelihood of cracking. All it takes is a little bit of effort to prevent expensive repairs.
- Clean regularly: Stick to pH-neutral stone cleaners and soft brushes, especially when cleaning limestone, which is sensitive to harsh products. Clear away debris that traps moisture, and inspect for new cracks or damage as you go.
- Apply sealer: Apply a penetrating sealer every 2–3 years to limit water absorption. Pick breathable products, and always test first on a hidden spot.
- Ensure drainage: Resolve drainage issues early to prevent erosion. Ensure the ground slopes away from the stone; even a slight grade can divert large water flow.
- Protect mechanically: Place coasters under planters, felt pads beneath furniture, and use cutting boards on countertops. In winter, use sand on steps — not salt.
- Address problems quickly: Sealing small cracks early keeps them from growing. Left alone, cracks let in water, leading to expensive damage and bigger repairs.
We recommend taking periodic photos to document the condition. Small regular attention costs far less than major repairs after neglect.
Restore Quality and Value with Stone Center
The next time you encounter a cracked stone slab, don’t panic. Most cracked stone can be repaired successfully with the right techniques. Small hairline cracks become invisible with color-matched epoxy, while larger structural repairs deliver decades of durable service when done correctly. You can prevent cracks from recurring by understanding the cause of damage and fixing root problems.
Stone Center has served Ohio homeowners and contractors for 70 years with expert guidance on natural stone projects. Our Columbus and Cincinnati teams provide quality repair materials and professional restoration services. Contact us today to discuss your stone repair needs and restore your stone's lasting beauty.
FAQ
.avif)
Jon, the owner of Stone Center, is a knowledgeable expert in natural stone products, specializing in various types of stone for landscaping and architectural projects. Passionate about promoting the beauty and versatility of natural stone, Jon aims to use these blogs to inspire readers with creative ideas to upgrade their homes.

How much does it cost to get a stone restored?
How much you end up spending to restore stone varies on the type of stone, the technique, and the stone’s current condition. Stone in good condition will cost less to restore, whereas stone that has a lot of wear and tear may require a longer restoration.