- Stone Center
- Blog
How to Make and Lay a Versailles Tile Pattern
12/11/2025
7/10/2024
How to Make and Lay a Versailles Tile Pattern
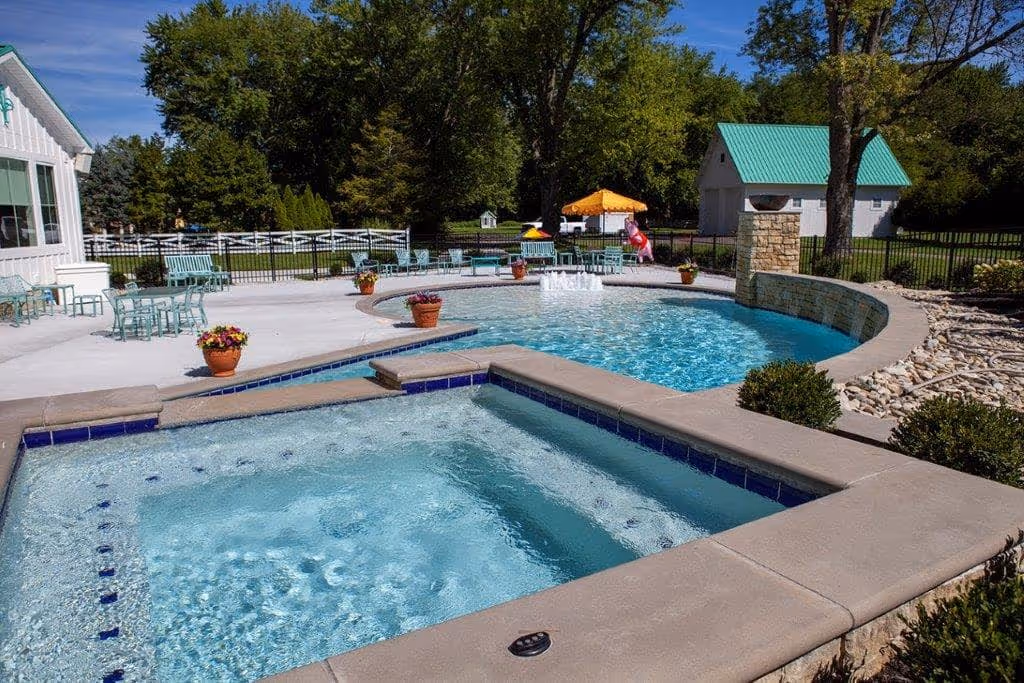
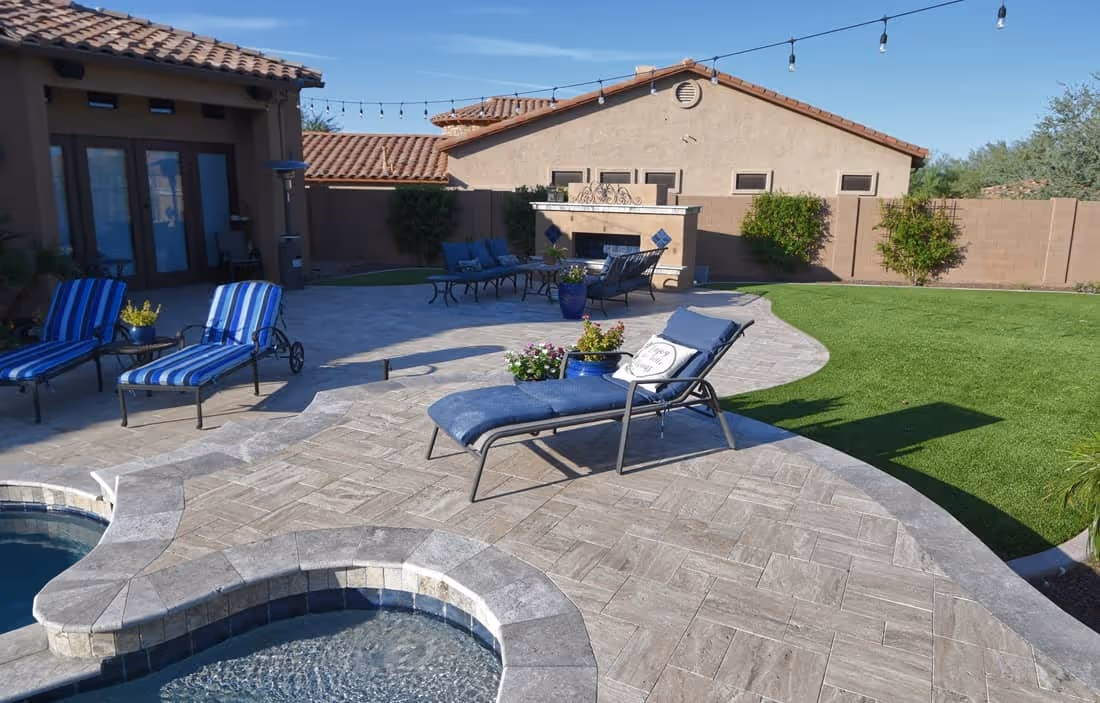
The Versailles tile pattern, often called the "French pattern," is like a timeless piece of art for your floors or walls. This natural stone’s intricate design, showcasing a variety of tile sizes, transforms any space into something truly special. Whether you're dreaming of a luxurious patio, a sophisticated kitchen backsplash, or a show-stopping bathroom floor, the Versailles pattern adds a touch of old-world charm that's hard to resist.
What Is a Versailles Pattern?
Think of it like a puzzle with a dash of European flair. The Versailles pattern features four different tile sizes, arranged in a way that looks random but still flows together beautifully. It's a pattern that hails from the grand palaces of France, so you know it's got that je ne sais quoi factor. The blend of large and small tiles creates a visual texture that's both intriguing and timeless.
Why Choose a Versailles Pattern?
Choosing a Versailles pattern can elevate the aesthetic appeal of your space.
- Timeless Elegance: This classic pattern is like a fine wine – it only gets better with age. It effortlessly complements a wide range of styles, from rustic farmhouse to sleek modern.
- Room Enhancer: The pattern's complexity creates an illusion of more space, making even small rooms feel grander and more inviting.
- Visual Feast: The eye is naturally drawn to the intricate pattern, adding depth and interest to your walls or floors.
Materials and Tools Needed
Now comes the fun part: picking the stone that will bring your Versailles vision to life. There are so many beautiful options, each with its own unique personality.
Types of Stone to Use in Versailles Tile Pattern
When selecting stone for a Versailles tile pattern, it's essential to choose materials that complement the pattern's elegance and offer durability. Here are some popular types of stone used in this pattern:
Travertine
Travertine is a fan favorite for the Versailles pattern, thanks to its natural beauty and earthy color palette. It's got a rustic charm that pairs perfectly with the classic look of the pattern. Plus, it's tough and easy to care for, making it ideal for both indoor and outdoor use.
Marble
If you're looking for pure luxury, marble is the way to go. Its unique veining and color variations create a stunning visual depth in the Versailles pattern. Imagine a spa-like bathroom or a kitchen that exudes elegance. Just remember, marble does need some extra love and care to keep it looking its best.
Limestone
Limestone is a softer stone that offers a more subtle, understated look. Its warm tones of beige, gray, and cream create a serene and inviting atmosphere. While durable, limestone is a bit more porous than other options, so sealing is essential to protect it from moisture and stains.
Slate
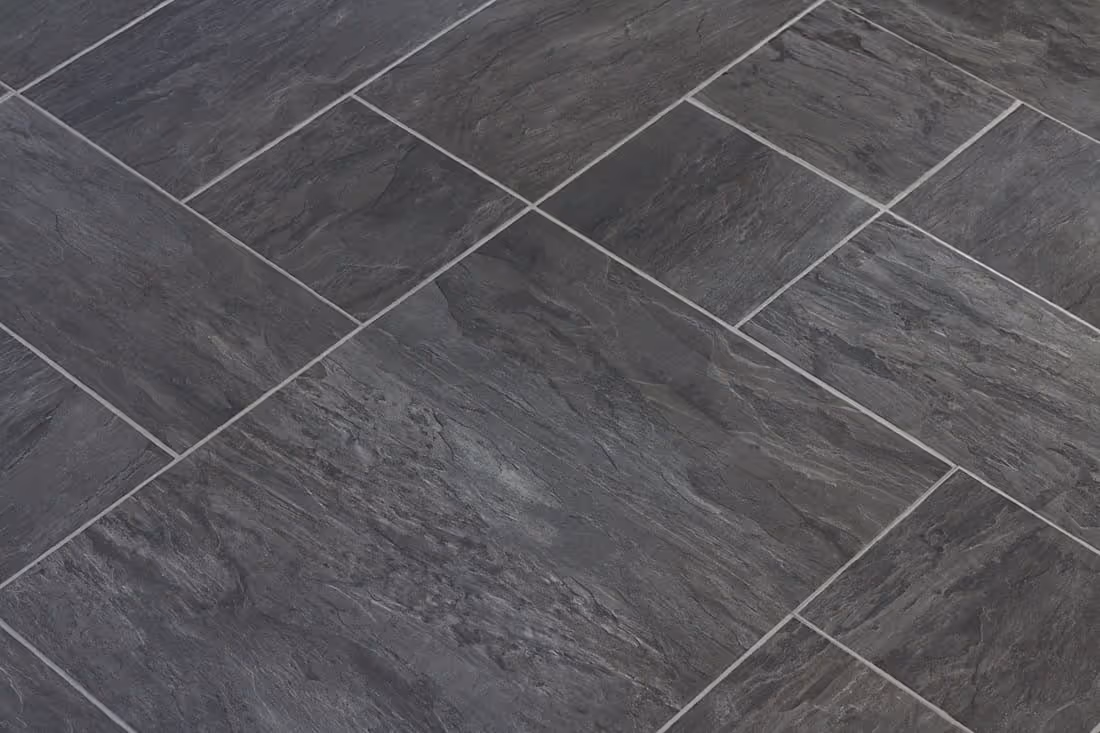
Slate is a durable and versatile option for the Versailles pattern, offering rich colors and textures. Its natural cleft surface adds a unique, rustic charm to floors and walls. And because it's naturally resistant to water and stains, you can enjoy its timeless beauty without the worry of constant upkeep. Its varied color palette includes shades of gray, green, purple, and black.
Granite
Granite is one of the hardest and most durable natural stones, making it an excellent choice for high-traffic areas. It comes in a wide range of colors and patterns, allowing for creative design possibilities. Granite's durability and resistance to scratches and stains make it a practical and long-lasting option for the Versailles tile pattern.
Sandstone
Sandstone offers a warm, inviting look with its rich, earthy tones and natural texture. It’s a durable option for the Versailles pattern, providing a unique blend of colors and patterns. Sandstone is suitable for both indoor and outdoor applications. While it may require sealing to prevent moisture absorption and staining, the payoff is a beautiful and enduring addition to your home.
Essential Tools for the Job
You'll need a variety of tools to complete this task efficiently. Essential tools include a tile cutter, a notched trowel, a rubber mallet, spacers, a level, a measuring tape, and a grout float. Having all these tools at hand will help you achieve a precise and clean installation.
Preparing Your Workspace
A little prep work before you lay your first tile will save you headaches later on. Follow these steps to set yourself up for success:
- Measure (and Measure Again): Double-check the dimensions of your tile area to ensure you have enough materials and avoid running short mid-project.
- Clean and Smooth: Start with a clean, dry, and level surface. Remove any debris, dust, or uneven spots to create a perfect base for your tiles. A level surface ensures proper adhesion and prevents cracking. If needed, use a leveling compound to create a smooth and even foundation.
Understanding the Versailles Pattern
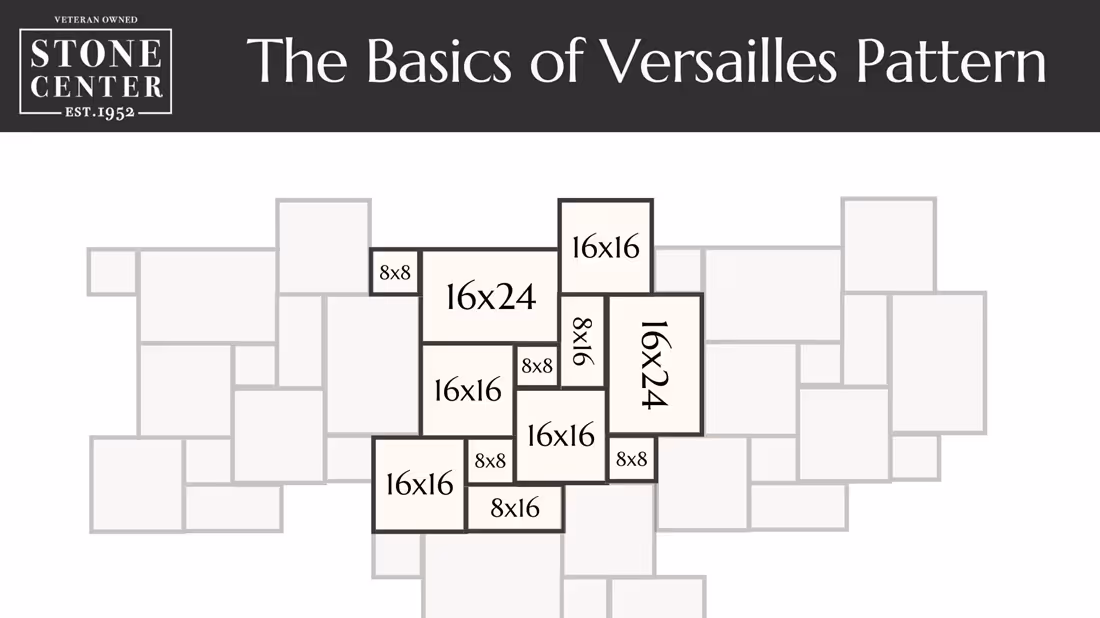
To successfully lay a Versailles tile pattern, you must understand its layout and the different tile sizes involved.
The Versailles pattern features a repeating design that combines different tile sizes into a cohesive layout. The pattern might look random, but it follows a specific sequence that ensures all tiles fit together perfectly without awkward gaps.
The pattern typically includes four tile sizes: 8x8, 8x16, 16x16, and 16x24 inches. These tiles are carefully arranged to create a harmonious and visually appealing layout.
Step-by-Step Guide to Laying a Versailles Tile Pattern
Now that you're familiar with the basics, let's go through the step-by-step process of laying a Versailles tile pattern. Remember, if you aren’t an experienced professional, you are likely to cause a lot more damage than good. It’s best to leave this to the pros.
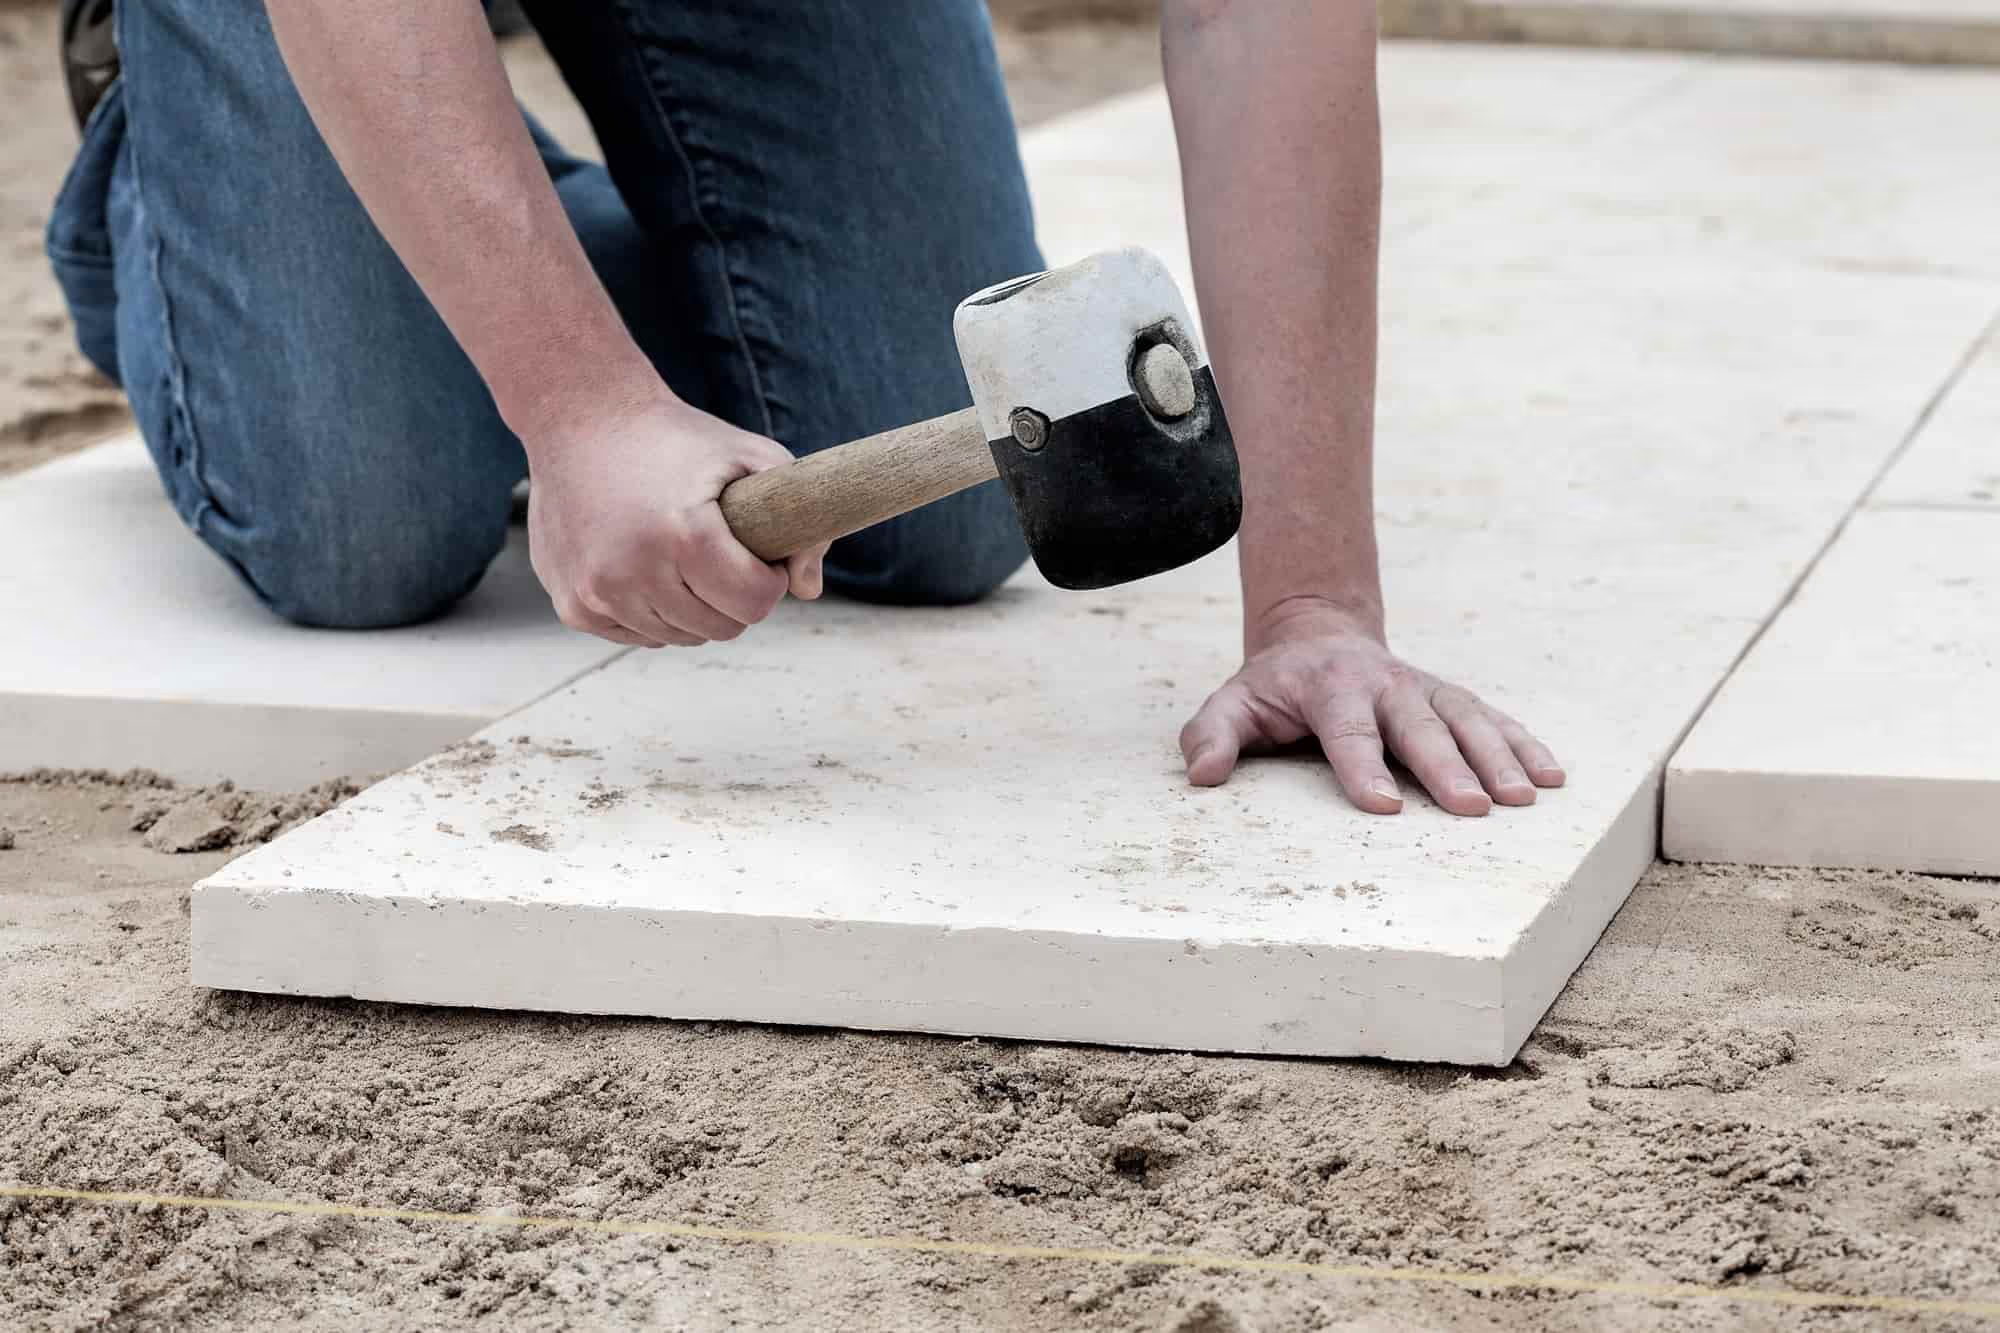
Laying the First Tile
Start in a corner or along a straight edge. This initial tile acts as your anchor, guiding the rest of the pattern. Use spacers between tiles to maintain even gaps and ensure a polished look.
Expanding the Pattern
Continue laying tiles according to the pattern. Reference a diagram for the correct sequence to ensure a seamless fit. Check regularly for levelness and make any adjustments with your rubber mallet.
Cutting Tiles to Fit Edges
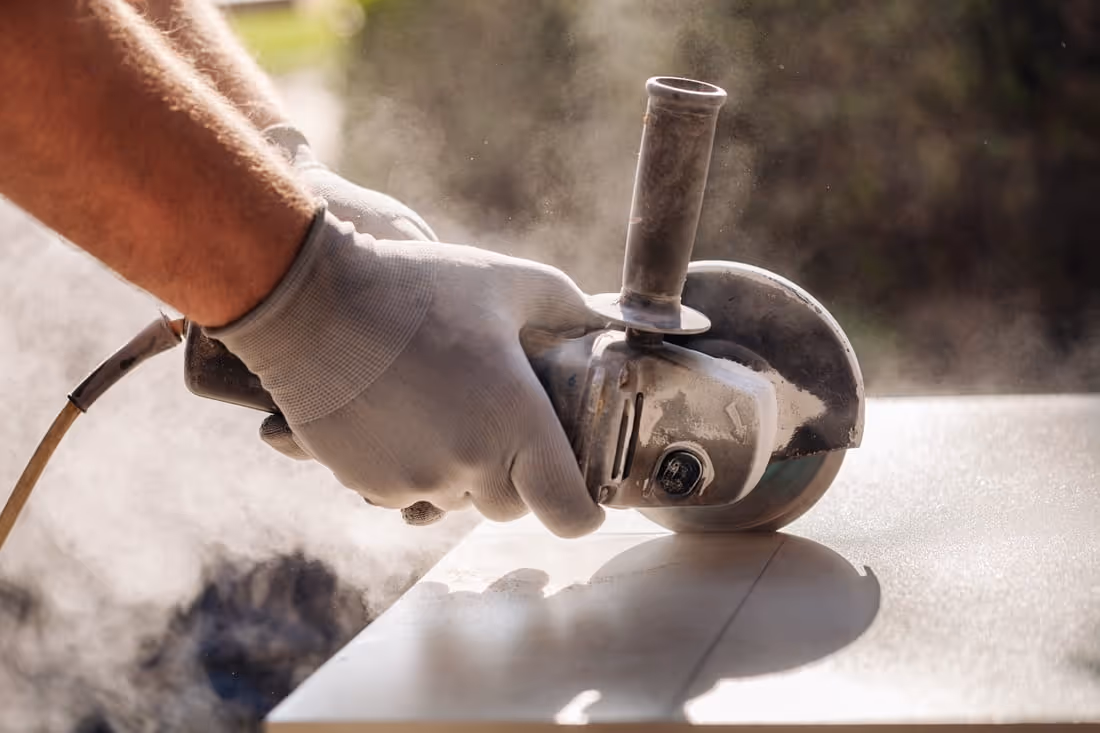
As you approach the edges of the installation area, you’ll need to cut tiles to fit. Measure the space carefully and use a tile cutter to achieve clean cuts. Smooth any rough edges with a tile file to ensure a perfect fit.
Ensuring Even Joints
After all the tiles are in place, it's time to grout. Grout fills the spaces between tiles, adding durability and a finished look to your project. Apply the grout with a grout float, ensuring even distribution and a clean finish.
Grouting and Finishing
After laying all the tiles, grouting and finishing complete the installation process. Proper grouting enhances the durability and appearance of your tiled surface.
After the grout has set, clean the tiles with a soft cloth to remove any remaining grout haze. This step is crucial for achieving a clean, polished finish. Be thorough but gentle to avoid scratching the tiles.
Conclusion
Taking on a Versailles tile pattern might seem a bit daunting at first, but trust us, the final result is incredibly rewarding. Imagine stepping back and admiring the elegant, intricate design you've brought to life. It's a project that not only elevates the aesthetics of your space but also adds a touch of timeless charm that will be admired for years to come.
At Stone Center, we specialize in providing high-quality natural stone products perfect for a Versailles pattern. Whether you're looking for travertine, limestone, or sandstone, we have the ideal selection to meet your needs. We're not just here to sell you stone; we're here to help you create a space you'll love.
Reach out to us for more information on how we can help you create the Versailles tile pattern of your dreams.
FAQ
Can I use any type of tile for a Versailles pattern?
Absolutely! You can use a variety of tile materials, including natural stone, porcelain, and ceramic. Just make sure the tiles come in the required sizes to create the pattern.
How do I make sure my tiles stay perfectly level?
The key is to use a level frequently throughout the installation process. Additionally, make sure to apply an even layer of adhesive under each tile. If you notice any unevenness, a gentle tap with a rubber mallet can do the trick. Again, this is a job for professionals.
How long does it take to install a Versailles tile pattern?
The time it takes to install a Versailles pattern depends on a few factors, like the size of the area and your experience level. For most DIYers, it might take a few days to a week, considering preparation, installation, and grouting. If you make mistakes, it will drastically increase the installation time and cost.
Do I need to seal the tiles after installation?
Yes, especially if you’re using natural stone tiles. Sealing helps protect the tiles from stains and moisture, keeping them looking beautiful and extending their lifespan.
.avif)
Jon, the owner of Stone Center, is a knowledgeable expert in natural stone products, specializing in various types of stone for landscaping and architectural projects. Passionate about promoting the beauty and versatility of natural stone, Jon aims to use these blogs to inspire readers with creative ideas to upgrade their homes.
.jpg)

Check Out Our Products You May Like
.avif)
Silver Travertine
$11-$13 (square feet)
.avif)
Walnut Travertine
$9-$12 (square feet)
%20(1).avif)
Indiana Limestone Pavers
.avif)
Buff Sandstone Rockface
$200 - $270 (each)
How much does it cost to get a stone restored?
How much you end up spending to restore stone varies on the type of stone, the technique, and the stone’s current condition. Stone in good condition will cost less to restore, whereas stone that has a lot of wear and tear may require a longer restoration.