- Stone Center
- Blog
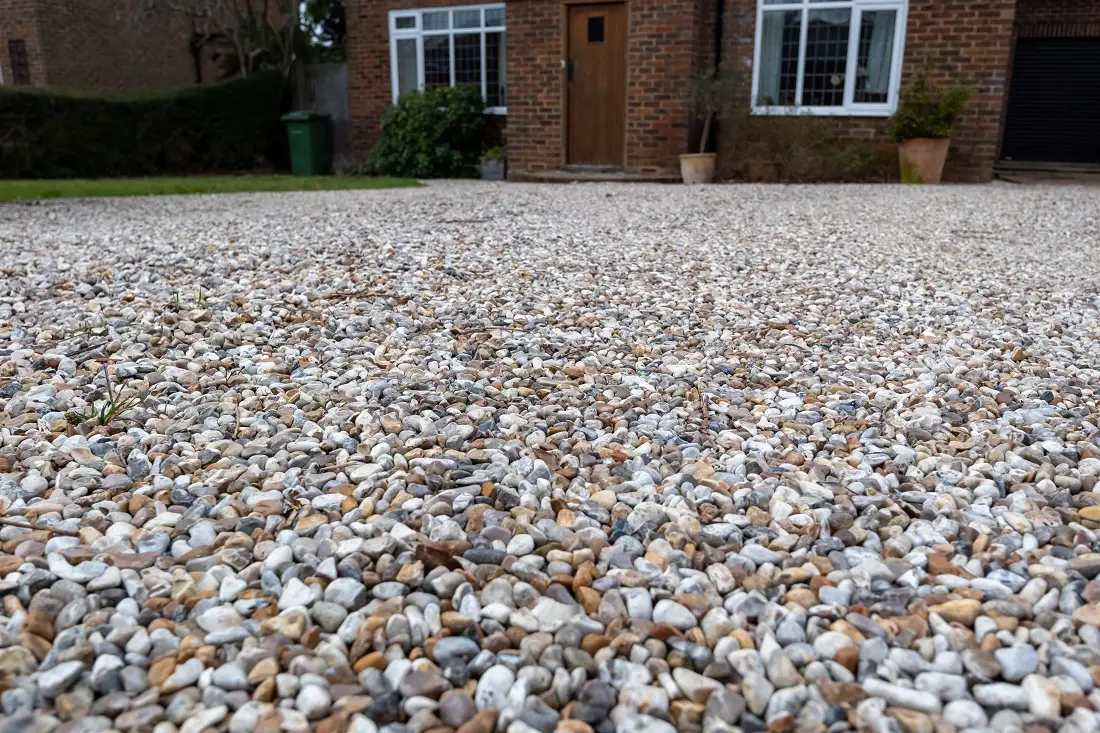
DIY Gravel Driveway Guide: From Planning to Final Compaction
17/2/2026
12/30/2025
DIY Gravel Driveway Guide: From Planning to Final Compaction
A gravel driveway suffers from one common problem that homeowners rarely anticipate until it's too late. Without proper base preparation and compaction, even the most beautiful stone surface starts to develop ruts, sinkholes, and drainage issues within just a few months.
Let’s avoid that common pitfall! In this comprehensive guide, our team at Stone Center walks you through how to construct a gravel driveway that performs well for decades. From initial planning through final surface application, you'll learn the exact process professionals use to create stable, attractive driveways using quality landscape gravel.
Essential Materials and Tools for Building a Gravel Driveway
The right preparation starts with gathering the right supplies. Having everything on hand before you begin saves time and prevents expensive delays during construction.
Driveway Materials
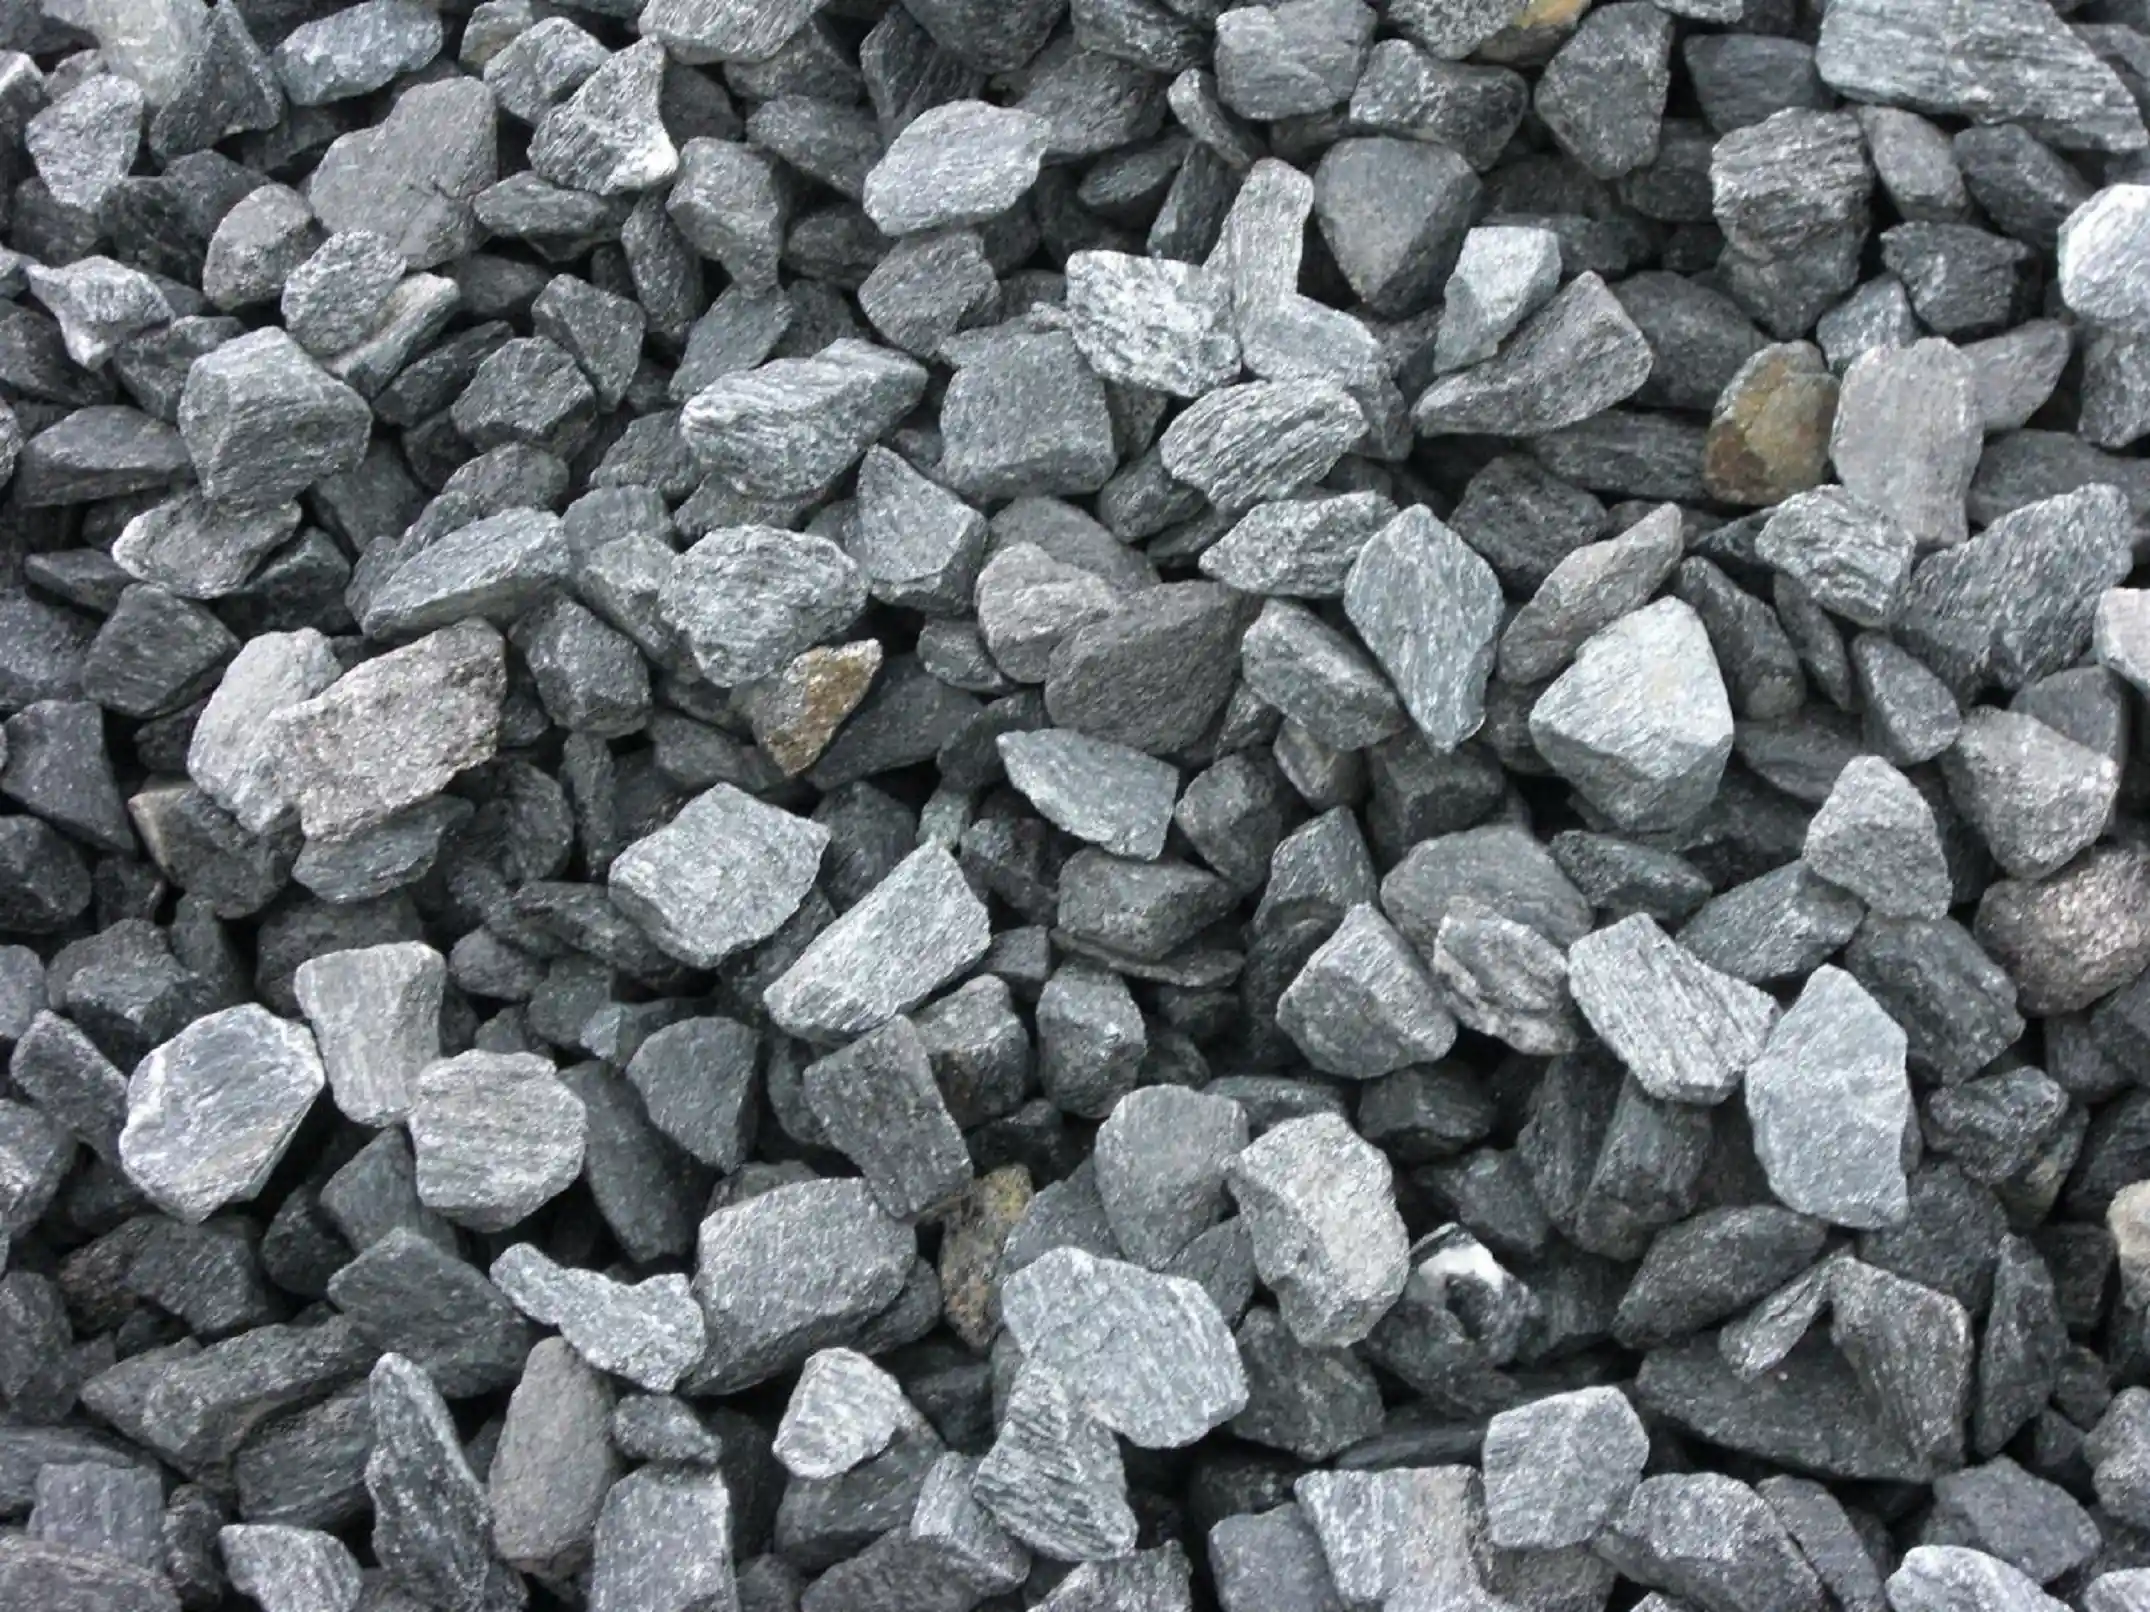
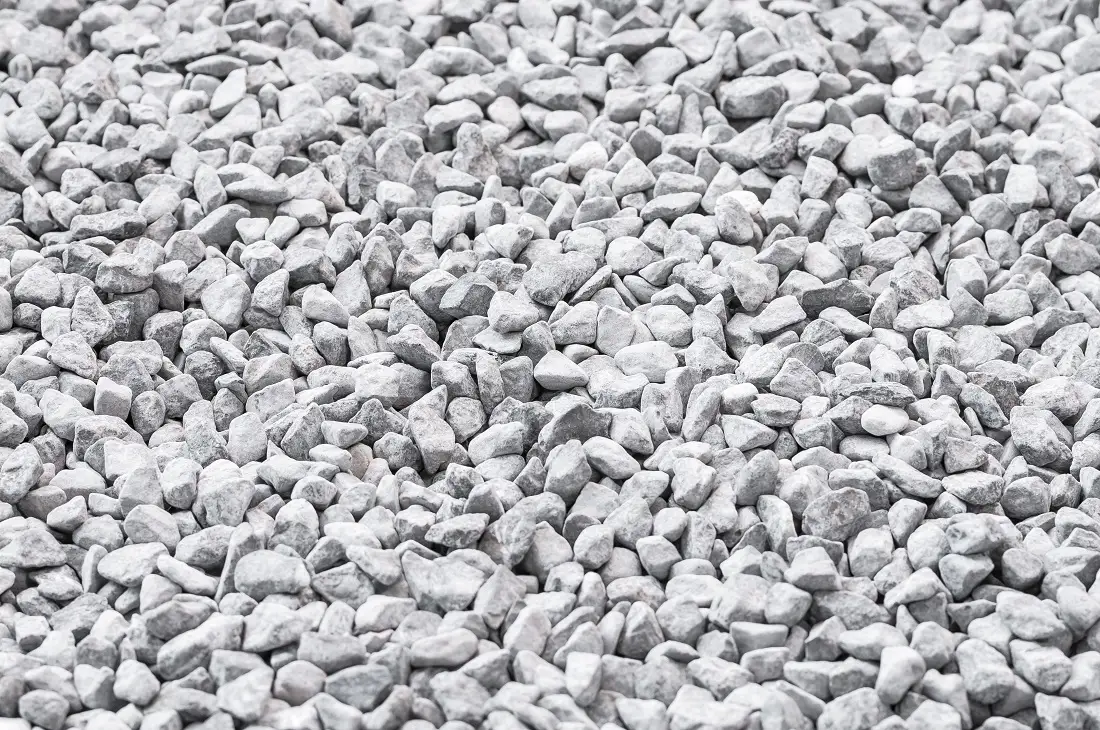
- Base gravel: Coarse angular crushed stone that compacts tightly to form a stable foundation.
- MOT Type 1 or road base: Mixed aggregate combining larger stones with fines for excellent drainage.
- Geotextile fabric: Landscape fabric that separates layers and prevents weed growth through the surface.
- Top layer gravel: Limestone gravel, pea gravel, or crushed stone for the visible surface layer.
Essential Tools
- Excavation equipment: Plate compactor for base layer compression, plus mini excavator for larger projects.
- Hand tools: Shovels, rakes, wheelbarrows, and measuring tape for spreading and leveling materials.
- Edging materials: Steel, timber, or stone borders to contain gravel and maintain driveway shape.
A Step-by-Step Guide: How to Construct a Gravel Driveway
Follow these detailed steps to build a durable gravel drive that can handle vehicle traffic while maintaining curb appeal.
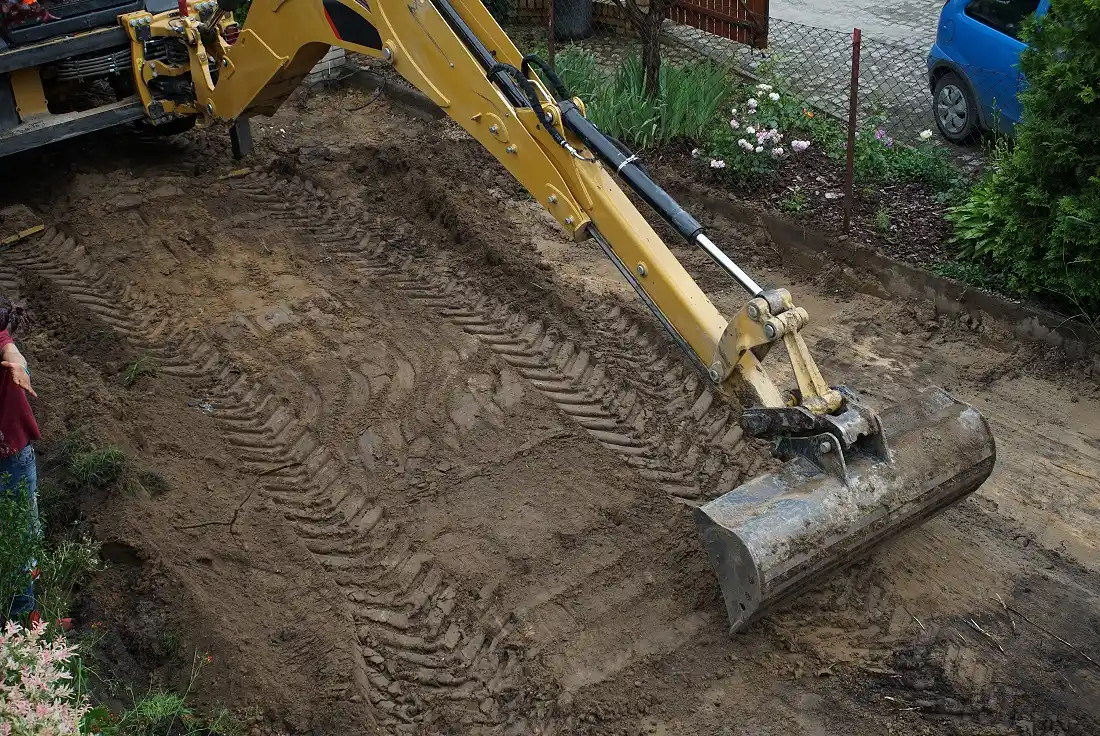
Step 1: Clear the Area
Remove all existing vegetation, grass, roots, and topsoil from the driveway area. Organic material decomposes over time, which causes uneven settling and creates low spots in the surface. You’ll need to strip away the top 8-12 inches of soil to reach stable ground beneath.
Note: Clay soil requires special attention during excavation. This soil type holds water and expands when wet, potentially causing driveway heaving in the winter months.
Step 2: Grade for Drainage
Create a slope of 2-5% away from buildings and structures. Water naturally flows downhill, so proper grading directs runoff away from your home's foundation and prevents pooling on the driveway surface. Mark the desired slope with stakes and string lines before beginning excavation work. To ensure proper flow, test the grade by pouring water at several points.
Step 3: Install Edging
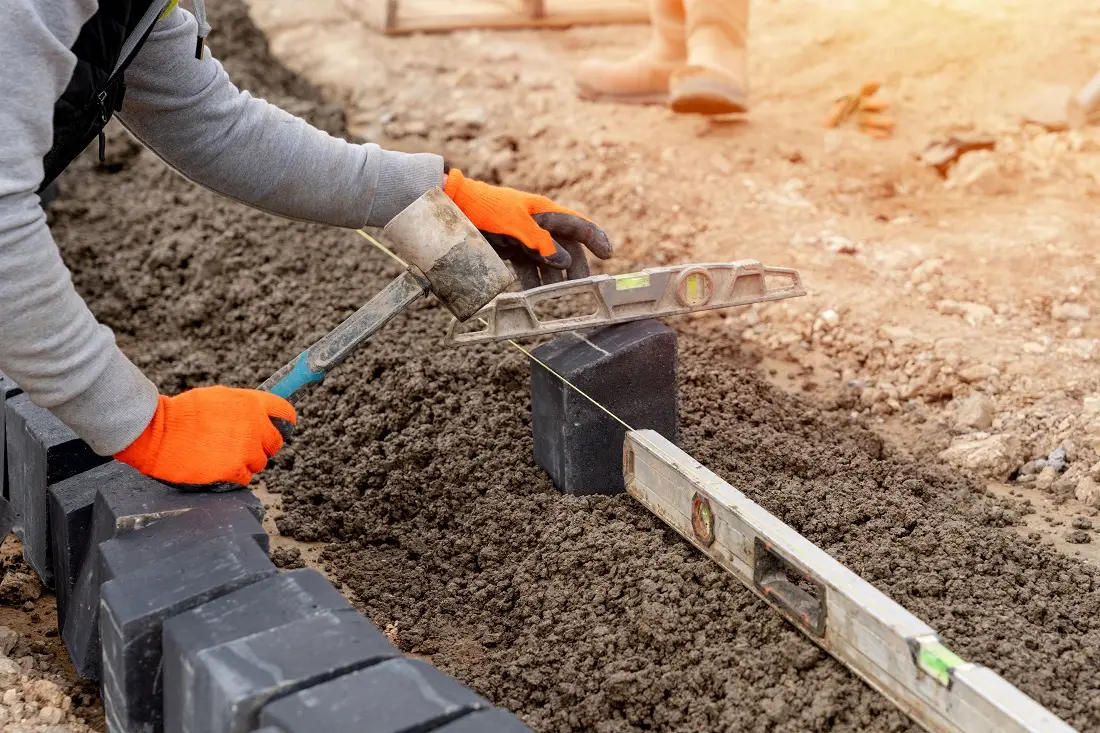
Then, place border materials along the perimeter of the driveway before adding gravel. Solid edging contains stones within the driveway boundaries and provides a clean, finished appearance. Natural stone borders complement gravel driveways especially well and help prevent stones from spreading into lawn areas over time.
Step 4: Install Geotextile Fabric
Roll out the weed membrane across the excavated area, overlapping sheets by 6-12 inches at seams. To prevent shifting during gravel placement, pin the fabric down with landscape stakes every 3-4 feet. This barrier keeps the base layer separate from the underlying soil and blocks existing vegetation from growing through the driveway area.
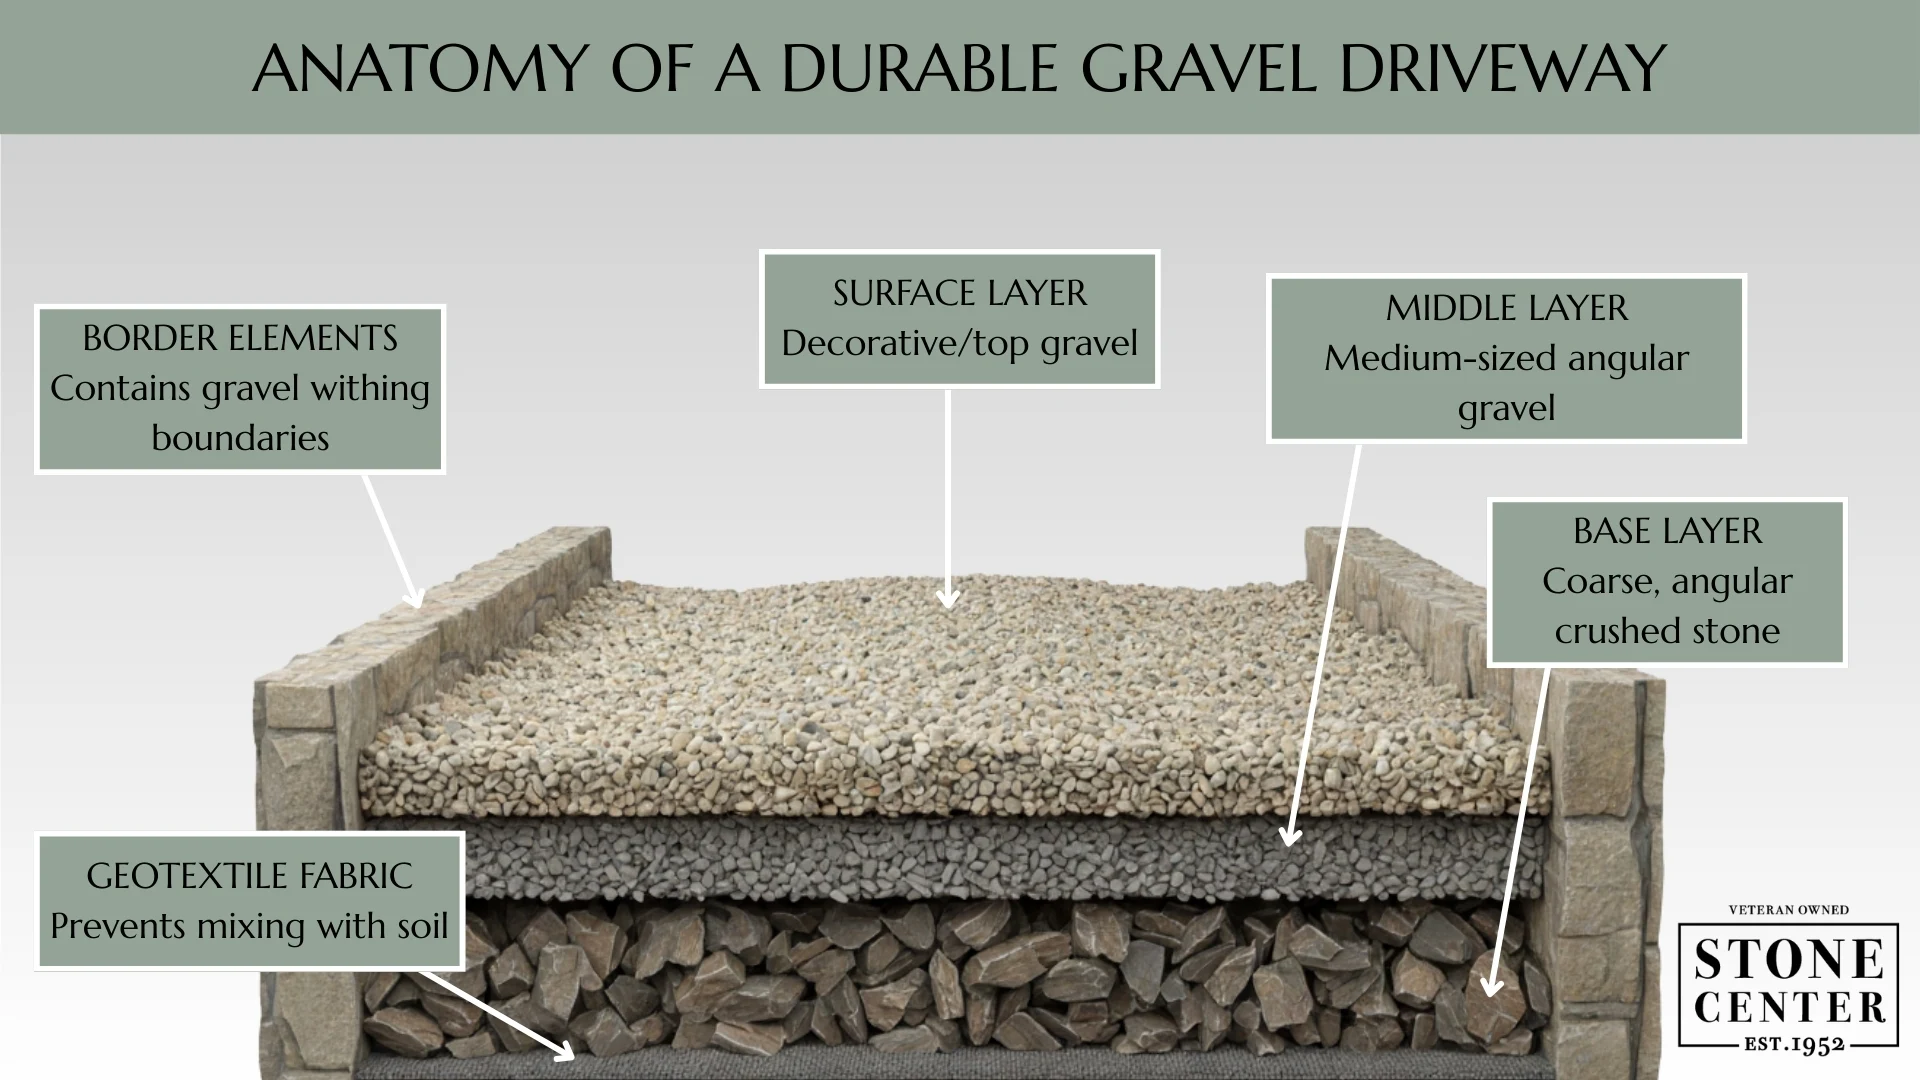
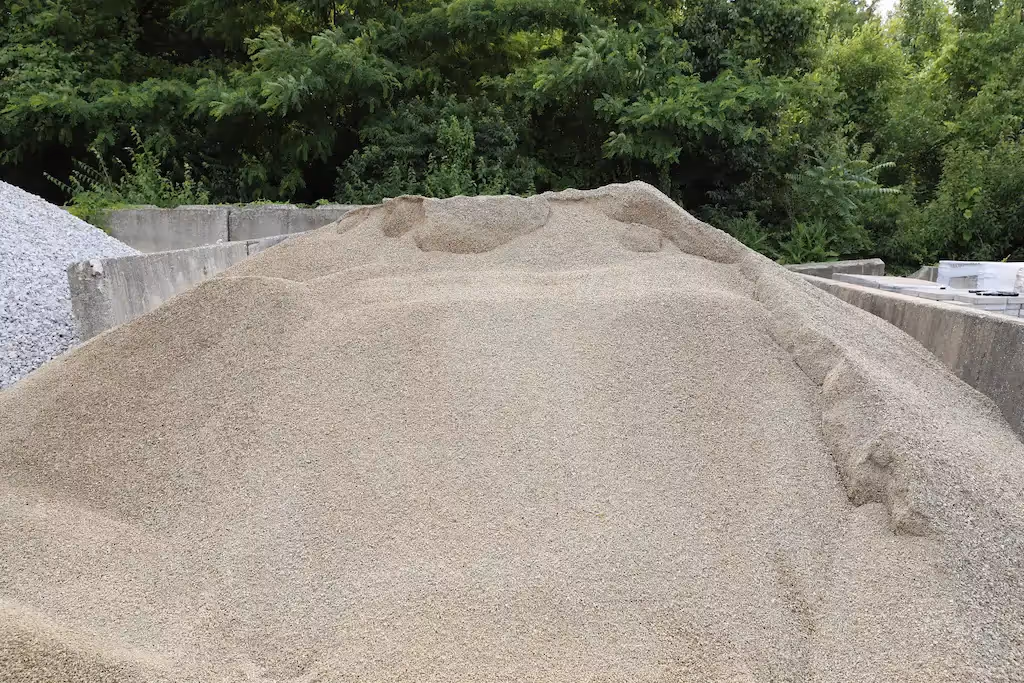
Step 5: Add and Compact the Base Layer
.webp)
Spread 4-6 inches of coarse crushed stone evenly across the geotextile fabric. This first layer is important as it supports the entire driveway structure and must be thoroughly compacted. Use a plate compactor to make overlapping passes across the surface until the material no longer shifts under pressure.
Proper compaction eliminates air pockets and creates a stable foundation that resists settling under vehicle weight. Check depth at multiple points using a measuring stick to ensure consistency across the driveway area. If there are any low spots, add more rock to fill them before proceeding to the next layer.
Note: The total depth for a residential gravel driveway typically ranges from 8-12 inches, including all layers. This breaks down to 4-6 inches of base gravel, 3-4 inches of middle layer, and 2-3 inches of surface stone.
Step 6: Apply the Middle Layer
Add 3-4 inches of slightly finer material like #57 crushed stone over the compacted base. This intermediate layer fills gaps between larger base stones and creates a smoother foundation for the surface gravel. Before compaction, lightly moisten the stone to help bind particles together.
Compact this layer thoroughly using the same overlapping pattern as the base. Multiple layers that are compacted properly prevent the common problem of surface gravel sinking into the base over time.
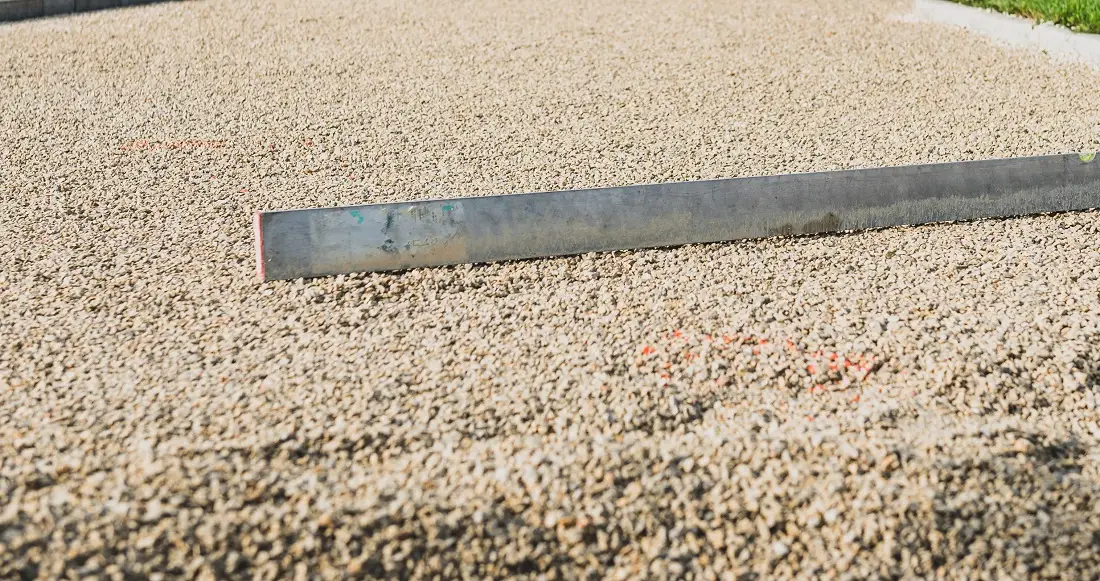
Step 7: Lay the Surface Gravel
Spread 2-3 inches of your chosen decorative gravel across the compacted middle layer. Rake the surface gravel evenly and create a slight crown in the center to promote water runoff toward the edges. Make final passes with the plate compactor to lock surface stones in place.
A properly compacted surface layer minimizes stone displacement and extends the time between maintenance. This top coat should be thick enough to provide cushioning, but not so deep that vehicles create ruts.
Note: Avoid using rounded stones for the top layer. Angular gravel interlocks better and stays in place under vehicle traffic.
Step 8: Final Grading and Surface Check
You’re almost done! Walk the entire driveway area to identify any uneven surface spots or drainage concerns. Add small amounts of gravel to low areas and compact again if needed. Verify that edging materials sit at the correct height to contain the gravel effectively. Make any final adjustments before considering the initial installation complete.
Common Gravel Driveway Mistakes to Avoid
Many DIY installations fail due to predictable and avoidable errors during construction. Learning from others' mistakes saves time and money.
#spoilers_start
Insufficient Base Depth
Skipping the base layer or making it too shallow causes premature failure. A minimum 4-inch base of crushed stone is essential for residential driveways that support regular vehicle traffic. Heavy vehicles or frequently used access roads need at least 6-8 inches of compacted base material for adequate support.
Poor Compaction
Simply dumping gravel without proper compaction creates a soft, unstable surface. Each layer needs thorough compaction before adding the next. Vehicles driving over poorly compacted gravel create deep ruts that require complete reconstruction to fix. Whether your project is big or small, this step cannot be skipped.
Wrong Gravel Type
Using rounded stones or pea gravel for the base layer prevents proper compaction. These materials roll and shift under pressure instead of locking together. Instead, save rounded stones for decorative purposes only in areas without vehicle traffic.
Inadequate Drainage Planning
When a driveway is flat and doesn’t have a slope, it traps water on the surface. The underlying soil retains moisture and softens the base over time. Always create proper grade and consider adding French drains or swales if natural drainage is poor. Water is the main enemy of any driveway structure.
Skipping Edging
Gravel without borders gradually spreads into surrounding areas. Lawn mowers pick up stones and throw them, creating safety hazards and maintenance headaches. Installing solid edging at the start prevents these ongoing problems and maintains clean lines for years.
#spoilers_end
The Best Types of Gravel for Driveways
Selecting the right type of gravel for each layer is key to achieving the proper drainage, stability, and long-term performance. Different materials serve specific purposes in the driveway structure.
- Crushed limestone: Angular stones that compact tightly for base layers, available in various sizes. This is an affordable option that works well for both base and top layers in residential driveways.
- #3 stone or road base: Large aggregate (2-4 inches) mixed with finer material for the foundation layer. This material creates excellent drainage while providing maximum stability.
- #57 crushed stone: Medium-sized angular gravel (about 3/4 inch) ideal for middle layers. The uniform size fills gaps in the base layer effectively.
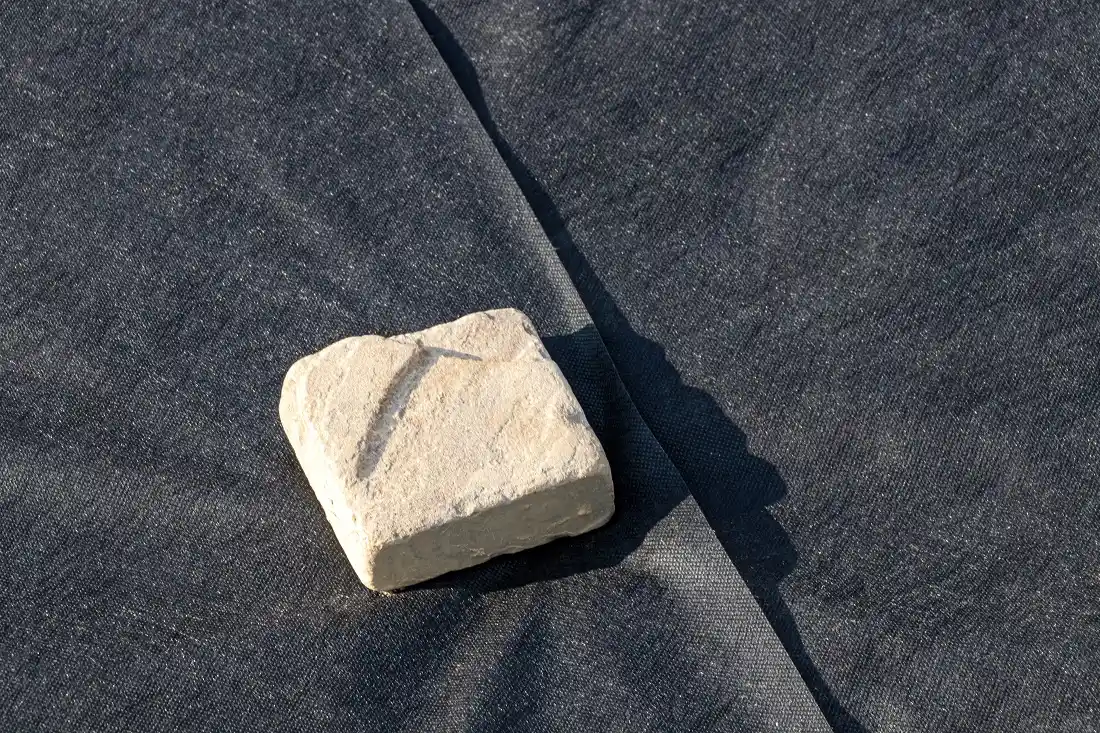
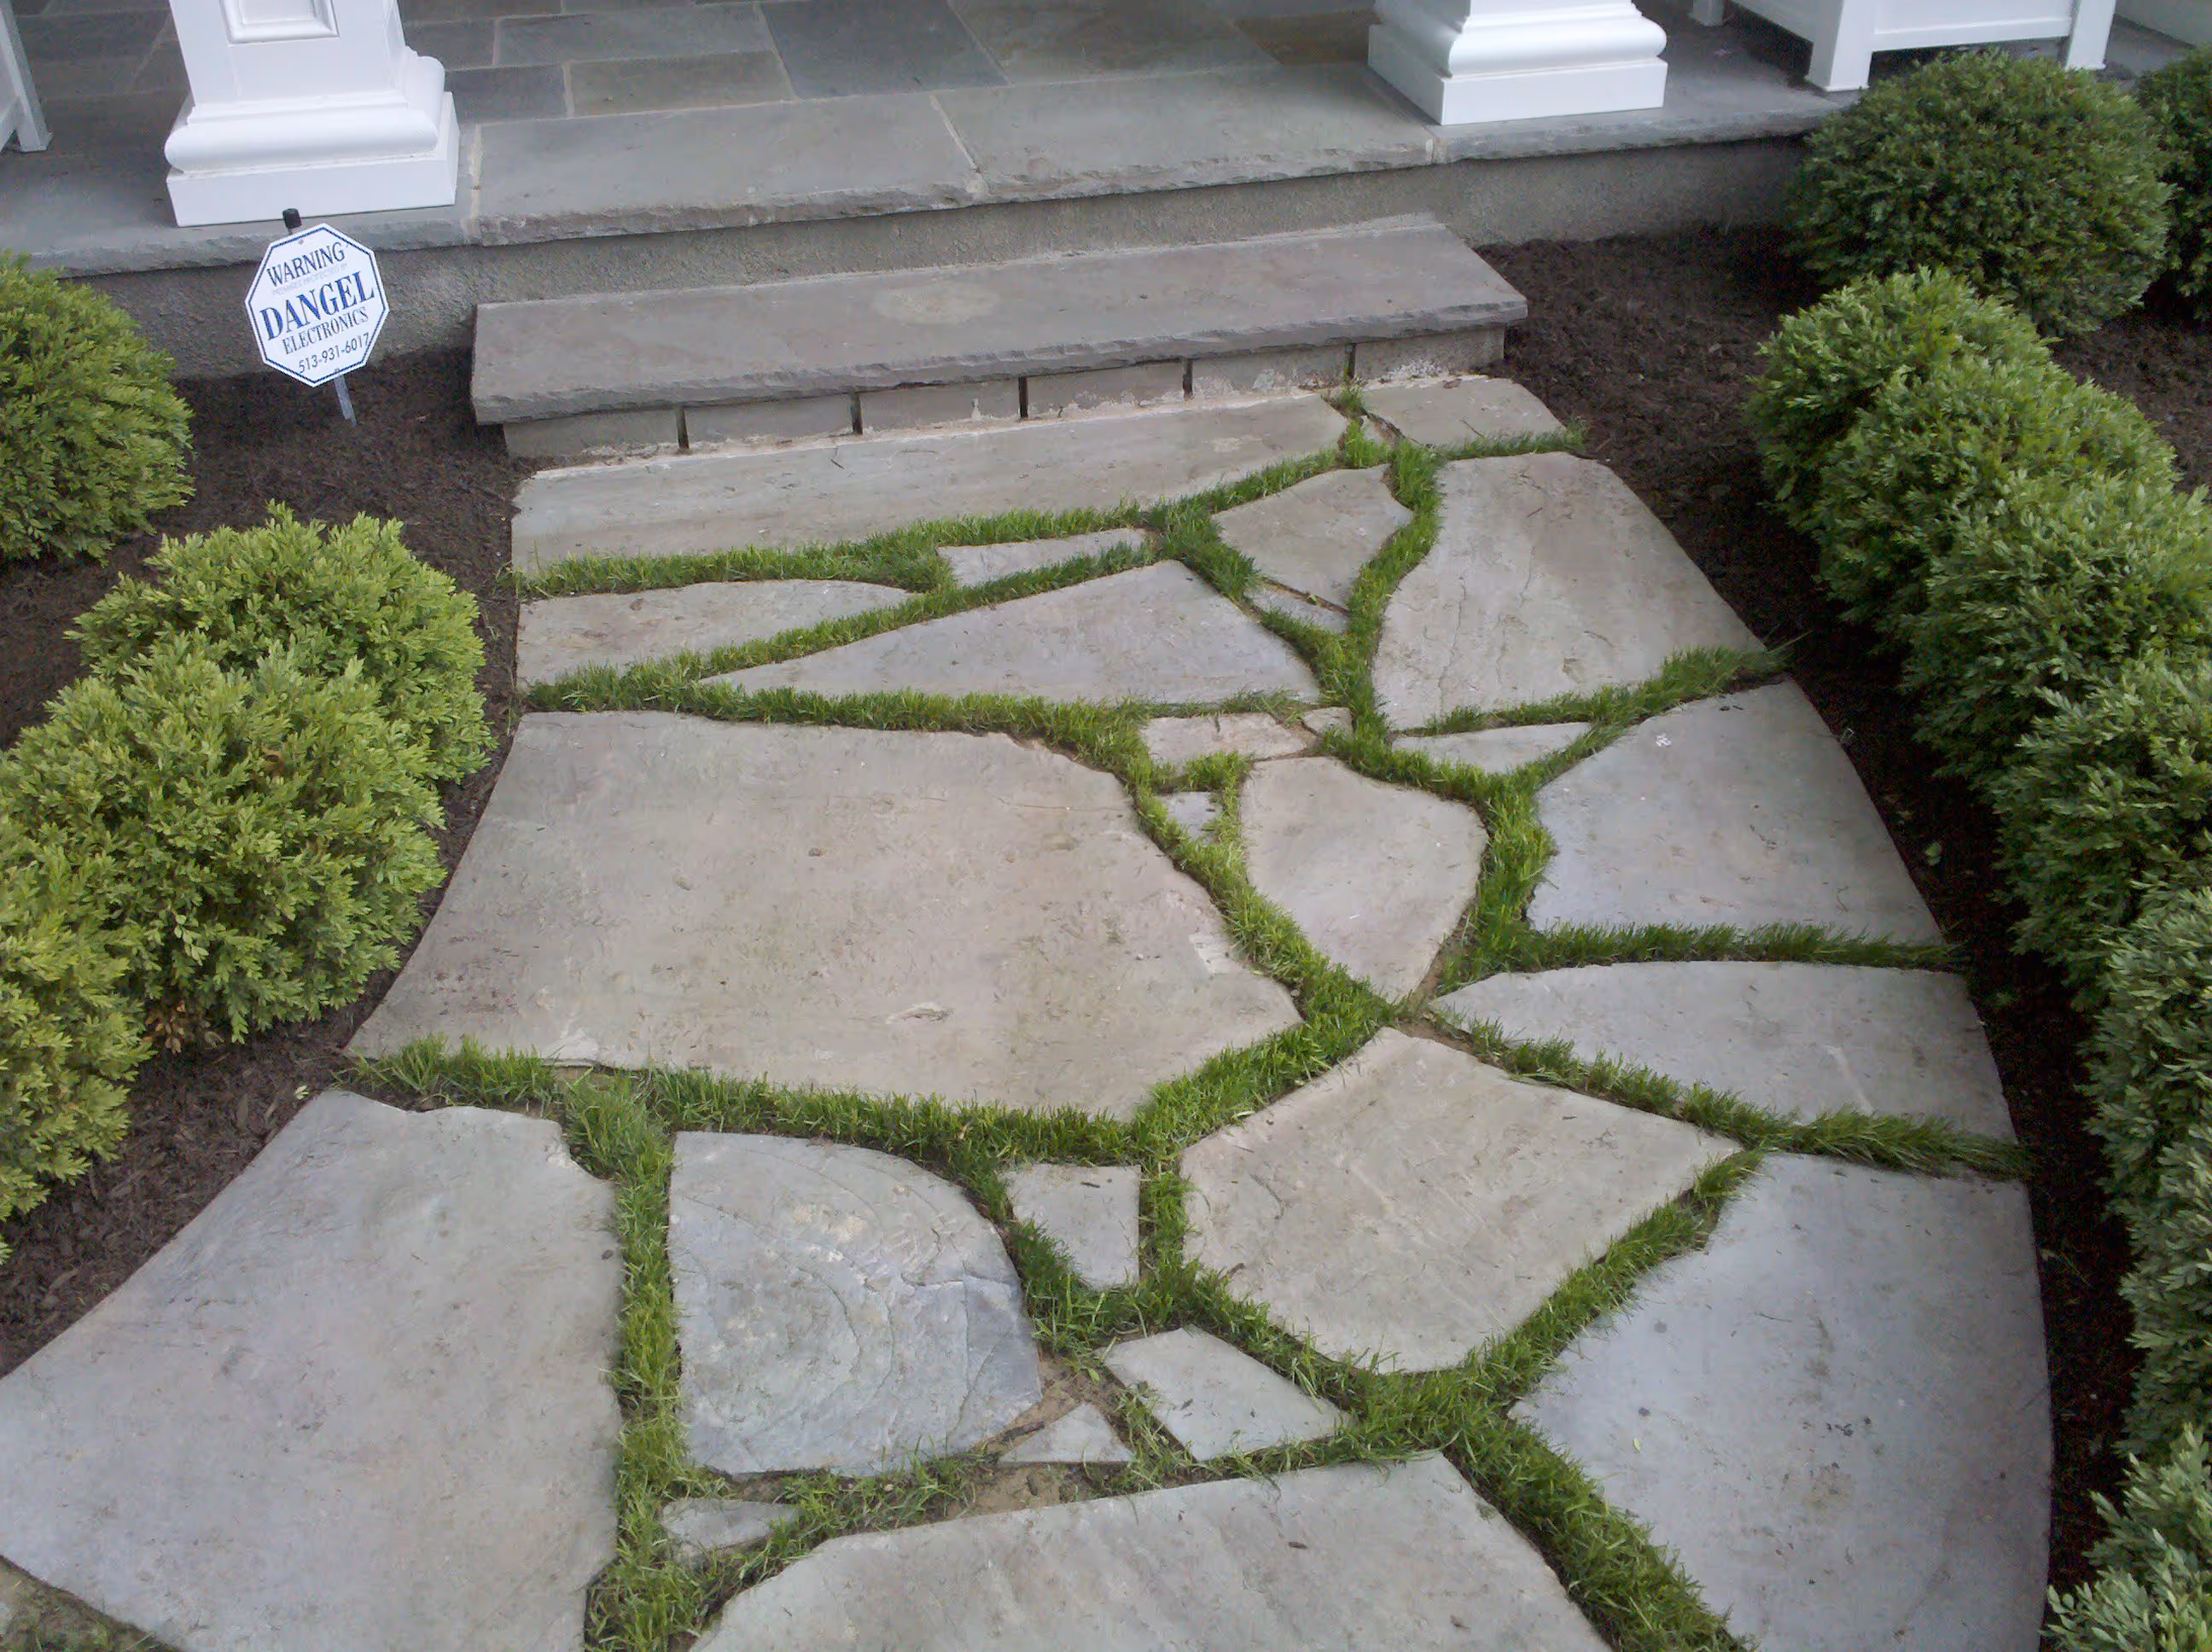
- Pea gravel: Small rounded stones suitable for decorative purposes, but not recommended for high-traffic areas. This material shifts under vehicle weight and works better for garden paths.
- Decomposed granite: Finely crushed stone that compacts into a smooth, firm surface. This material offers excellent performance in dry climates.
- Limestone gravel: Versatile stone available in multiple sizes and colors for all driveway layers. The angular shape ensures proper compaction and stability.
When in doubt, choose angular gravel over rounded stones for better compaction and stability throughout your driveway. The sharp edges of crushed stone lock together under pressure, creating a solid surface that resists rutting.
For the best results, we recommend using coarser materials in lower layers and progressively finer stones toward the surface. Learn more about different aggregate types and their uses in landscaping projects.
Gravel Driveway Maintenance Tips
With regular care, you can keep your gravel drive looking fresh and functioning properly. Simple maintenance prevents small issues from becoming expensive repairs.
- Rake regularly: Redistribute gravel every few months to fill minor depressions and maintain level surfaces. This process breaks up compacted areas and keeps the driveway looking tidy.
- Remove debris: Clear leaves, twigs, and other materials that accumulate on the surface, especially during fall months. Debris traps moisture and can promote weed growth.
- Control weeds: Pull any weeds by hand as soon as they appear, even if the weed membrane is in place. Apply herbicide to affected areas if weeds become problematic.
- Replenish surface stone: Add fresh gravel every 2-3 years as normal vehicle traffic gradually displaces and compresses the top layer. Order extra material during initial installation to ensure color consistency.
- Clear snow carefully: Set blade heights above the gravel surface when plowing to avoid removing stones with snow. Light snowfalls can stay on the driveway without causing damage.
- Fill low spots: Address drainage issues immediately by adding more gravel to depressions where water pools. Proper maintenance extends driveway life significantly.
Proper construction is a time investment, as a well-maintained gravel driveway lasts 25-100 years when constructed correctly. The base layer remains stable indefinitely, while surface gravel needs periodic replenishing. This represents normal maintenance rather than complete replacement, making gravel a cost-effective solution compared to other driveway materials like asphalt or concrete.
Build Your Perfect Gravel Driveway with Stone Center
A durable gravel driveway requires proper planning, quality materials, and thorough compaction at each stage. Success depends on factors like adequate base preparation, choosing the right gravel type for each layer, and maintaining proper drainage. When you follow this step-by-step guide, you can create a surface that handles daily traffic while improving your property's appearance.
Stone Center supplies premium gravel and landscape stones for residential and commercial projects throughout Columbus and Cincinnati, Ohio. Our team is here to help you select appropriate materials and calculate quantities accurately. Visit our showroom or contact us today to discuss your driveway project and explore our complete selection of landscaping stones.
FAQ
.avif)
Jon, the owner of Stone Center, is a knowledgeable expert in natural stone products, specializing in various types of stone for landscaping and architectural projects. Passionate about promoting the beauty and versatility of natural stone, Jon aims to use these blogs to inspire readers with creative ideas to upgrade their homes.


.avif)
.avif)
.avif)
How much does it cost to get a stone restored?
How much you end up spending to restore stone varies on the type of stone, the technique, and the stone’s current condition. Stone in good condition will cost less to restore, whereas stone that has a lot of wear and tear may require a longer restoration.