- Stone Center
- Blog
Landscaping 101: Building a Stone Retaining Wall in 15 Steps
23/7/2025
2/25/2025
Landscaping 101: Building a Stone Retaining Wall in 15 Steps

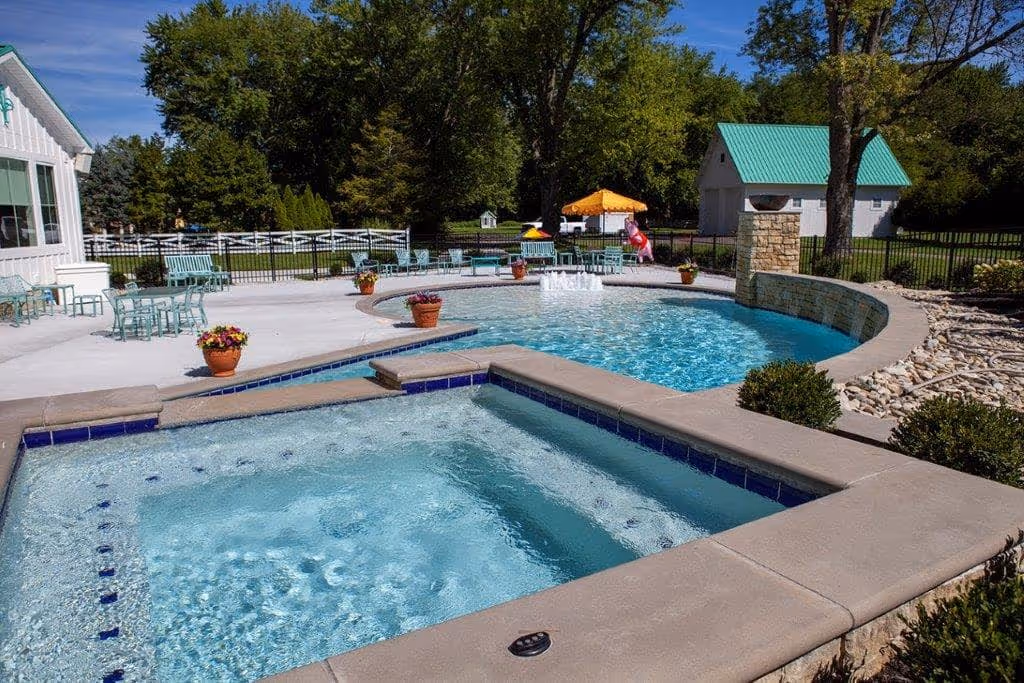
If your property features sloping ground or different levels of landscape, you might find building a stone retaining wall to be just the thing it needs. Stone retaining walls add both function and beauty to your yard, creating a structured, terraced look while providing long-term stability for soil and plants. It’s a win-win scenario.
If you're wondering how to build rock retaining walls with outcropping stones, follow our step-by-step guide created by our experts at Stone Center. A DIY stone retaining wall isn't overly technical or difficult as long as you prepare well. Take your time and follow the below steps. As always, remember that our team is only a phone call away!
#1. Check Local Building Codes and Permits
Before digging or stacking stones, check your local building codes and permit requirements. Many areas require permits for walls over 30 or 36 inches, and some for any height. If you ignore regulations, you may face fines and forced removal or the structure could fail altogether. An engineer’s approval may be needed if your wall supports significant soil or is near property lines. Be sure to verify these rules to ensure a safe, compliant, and long-lasting retaining wall.
How to check local codes:
- Call 811 before you dig: This free service marks underground utilities, helping you avoid costly mistakes.
- Visit your local government website: Many cities provide detailed guidelines online — for instance, Cincinnati homeowners can refer to the Retaining Wall Standards to ensure compliance.
- Check HOA rules: If you live in a community with a homeowner’s association, they may have additional restrictions on wall height, materials, or placement.
Once you have the green light, you’re ready to start planning and gathering materials. Let’s build a retaining wall that’s as sturdy as it is stunning!
#2. Prepare All the Equipment Necessary

The first task is to get your materials together. Rocks, of course, are number one on the list, but you'll also need an array of other items to get the job done. These include:
- Landscape fabric
- Gravel
- Sand
- Screenings
- Wood stakes
- Shovel
- Wheelbarrow
- Line level and string
- Four-foot level
- Rake
- Mason's line
- Mallet
- Maul or sledgehammer
- Tamper
#3. Plan Your Build
Before you start building rock retaining walls, you want to make sure you have a solid plan in place. Your first consideration, of course, is the size and scope of the project. Curious about which type of retaining wall suits your needs and terrain best? Check out our related article for an in-depth look at various retaining wall types and their ideal applications.
How tall is your wall going to be, and how long? These are critical pieces of information because some communities have regulations for retaining walls over 30 or 36 inches.
The height of your wall will dictate how wide it needs to be. The rough rule of thumb is that you want a foot of thickness for every vertical foot. For example, if your wall is five feet tall, the base should extend five feet back.
Once you have the basic size, consider the type of stones your job requires. How much pressure will be exerted on the wall? How steep is the slope you're holding back? Answering these questions will get you ready to begin your stone wall-building process.
Figure Out How Much Stone You Need
To determine the stone needs for a freestanding retaining wall, calculate the square footage of the wall face area. For each square foot, you will need 0.4 cubic feet of crushed stone for the base and 0.35 cubic feet of gravel backfill behind the wall. Having the right materials and quantities on hand for each stage of the project makes installation much easier.
Pro tip: Always order 10-20% extra to allow for cutting waste, compaction, and grading of the finished retaining wall.
Choose the Best Retaining Wall Blocks
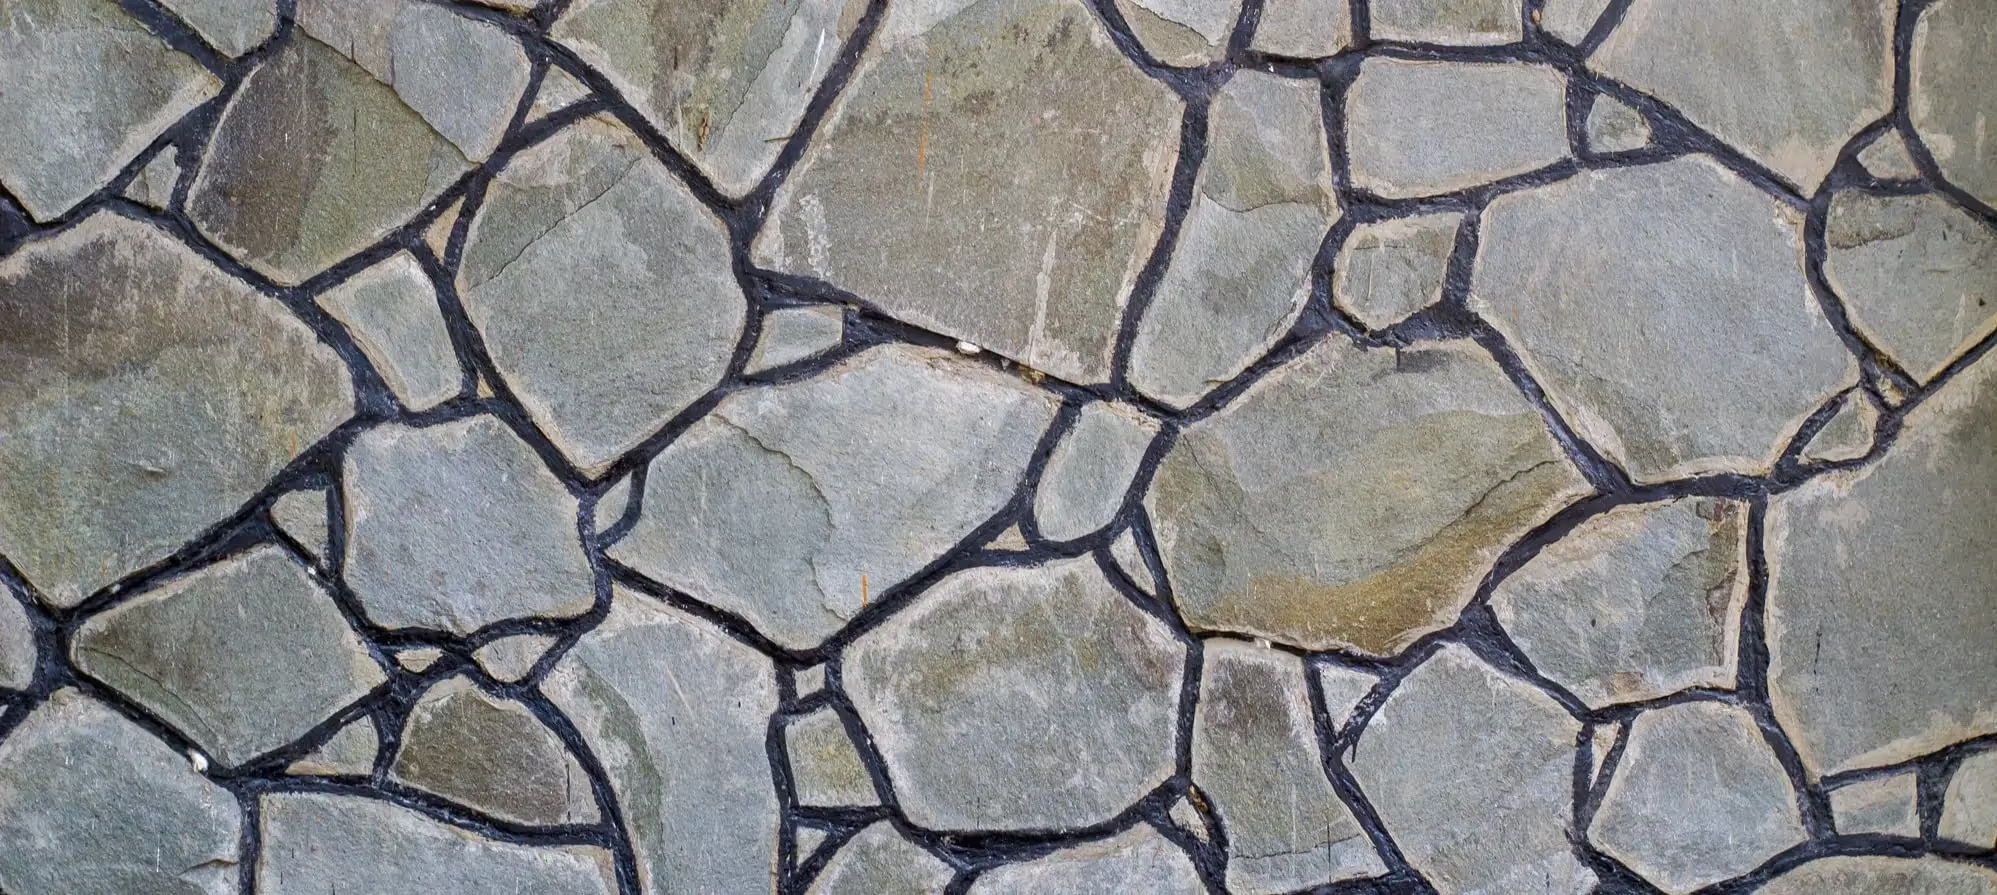
The best retaining wall blocks have a rough, non-split face texture to increase friction and prevent sliding. Avoid flat stones which can shift and cause wall failure. Look for a minimum compressive strength of 3000 psi and units that interlock for stability. Use a high-quality concrete mix with sufficient cement. Block shape is also important — curved and angled blocks perform better than basic rectangles. Proper block selection ensures a durable, long-lasting natural stone retaining wall.
Do you still need materials and are wondering how much building a stone retaining wall will cost? Check out our cost guide for Ohio homeowners and get a clear estimate before you start!
#4. Organize the Stones and Mark the Level
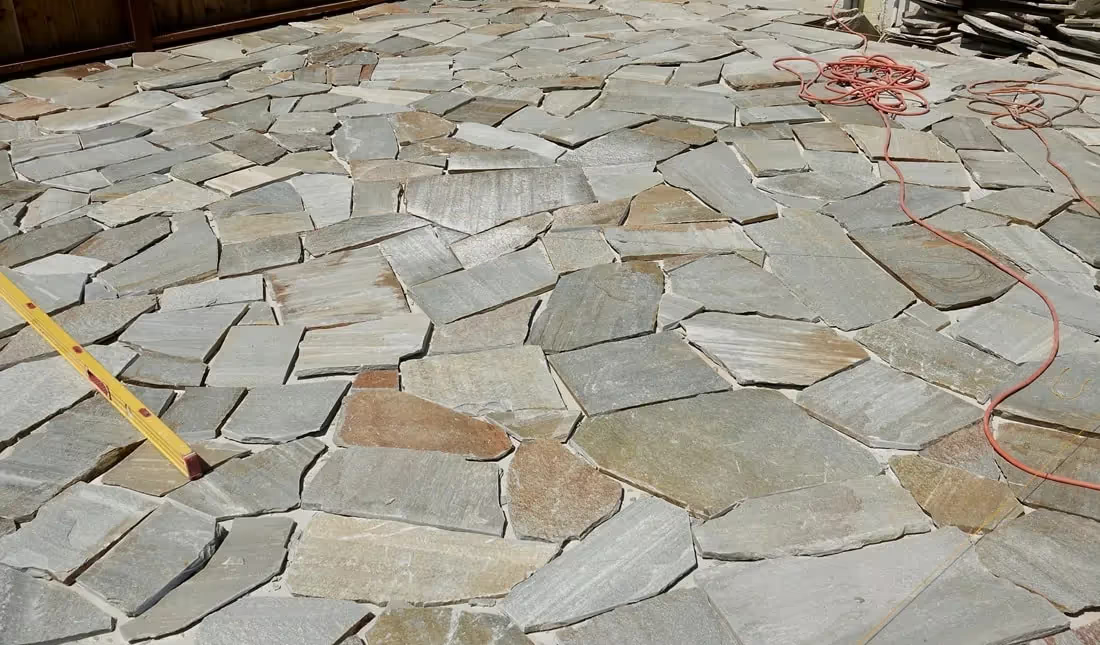
Next, start to get a sense of your building materials — in other words, get to know your rocks. Make piles on the ground nearby, separating stones by their size and weight and by how square or attractive each one is. Gray outcropping stone works perfectly for installing a stone retaining wall.
When you're ready to begin construction, use the widest and heaviest at the base and work your way up to the best-looking stones, which will be on top. Unusual shapes can be mixed into the middle. Remember that you can use a hammer and chisel to cut and trim and make rocks fit where you want them to. You can also use these tools to create shims that'll keep your wall rugged and level.
Once you have yourself organized, grab your mason line and wooden stakes and layout where you want the wall to go. Hammer in the stakes and tie string around them. Remember to accommodate the required width-per-height ratio.
After the string is taut, mark the front edge of your base, and use a line level to ensure you have a straight, level line. This will give you the dimensions of the base of your wall.
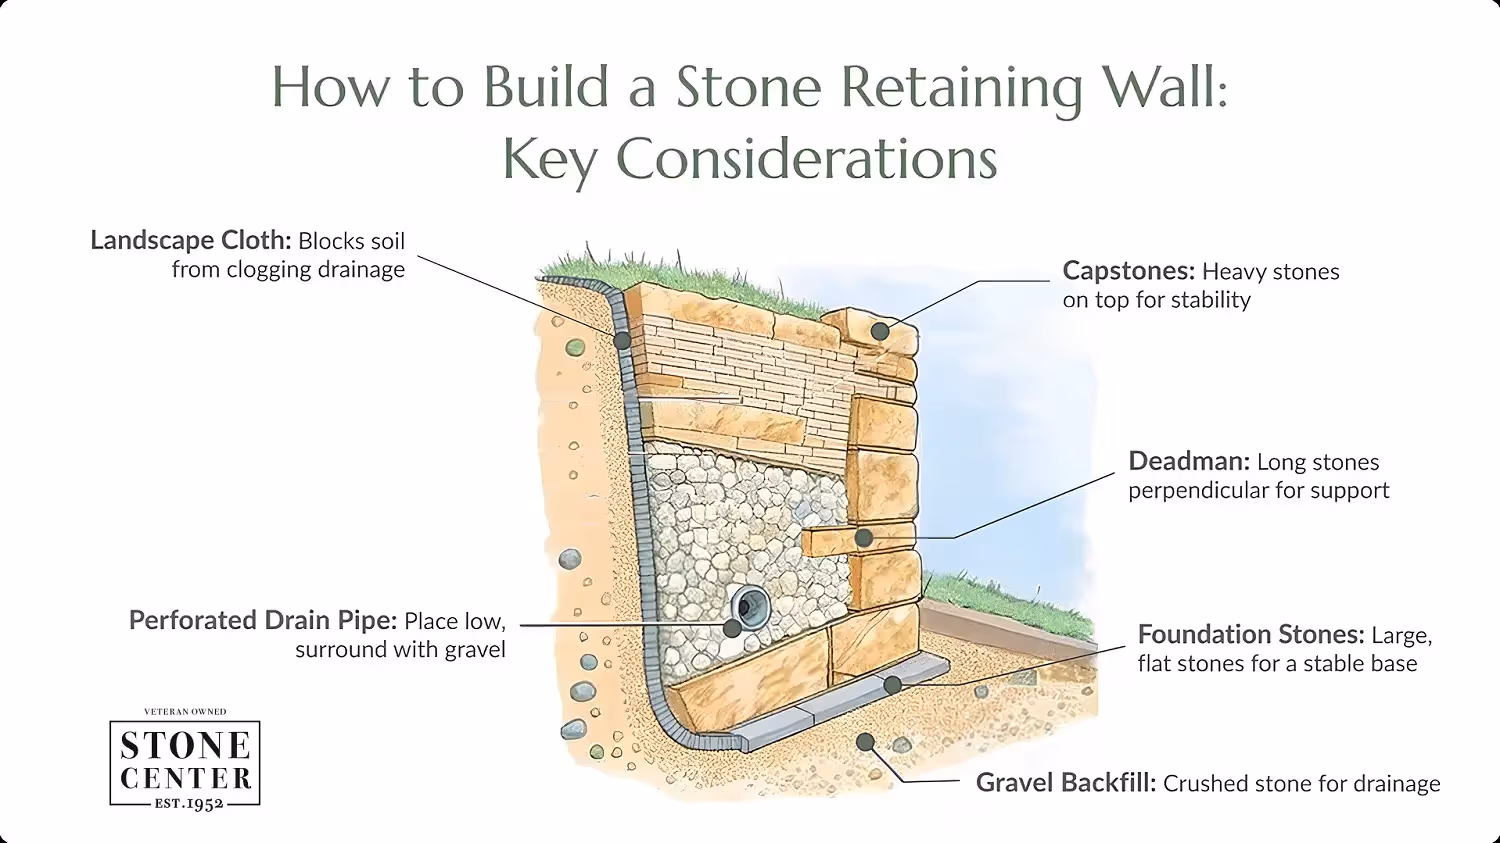
#5. Excavate a Base Trench and add a Landscape Cloth

Now comes the hard part — the big dig. You'll want to carve out a trench about a foot deep and as wide as your base. The 12 inches below grade will give you enough room to fill in with drainage rock and the first big blocks that will anchor your base.
Lay down landscape fabric across the entire trench. This prevents soil from mixing with the drainage material while still allowing water to pass through. Extend the fabric beyond the trench edges as you’ll later fold over the backfill for added stability.
#6. Lay a Crushed Stone Base
Before building the retaining wall, lay a 6-inch layer of drainage gravel as a base course. The crushed stone base allows for proper drainage behind the wall. Compact the gravel with a mechanical compactor in 2-inch layers. Level and smooth the gravel before setting the first course of blocks. Use well-graded gravel with a mixture of 3/4 inch to 1/2 inch diameter stones. The gravel base provides a stable, level foundation for the retaining wall blocks.
#7. Lay Down the First Level

The biggest and most durable stones go down first. Run these in an even line so that they just touch the front of the string. You want them to lay as flat as possible, creating a level surface on top. To do that, you might need to dig out or add sand.
#8. Lay Down the Second Level
The next layer is slightly trickier. You again want to use large stones, and it's best to offset them so that they cover the spaces between the rocks below.
Place each of these stones about a thumb width further back from the string then the first course. That will help provide structural stability to cope with the pressure that backfill will apply.
Using the same techniques as before, make sure you're using your four-foot level to keep the surface even at the top. In some cases, it may help to use smaller rocks as shims between the first two levels, to make sure everything is solid and well interlaced.
#9. Keep Stone's Surface Clean
Before setting each new course of retaining wall blocks, sweep the top of the lower course clean. Use a stiff broom to remove any dirt, debris, or excess mortar. For thorough cleaning, spray the tops of blocks with a garden hose in a high-pressure setting. Allow to dry completely before applying the new mortar. The cleaned surface ensures proper bonding between courses. Sweeping each course as you go keeps the wall installation neat and orderly for optimal structural integrity.
#10. Install Retaining Wall Drainage

The drainage system is crucial for retaining walls to prevent pooling water and hydrostatic pressure behind the wall. First, install perforated drainage pipes at the retaining wall base, running along the entire wall length. Place gravel backfill behind the wall, surrounding the drainage pipes to allow water flow.
At 20-30 foot intervals, install vertical pipes connected to the horizontal drainage pipe to allow water an exit point. The vertical pipes should extend up through the backfill to ground level. Daylight the drainage system by directing water away from the stone wall by properly grading the surrounding soil.
#11. Backfill the Wall
Once you've built your wall up to two levels, it's time to fill in behind it with drainage gravel. Use the same technique you used in the trench at the base — pour, rake, smooth, level, and tamp it down. At this point, you only want to go as high as the second level of rocks.
#12. Lay Down More Levels
Each of the subsequent courses goes down as the second course did. Move the stones back a half-inch from the string and overlap the seams beneath. Try to keep them tight together and level on top. This creates a sturdy wall able to withstand the pressure that backfill will exert on it.
On the third layer, you'll want to add a deadman, which is a long rock that stretches back into the slope behind. These effectively anchor the stones into the fill behind, creating a very solid wall. As you go up, continue to add gravel as backfill.
#13. Create a Rustic Look with Split Blocks
For a natural, rustic look, incorporate split blocks made of flat rocks or cut stones into the retaining wall. The irregular shapes and rough split faces create an organic, informal aesthetic. Stack the blocks in a random pattern, alternating split and manufactured blocks. You can use larger split boulders sporadically to add visual interest. Keep the wall structural integrity by using proper installation techniques. The mix of blocks and split stones results in a unique, one-of-a-kind retaining wall with a solid base.
#14. Achieve a Smooth Finish
When installing the final course of retaining wall blocks, precise cuts are needed for a smooth front face. Mark each block then make straight cuts with a masonry saw. For curved walls, a circular saw with a concrete blade also makes smooth cuts. Cut blocks 1/8 inch smaller than measured to allow for mortar joints. Cut blocks intended for the front face so the cut edge is facing inward, not outward. Clean saw cut edges before installation for proper bonding. Achieving smooth, even cuts results in a professional finish.
#15. Finish the Top Level of the Wall

Place heavy and flat stones on the top layer for a polished look and secure fit. Adjust them tightly, minimizing gaps, and tap them into place using a mallet. For extra stability, use masonry adhesive or shape stones with a chisel for a seamless finish. Once set, fill the back with soil, compact gently, and add loam or grass seed for a natural blend. And just like that, your stone retaining wall is now complete!
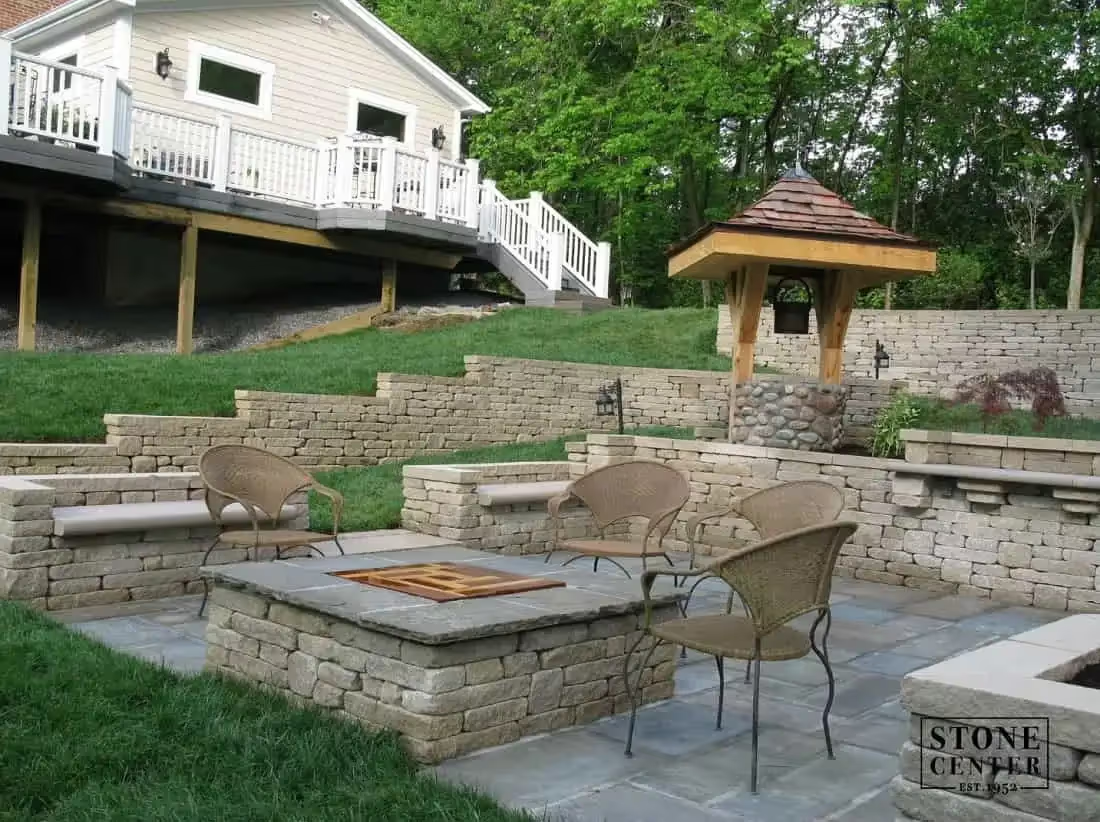
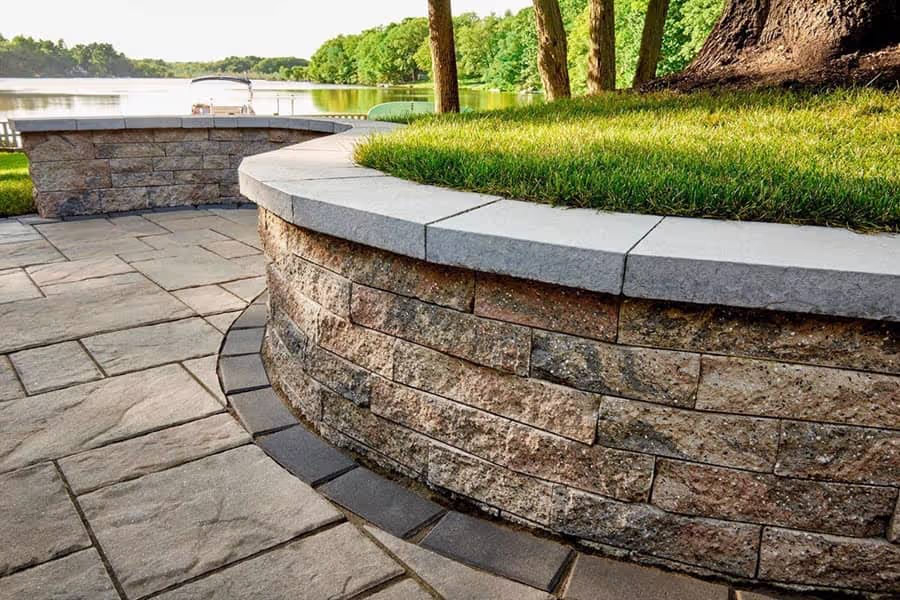
Enjoy Your Stone Retaining Wall That’s Built to Last
Retaining walls are a lot of work, but they can be a great complement to your yard. They become an attractive feature that allows you to expand your yard into previously unusable space. If you follow these steps, you'll end up with a sturdy retaining wall that'll stay in place for decades.
If you need advice on building a stone retaining wall, want to purchase natural stone, or are simply looking for other landscaping support, Stone Center can guide you with our decades of experience in the industry. With stores in Columbus and Cincinnati and nationwide delivery, we offer full hardscaping services and materials. Our team has the expertise to ensure your retaining wall project is a success. Get a quote today!
FAQ
.avif)
Jon, the owner of Stone Center, is a knowledgeable expert in natural stone products, specializing in various types of stone for landscaping and architectural projects. Passionate about promoting the beauty and versatility of natural stone, Jon aims to use these blogs to inspire readers with creative ideas to upgrade their homes.
Check Out Our Products You May Like
Mini-Creta Architectural Wall
.avif)
Fond Du Lac
$400 - $500
.avif)
Jurassic
$400 - $700
.avif)
Buff, Blue, Blue Vein 8"
$450 - $575
How much does it cost to get a stone restored?
How much you end up spending to restore stone varies on the type of stone, the technique, and the stone’s current condition. Stone in good condition will cost less to restore, whereas stone that has a lot of wear and tear may require a longer restoration.