- Stone Center
- Blog
Limestone Cladding Exterior Guide for Homeowners: Pros, Types & Installation
17/12/2025
9/3/2025
Limestone Cladding Exterior Guide for Homeowners: Pros, Types & Installation
Picture your home 30 years from now. While other materials show wear, cracks, or fading, your limestone exterior still looks as beautiful as the day it was installed. This isn't just wishful thinking — it's the reality of choosing limestone cladding for your building project.
Many of the homeowners like to have their buildings designed with a finish of limestone cladding. To give your house that desired finish, it is important to understand how limestone exterior cladding works and the various limestone products that are available for use.
Limestone Cladding: Pros and Cons You Should Know
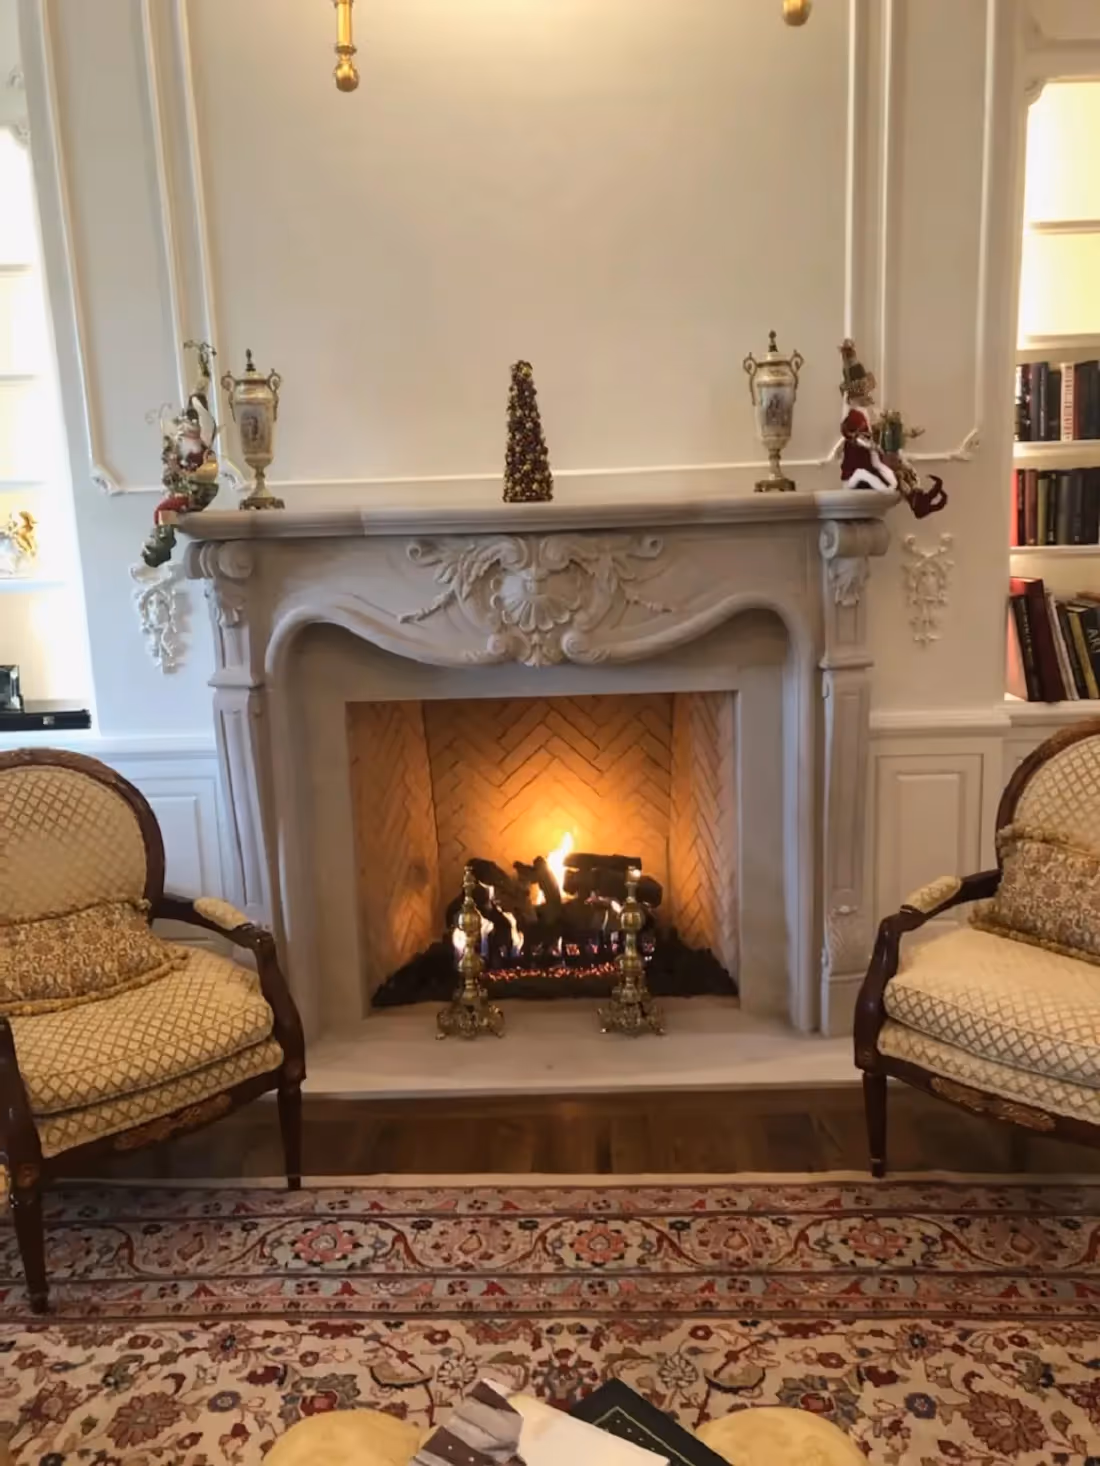
Limestone cladding transforms ordinary building facades into stunning architectural features. This natural stone surface treatment applies limestone panels, tiles, or veneer directly to exterior walls to create a protective and beautiful finish that can dramatically boost your property's curb appeal.
Here's an honest look at what limestone cladding offers and where it might fall short:
The advantages outweigh the drawbacks for most homeowners seeking a confident, long-term solution for their building exterior.
Limestone Exterior Systems and Style Options for Every Build
Modern limestone cladding works well with nearly any style and budget. From clean lines to rustic charm, it fits your design while delivering reliable performance.
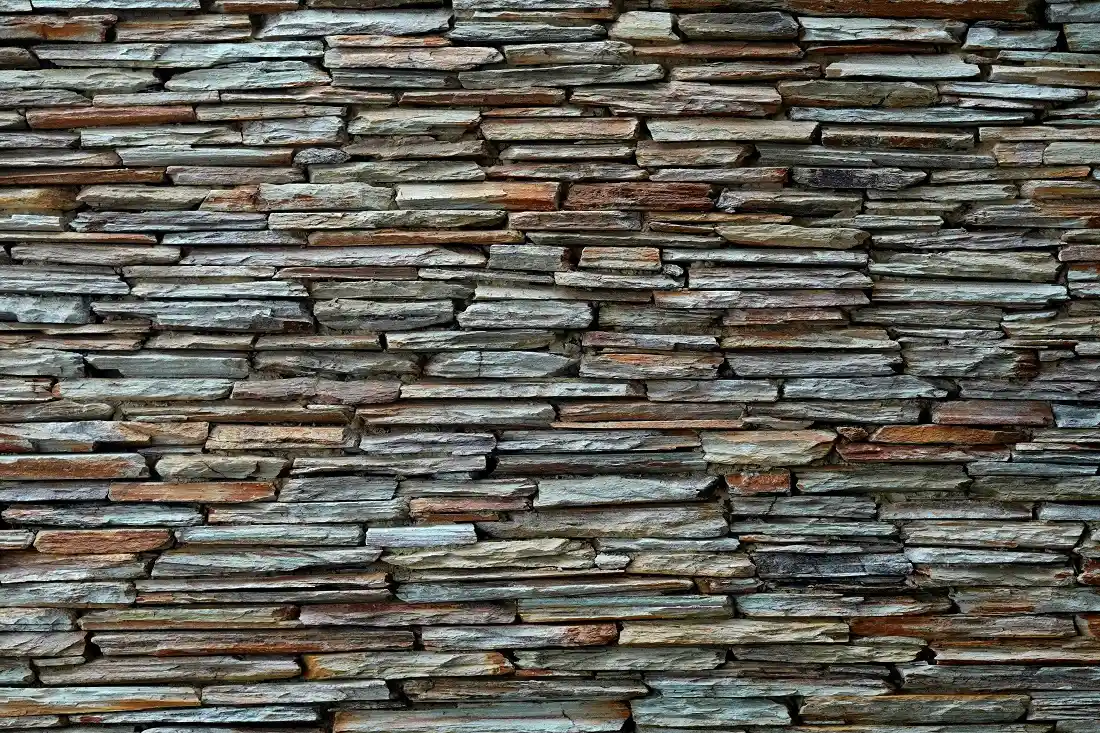
General Types of Natural Stone Cladding
There are different methods for cladding stone. These are generally determined based on the architectural applications and the type of building stone being used. Cladding stones are typically very heavy. Therefore, you should consider how that could affect the building and figure out what is the best way to lay the stones on the exterior.
- Handset cladding: The cladding stone is fixed to an already existing backing structure and therefore becomes the exterior envelope for the building. Handset Cladding spreads the weight of the stones to load-bearing fixings located on the floor plates. This system also incorporates movement joints and compression joints to ensure a solid structure is maintained.
- Rainscreen cladding: In this method, there are no movement or compression joints, and the stone panels are installed on the building either through a concealed or exposed clip system. Rainscreen facades usually have an interior drainage cavity that helps to remove moisture that is likely to seep into the cladding.
- Custom cladding: Custom claddings are made based on the homeowner's or architect's specific directions. Stoneworkers can design cladding stones to fit whatever the homeowner desires. This would therefore require them to consult with cladding stone manufacturers and reiterate the concept they have in mind to them.
Limestone Exterior Options That Fit Every Vision
Whether you prefer a minimalist palette or a rustic finish, limestone cladding can adapt to your aesthetic.
- Limestone panels: Large-format pieces ideal for sleek facades. Panels are often used in commercial buildings or contemporary homes for their uniform finish.
- Limestone tiles: Smaller and lighter than panels, tiles work well in both exterior and interior applications. Available in several finishes to match any outdoor space.
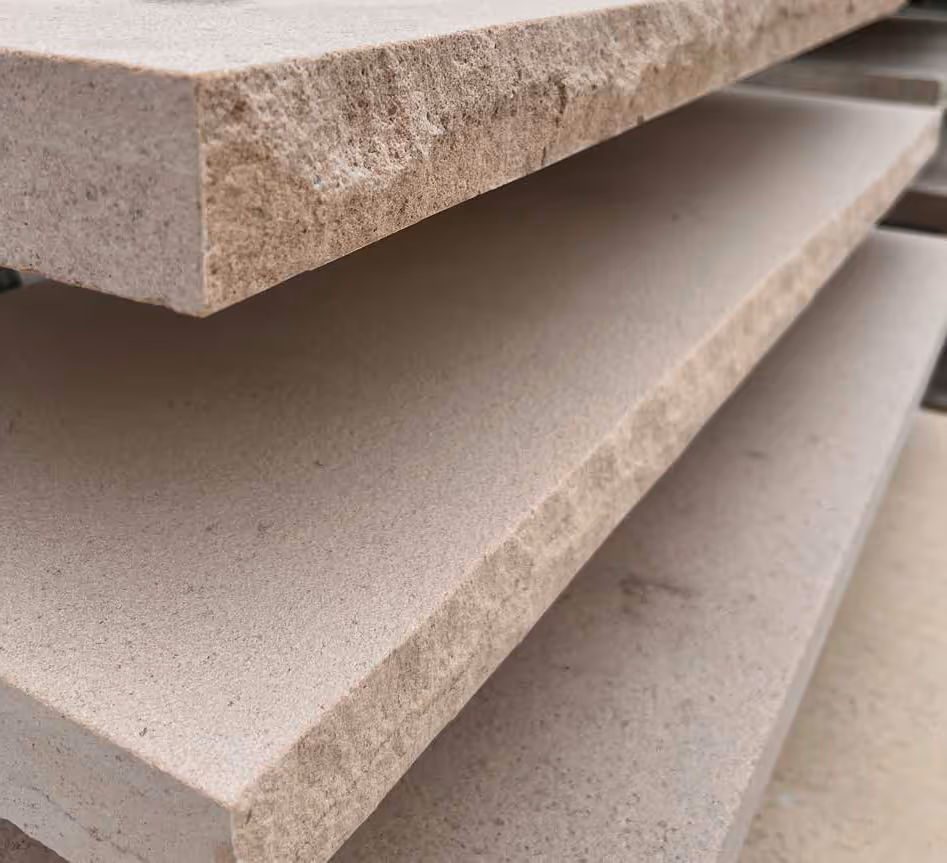
- Limestone veneers: Thin layers of limestone applied directly to walls. Perfect for installing stone veneer without adding weight to the structure.
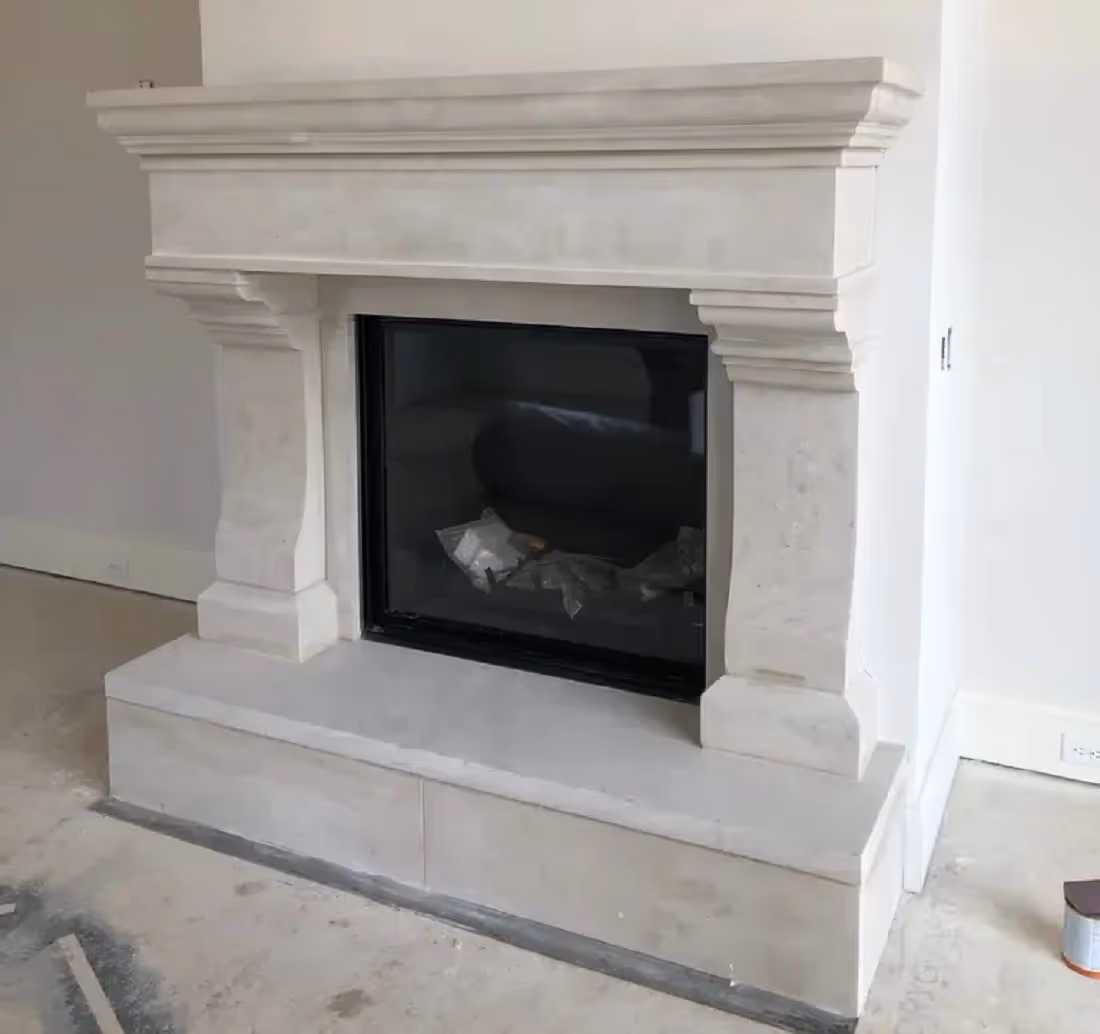
- Limestone slabs: Thicker pieces used in high-impact areas like entryways or columns. Often chosen when a bold, solid finish is needed.
Each limestone exterior option is unique and tailored to different design goals and installation requirements. It’s easy to find the perfect fit for your building project and budget constraints.
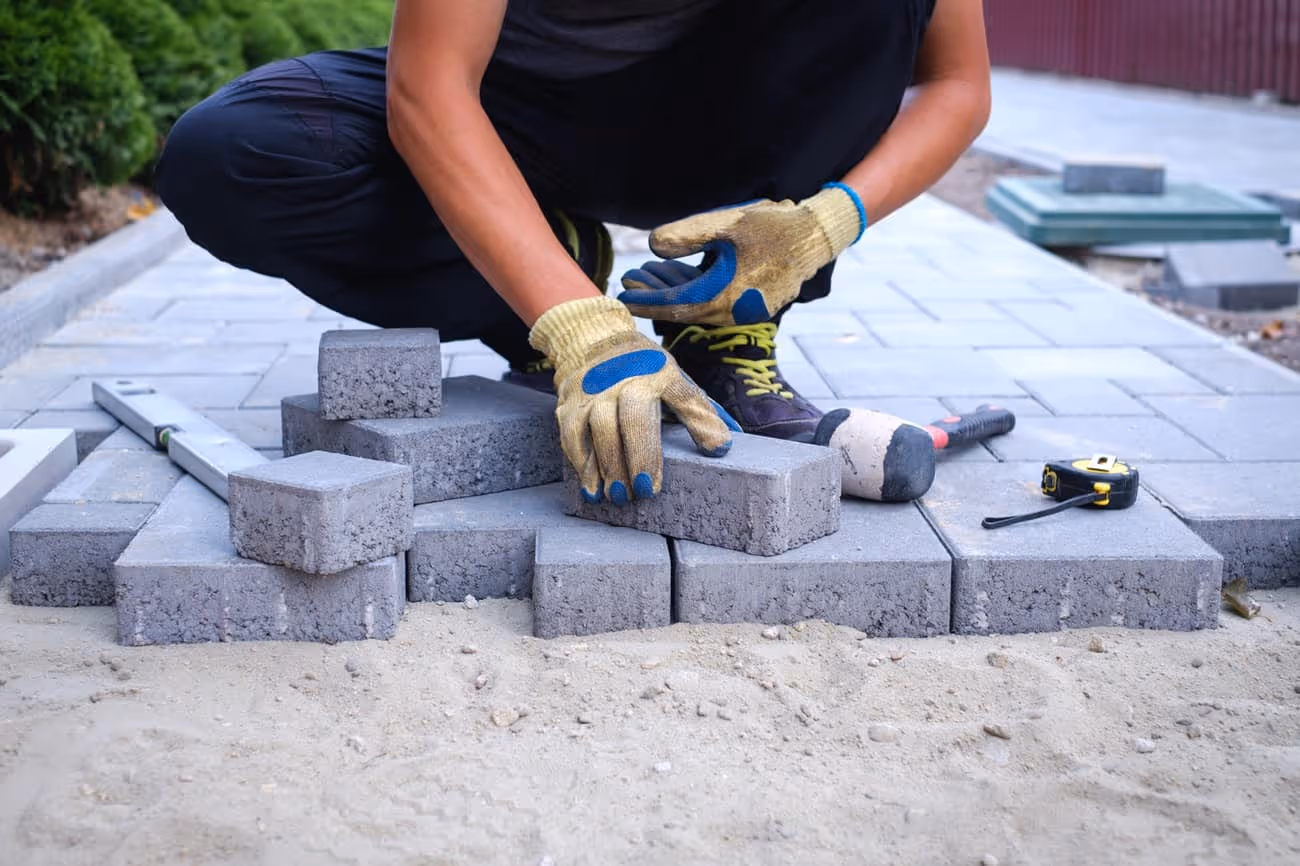
Limestone Cladding Installation for Exterior Walls and Facades
If this happens to be your first time working with limestone cladding, here are the steps to take:
1. Prepare the Surface
Before applying limestone cladding, inspect the wall for cracks, moisture, or uneven areas. Clean thoroughly by removing dirt, old paint, and damaged sections. The surface must be level, dry, and stable to ensure proper adhesion.
Limestone adds weight, so ensure that the structure can support the load. We recommend power washing the wall and allowing it to dry — moisture behind the stone can cause long-term issues.
2. Plan & Measure
Create a detailed layout plan showing how limestone pieces will fit together. This planning phase helps you identify potential problems before installation begins and ensures efficient use of materials. Even after getting a precise estimate, it is best to buy a little more than what is needed. This will help you cover emergency needs or damages that may occur to some slabs during transportation and installation.
Verify local building code requirements for stone cladding applications in your area. Some jurisdictions have specific requirements for attachment methods, flashing details, or structural support systems.
🧮 Quickly find out how much stone you’ll need — simply enter your project dimensions into our stone wall calculator and get instant, accurate estimates.
3. Install a Waterproof Barrier (If Needed)
Install a waterproof barrier when applying limestone cladding over wood or moisture-sensitive surfaces. Seams should overlap by at least 6 inches and seal around openings. Skip this step only for concrete or masonry walls that already resist moisture.
4. Apply Adhesive or Fixing System

Use stainless steel anchors, clips, or brackets to mechanically fix limestone panels directly to the structure to achieve secure, long-lasting support. For smaller tiles or thin veneer, apply high-strength adhesive with a notched trowel over a properly prepared surface.
Adhesive mix recipe: Mix 1 part Portland cement, 3 parts fine sand, and 1 part lime putty. Add water gradually until smooth, and add polymer (if needed). Use the mixture within 30 minutes.
5. Mount the Limestone Cladding
Start installation at the bottom of each wall section, working upward, course by course. This approach ensures that weight is distributed properly and allows you to maintain a level installation throughout the project.
Set each limestone piece with care, checking alignment in both directions before securing. Use spacers for consistent 3/8" to 1/2" mortar joints, based on your design. Apply mortar once the layout is confirmed, working section by section to maintain pattern consistency and catch issues early.
This step is key when installing stone veneer, slabs, or panels for a neat, uniform surface.
6. Finish, Clean & Seal
Check for gaps or misalignments and make adjustments before the mortar sets. Once dry, clean the surface with water and a soft brush. Use a neutral solution for limestone cleaning. Once you are confident in the work, apply a liquid coating to the limestone facade. This prevents mold growth and preserves surface luster.
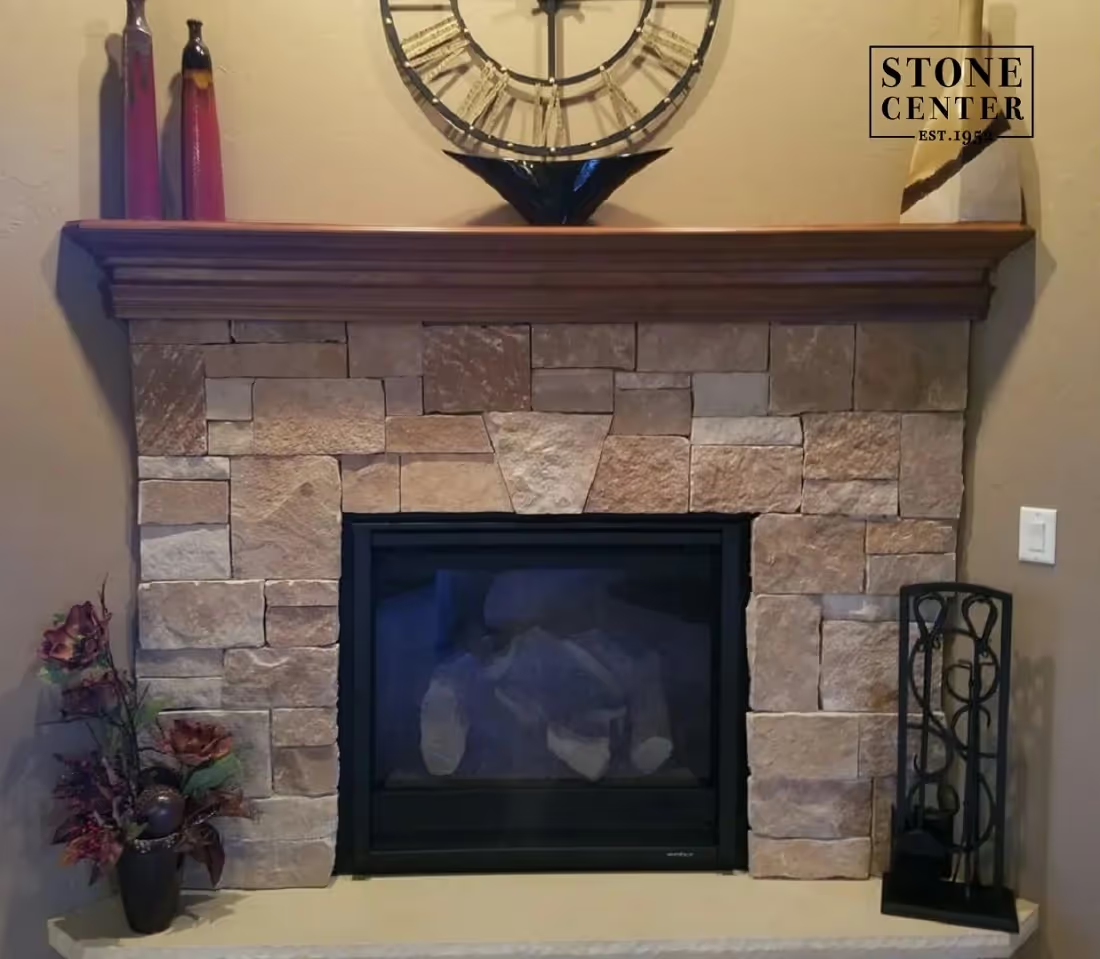
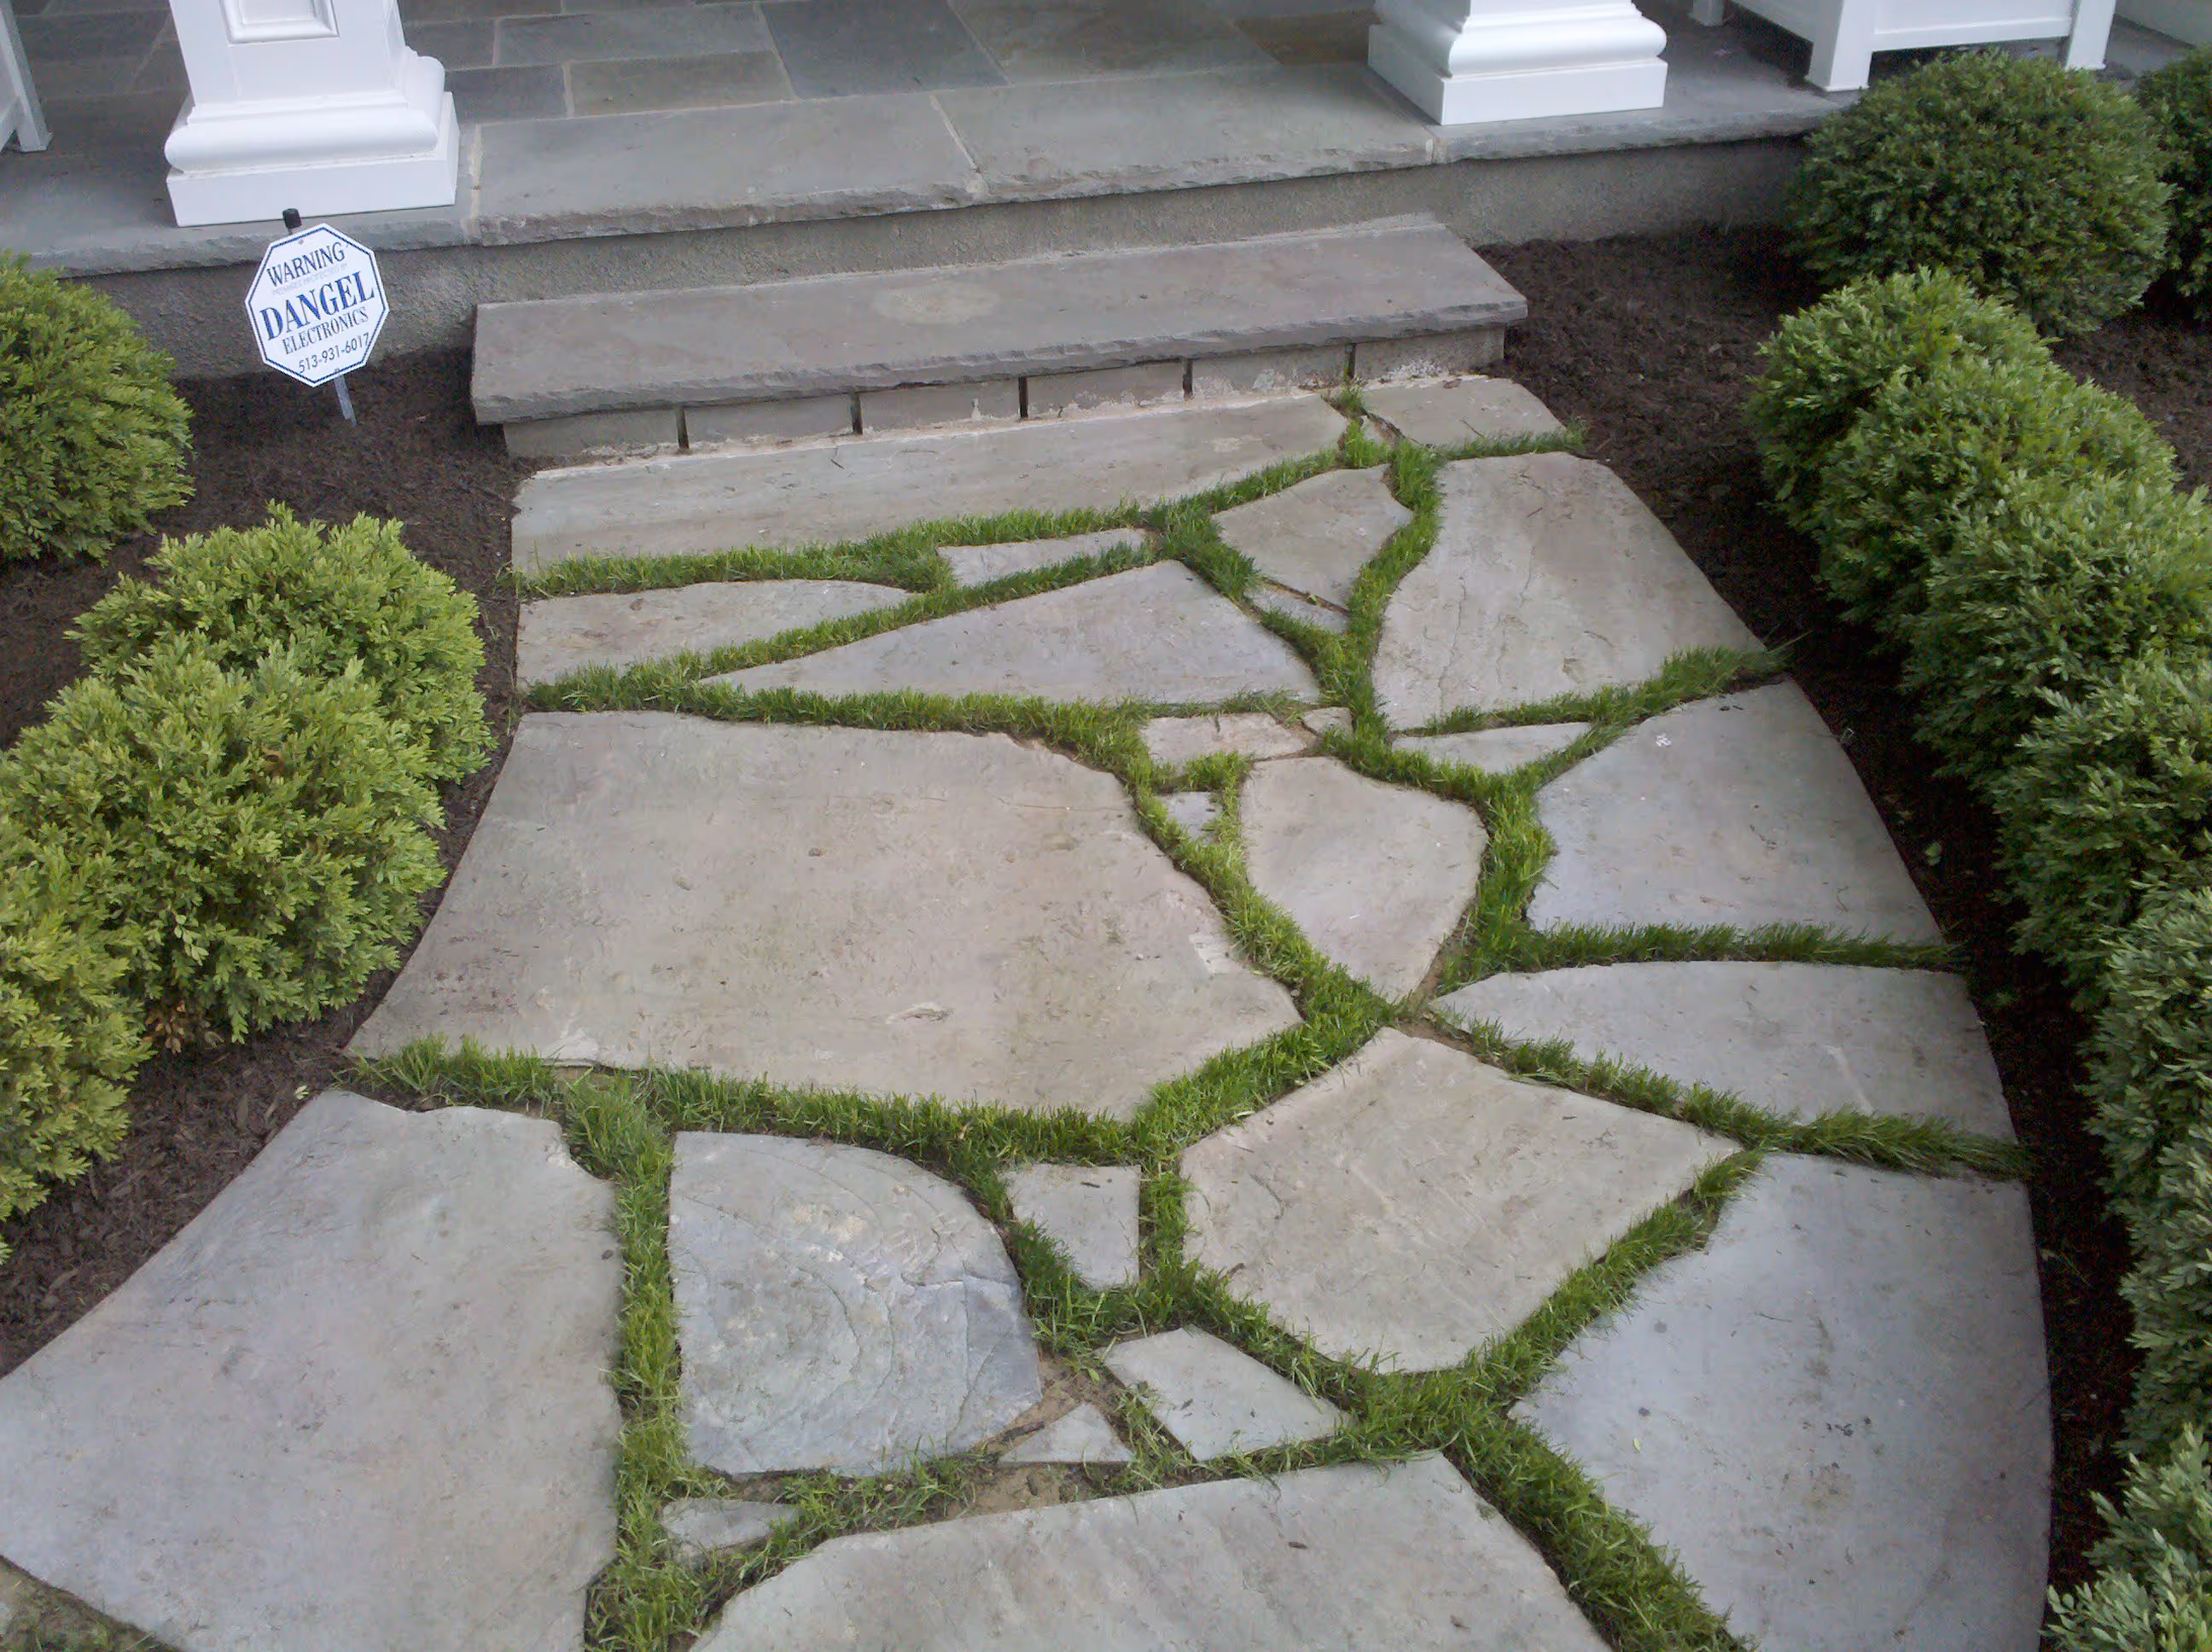
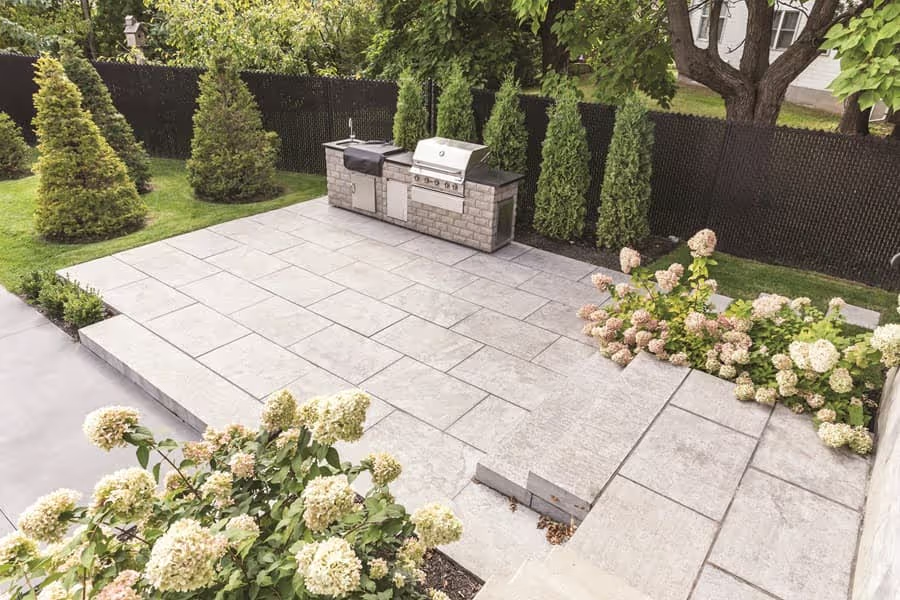
Need inspiration? See how our limestone exterior products bring outdoor spaces to life. Browse the portfolio for real project ideas and long-lasting design inspiration!
#gallery_start

#gallery_end
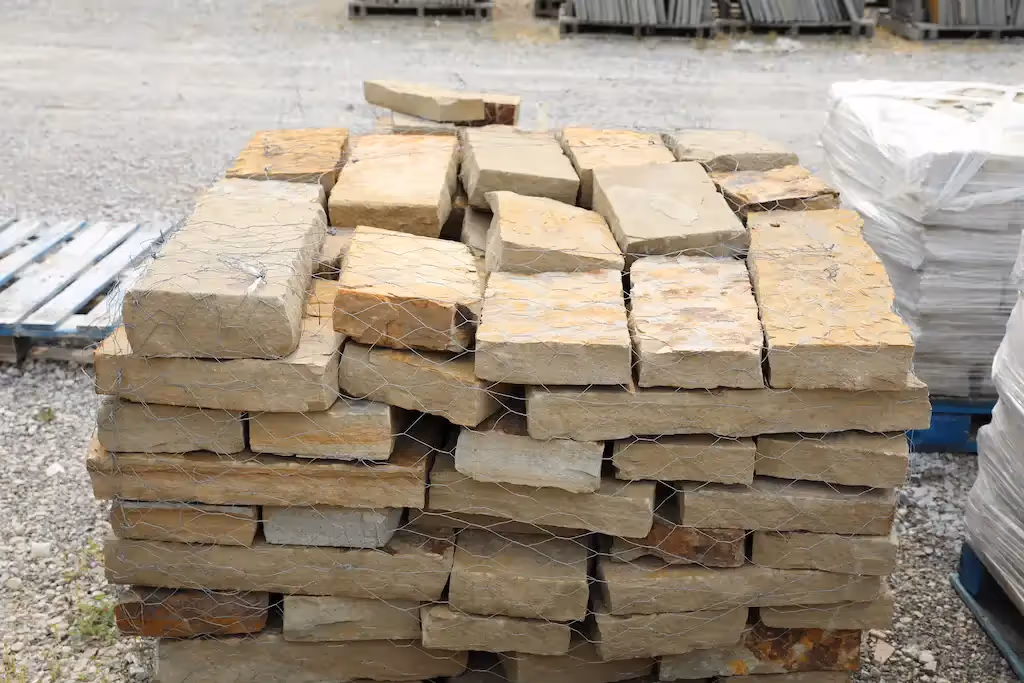
Limestone vs. Alternative Stone Cladding Materials
Choosing the right natural stone for house exterior applications means you need to understand how different materials perform in various conditions and applications. Here's how limestone compares to other popular stone cladding options:
Limestone strikes an excellent balance between cost, appearance, and performance for most residential and commercial applications. While granite and slate offer superior hardness, limestone's workability and natural beauty make it the preferred choice for projects where aesthetics matter as much as durability.
Make Your Limestone Decision with Confidence
Finally, you need to ensure your work is done perfectly. Look out for evident flaws and fix them if you can. Once you are confident in the work, apply a liquid coating to the limestone facade. This prevents mold growth and preserves surface luster.
At Stone Center, we’re proud to offer complete material selection guidance and expert custom stone cutting services in Columbus and Cincinnati to ensure your limestone cladding project reflects your exact vision.
With years of experience, advanced technology, and a passion for excellent customer service, the Stone Center team supports homeowners in completing their builds according to specific plans and design goals. Contact us today to discuss your project!
FAQ
.avif)
Jon, the owner of Stone Center, is a knowledgeable expert in natural stone products, specializing in various types of stone for landscaping and architectural projects. Passionate about promoting the beauty and versatility of natural stone, Jon aims to use these blogs to inspire readers with creative ideas to upgrade their homes.


Check Out Our Products You May Like
French Chateau
Silver Grey
.avif)
Indiana Splitface
$450 - $600 (per ton)
Ozark 8" 2-3" Wall Stone
.avif)
Fond Du Lac
$400 - $500
.avif)
Jurassic
$400 - $700
How much does it cost to get a stone restored?
How much you end up spending to restore stone varies on the type of stone, the technique, and the stone’s current condition. Stone in good condition will cost less to restore, whereas stone that has a lot of wear and tear may require a longer restoration.