- Stone Center
- Blog
Stone Veneer Installation Guide: 5 Essential Steps for Success
8/9/2025
9/8/2025
Stone Veneer Installation Guide: 5 Essential Steps for Success
Stone veneer transforms ordinary walls into stunning focal points — without the hefty price tag of solid stone construction. Whether you're updating your home's exterior, creating a rustic fireplace surround, or adding visual interest to an outdoor kitchen, stone veneer delivers timeless beauty with surprising durability.
However, installation demands more than simply sticking rocks to your wall. Poor technique leads to water damage, loose veneer, and expensive repairs that'll haunt you for years. Let's dive into everything you need — from DIY prep to pro-level polish — so your stone veneer project succeeds the first time!
What Is Stone Veneer?
Stone veneer creates the authentic appearance of solid stone construction using thin layers of natural or manufactured stone. It’s a budget-friendly alternative that delivers real stone beauty while staying lighter, easier to install, and more cost-effective than traditional masonry methods.
#spoilers_start
Natural Stone Veneer
Natural stone veneer gets cut directly from real stone quarries, typically measuring 3/4 to 1 1/4 inches thick. Each piece has unique grain patterns, color variations, and natural texture that only genuine stone can provide. The material offers exceptional durability and weather resistance, making it perfect for exterior applications where authentic beauty matters most.
#spoilers_end
#spoilers_start
Manufactured Stone Veneer
Manufactured stone veneer combines concrete, pigments, and advanced molding techniques to replicate natural stone's appearance. Modern production creates incredibly realistic textures and colors while maintaining consistent sizing for easier installation. This budget-friendly option weighs significantly less than natural stone veneer and reduces the structural load requirements.
#spoilers_end
#spoilers_start
Full Bed vs. Thin Stone Veneer
Understanding the differences between full-bed and thin stone veneer helps you choose the right material for your project. Full-bed veneer offers maximum durability for high-traffic areas, while thin stone veneer provides easier handling and lower installation costs for most residential applications.
#spoilers_end
DIY vs. Professional Installation: What You Need to Know
Stone veneer installation looks deceptively simple until moisture problems emerge. Be careful, as DIY mistakes create serious consequences that extend far beyond cosmetic issues. Poor surface prep causes veneer to fail within two years. Stones fall off, moisture gets trapped behind the wall, and mold or freeze-thaw damage ruins the structure and curb appeal.
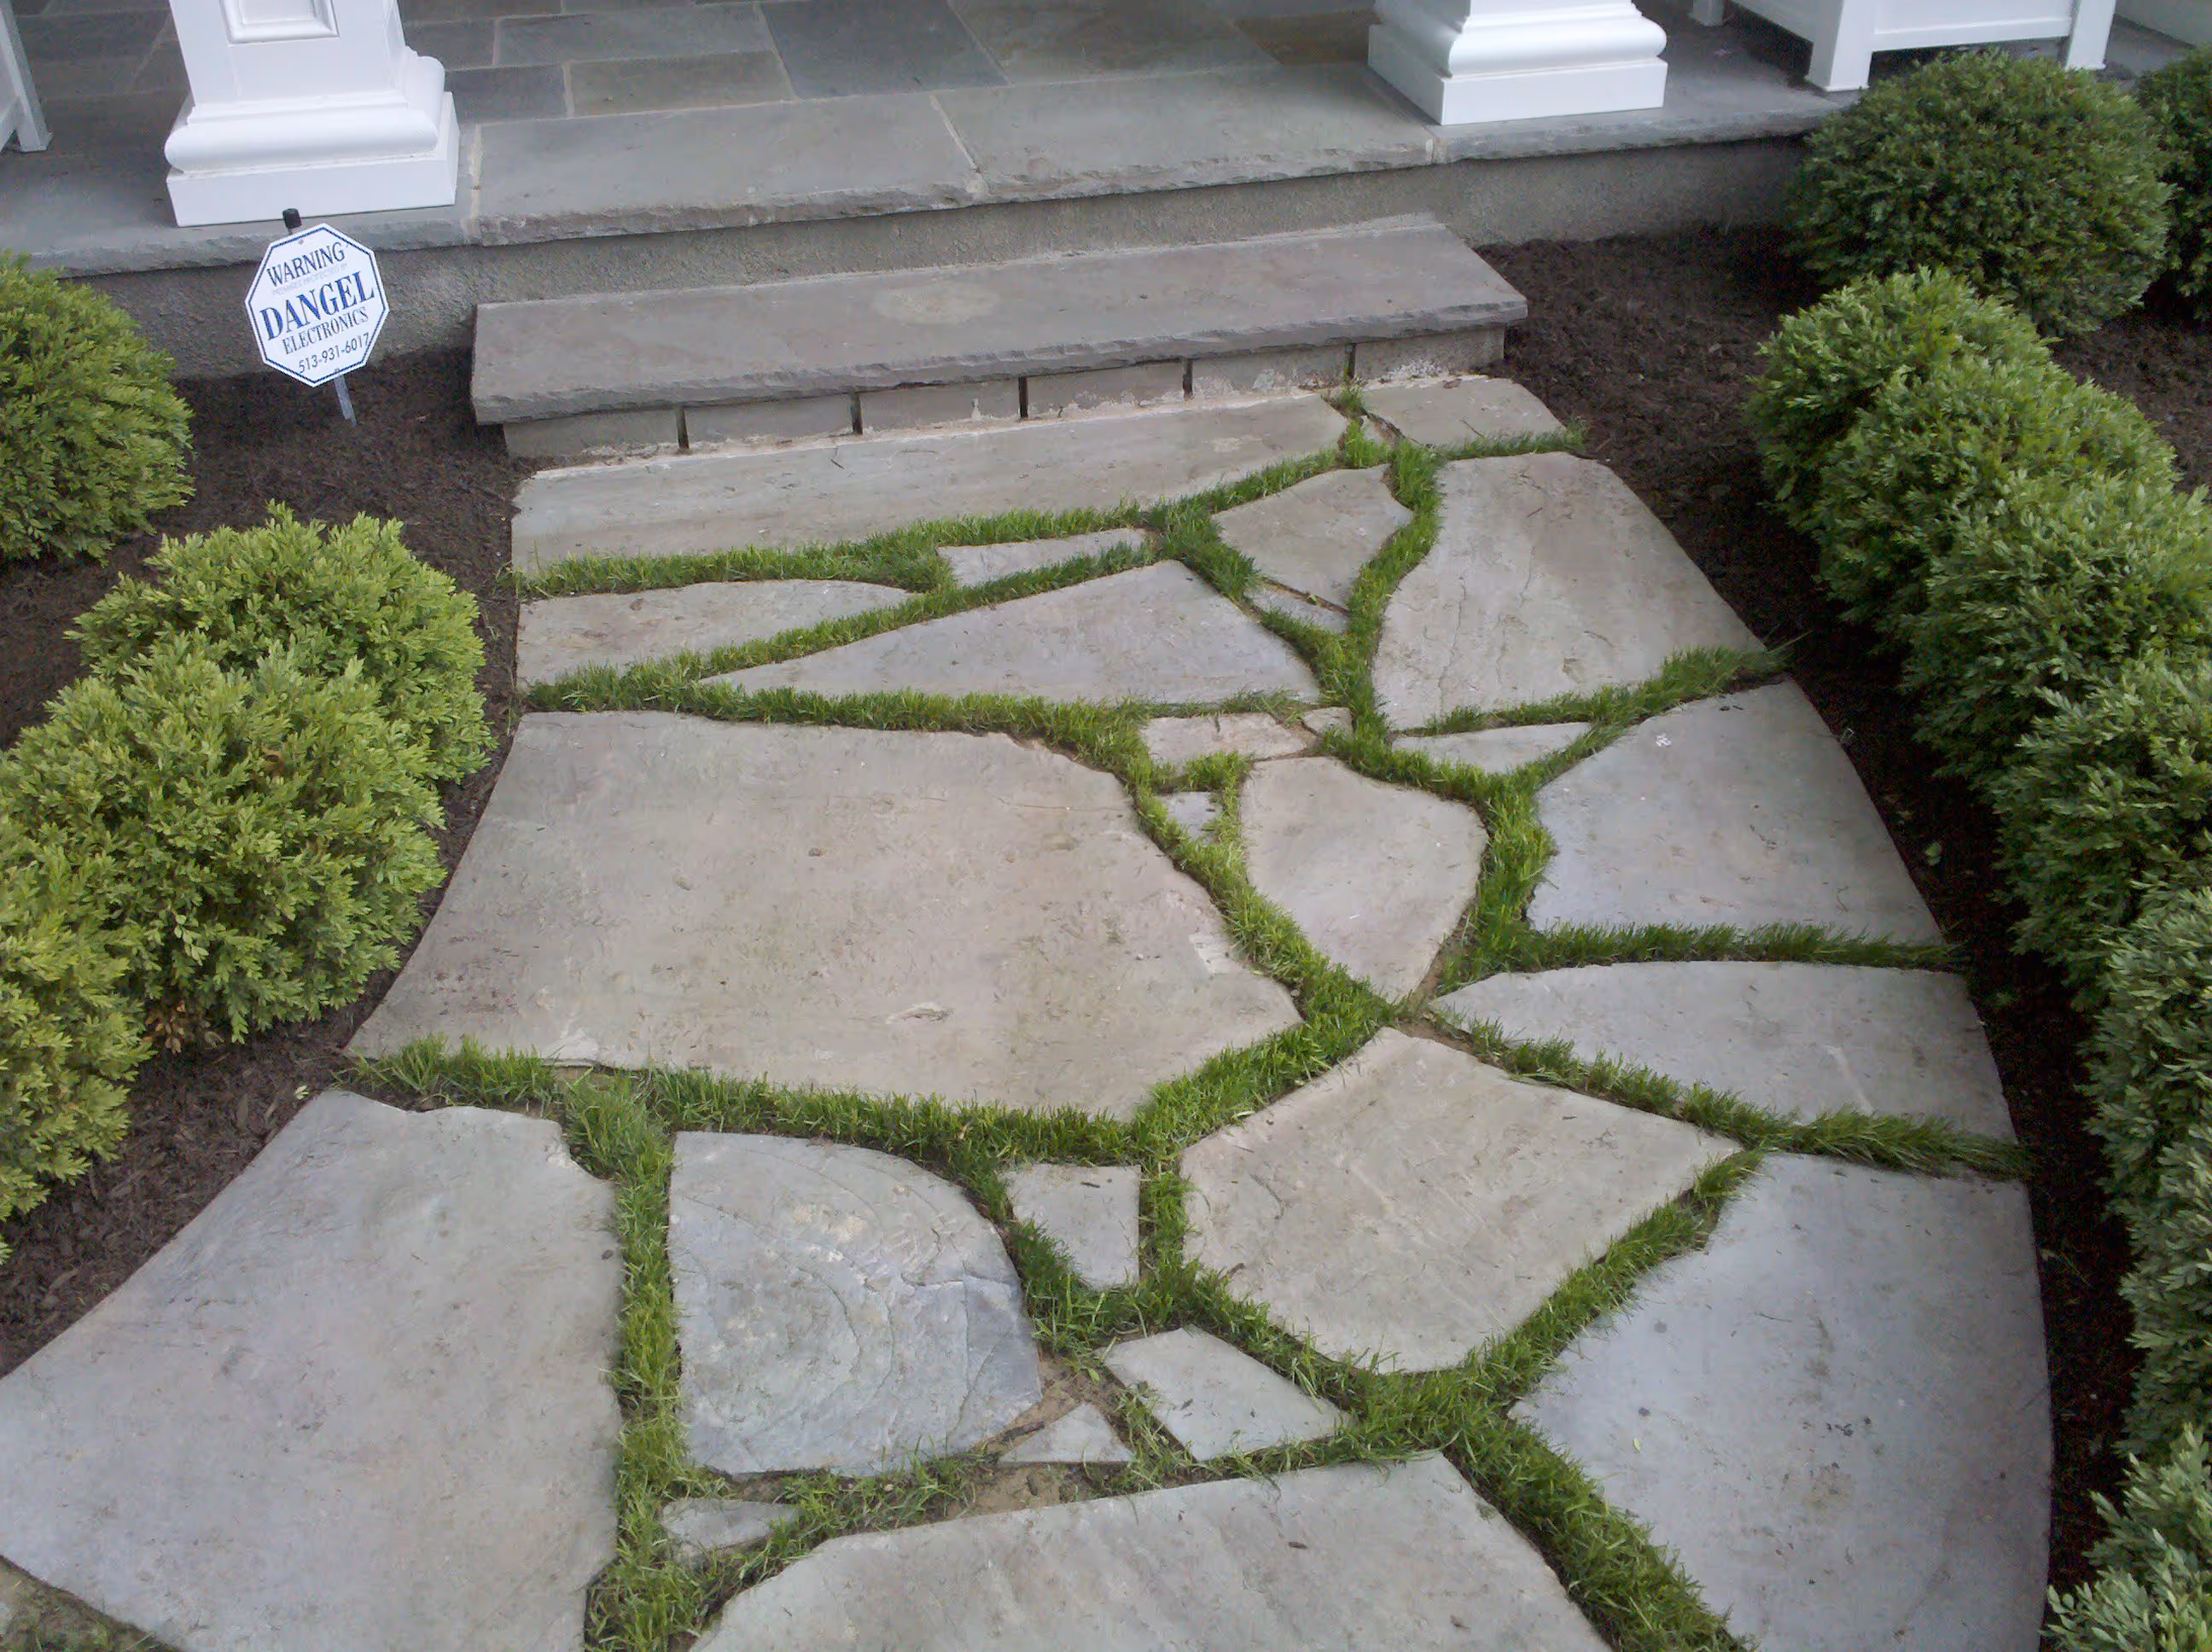
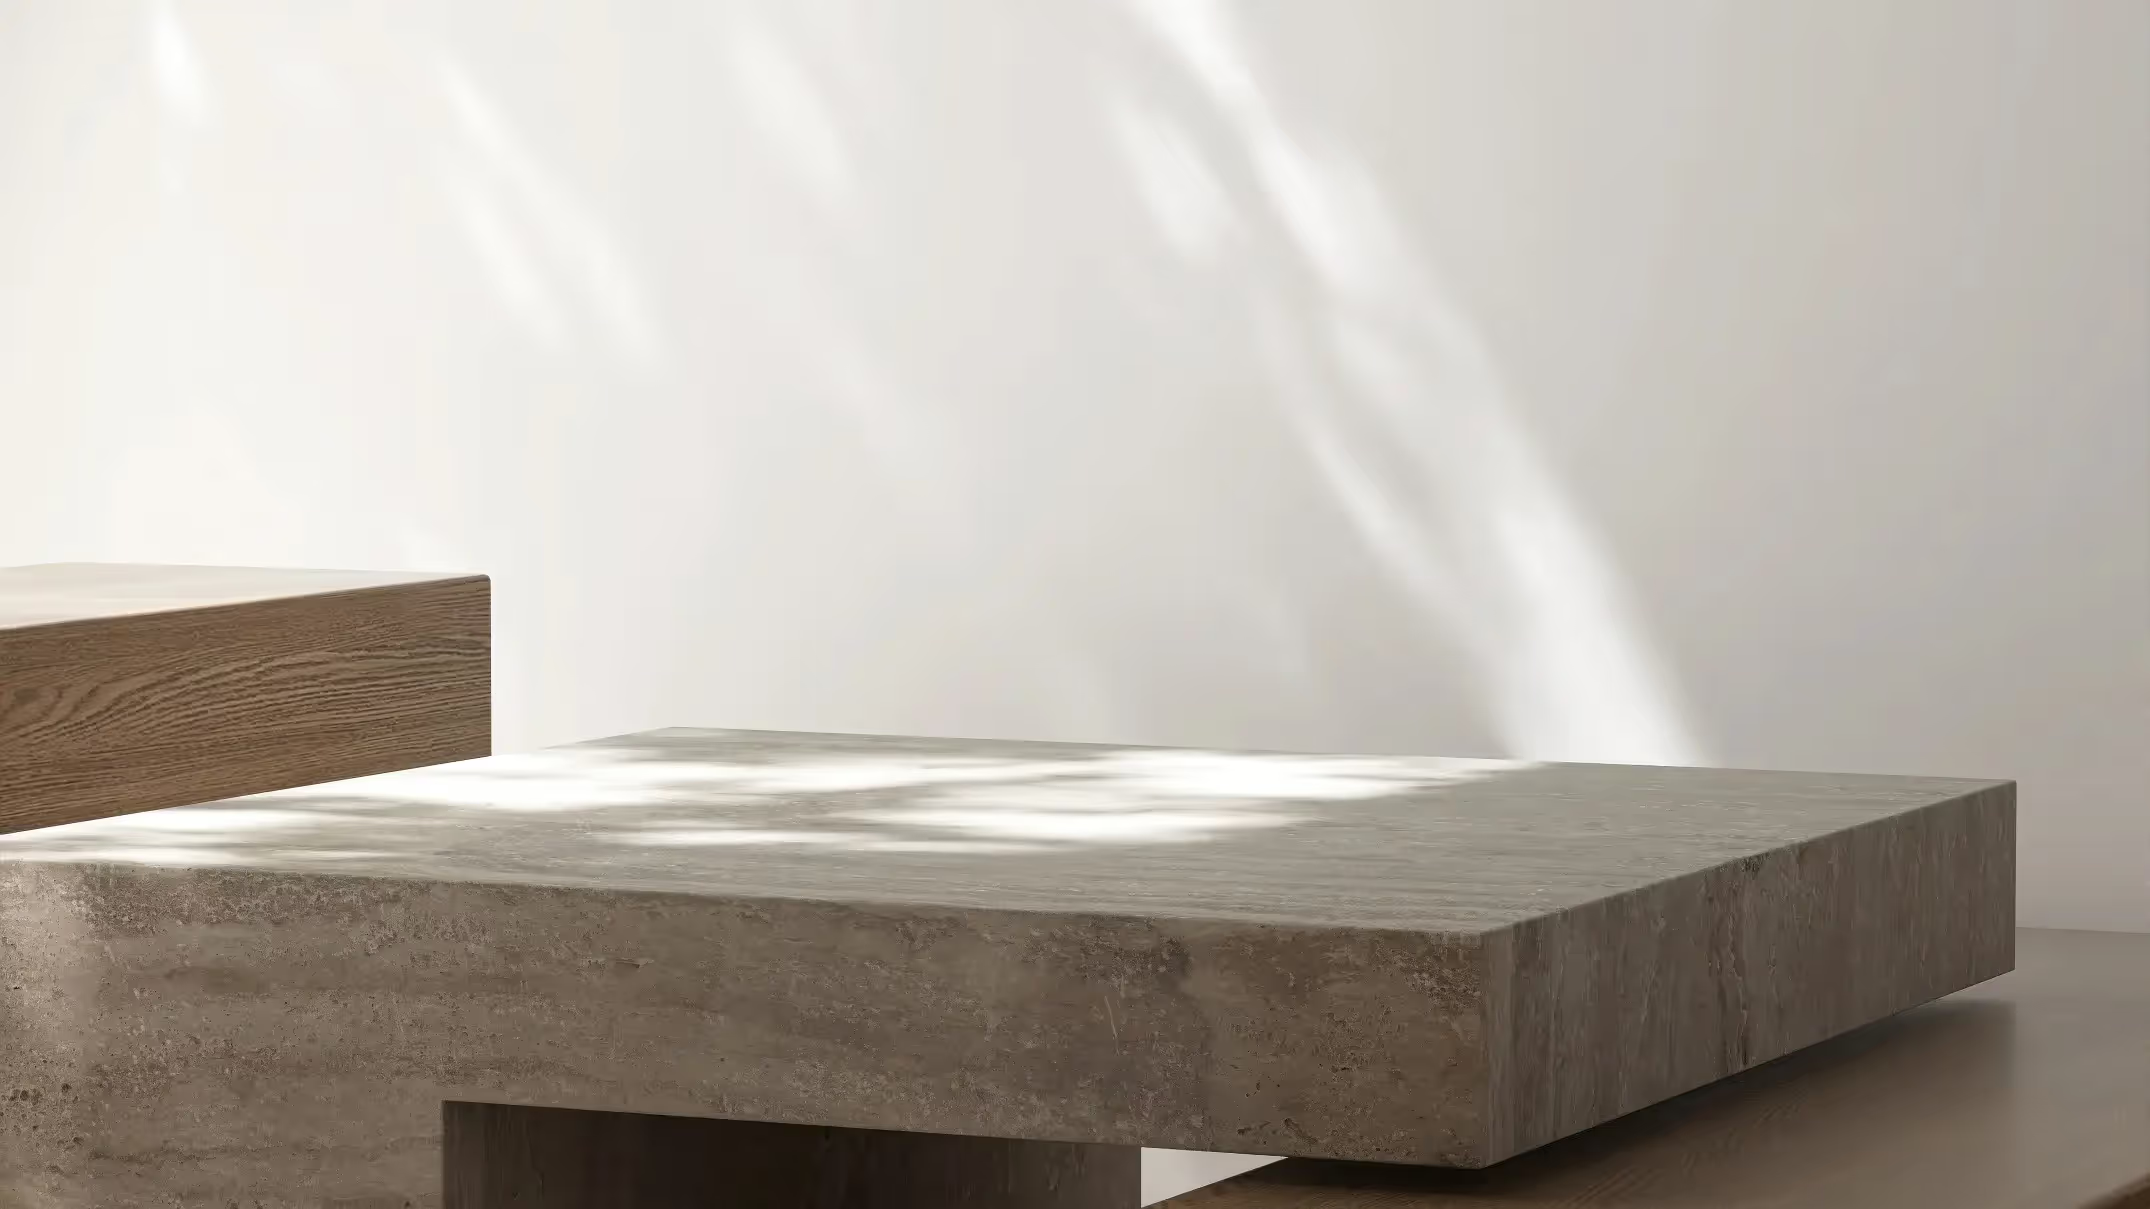
Look at the comparison below to see what improper vs. expert installation can look like visually.
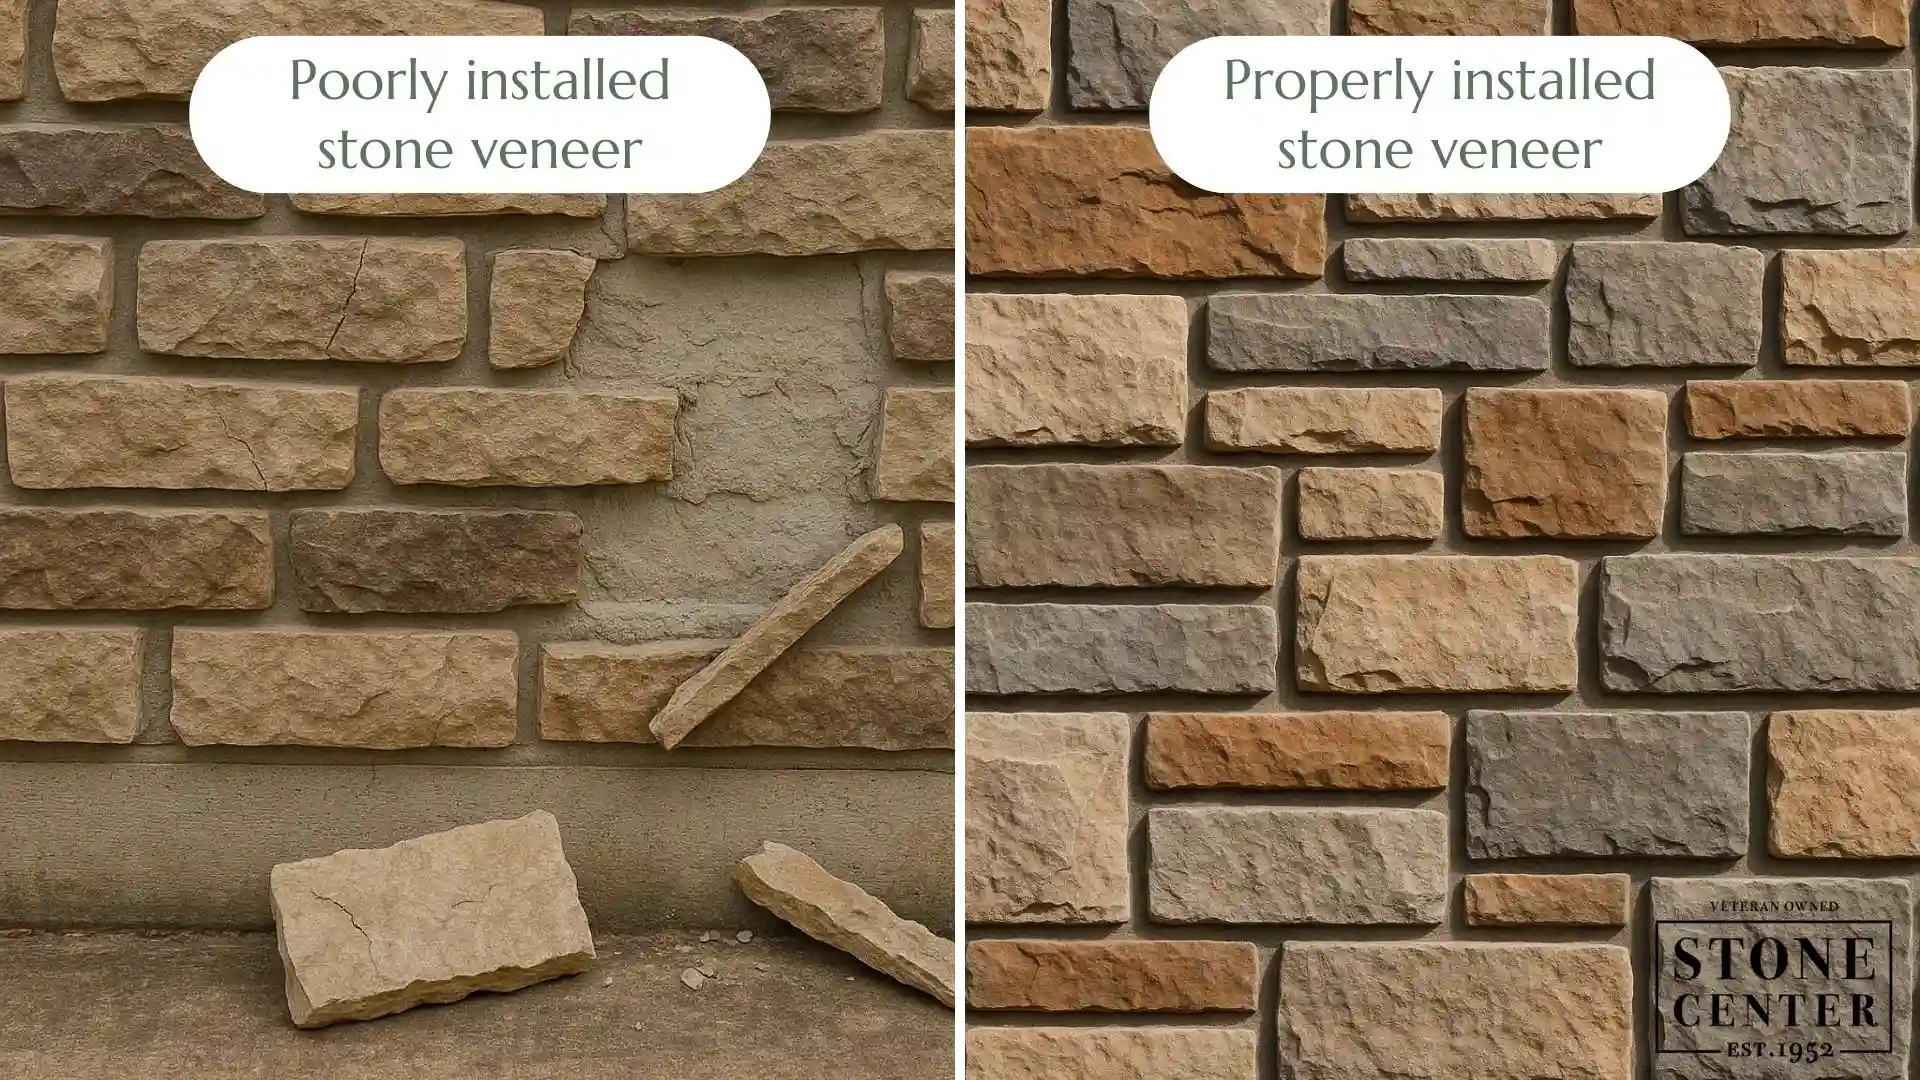
This is why professional installation is preferred, as experts can avoid these costly disasters. Here's why professional installation is worth it.
- Code compliance: Meets all structural and safety requirements.
- Moisture management: Advanced waterproofing prevents damage.
- Tool access: Professional-grade equipment ensures precision.
- Warranty coverage: Protected investment with guaranteed results.
- Efficiency: Faster completion saves time and reduces weather exposure.
While it’s not mandatory to hire professionals, we recommend following our detailed guide below if you’re tackling this project yourself.
Tools & Materials You’ll Need
Getting the right tools and materials is half the battle. Let’s start with what you’ll need to work with:
Essential tools:
- Masonry trowel for mortar application
- 4-foot level for maintaining straight lines
- Masonry blade for cutting stone
- Soft bristled brush for joint finishing
- Grout bag for precise mortar placement
- Joint tool for shaping mortar lines
- Wire brush for surface cleaning
- Chalk line for layout marking
- Safety equipment (glasses, gloves, dust mask)
Required materials:
- Stone veneer pieces and corner pieces
- Type S masonry cement for durability
- Clean, sharp sand for proper mortar consistency
- Metal lath for mechanical adhesion
- Tar paper or weather-resistant barrier
- Galvanized nails or screws for secure attachment
- Clean water for mixing

Planning Your Stone Veneer Project
Smart planning prevents costly mistakes and ensures your stone veneer project achieves professional-quality results. Don’t rush and take the time upfront to understand requirements, gather materials, and prepare your workspace properly.
Climate Considerations
Different climates demand specific attention to moisture management and installation techniques. Freeze-thaw cycles, in particular, create unique challenges that require:
- Moisture protection: Enhanced barriers like tar paper or ice shield to prevent water penetration behind the veneer.
- Mortar selection: Use mortar formulated to handle thermal expansion and contraction.
- Weather timing: Schedule installation during stable, moderate conditions — ideally between 40°F and 80°F.
- Curing considerations: Allow extended drying times if temperatures are cool, to ensure proper mortar strength.
❄️ Climate tip: Avoid installing on frozen or damp surfaces. Cold weather slows curing and affects adhesion. Plan installation during moderate temperatures between 40-80°F for best results.
Local Building Codes and Permits
Don’t ignore building codes, as they risk safety and liability. Most areas require permits for stone veneer, especially on exteriors. Check with your local department — codes like Ohio's building codes (following IBC standards) outline attachment, moisture barriers, and load standards to ensure safe, inspection-ready installations. Fireplace surrounds also require specific clearances and materials.
Calculating Materials

Accurate material calculations prevent project delays and reduce waste. Before starting your stone veneer installation, carefully measure and calculate:
- Measure the wall area: Length × height
- Subtract openings: Deduct windows/doors
- Add 10% waste factor: For cuts and breakage
- Calculate corner pieces separately
Most stone veneer gets packaged assuming 1/2-inch mortar joints. Simply adjust your estimates if you prefer wider or narrower joint spacing for aesthetic reasons.
How to Install Stone Veneer: A Step-by-Step Overview
Professional results come from following the proper sequence and technique. Each step builds on the previous one — shortcuts here create problems that impact your project for years.
Step 1: Prepare the Surface — Don't Skip This!

Beautiful stone walls begin with solid prep. Skipping it invites moisture, and harsh winters will ruin poor installations in just a few years.
- Install weather barrier: Cover the entire wall with tar paper or ice/water shield, overlapping seams by 4 inches in shingle fashion.
- Attach metal lath: Secure galvanized metal lath every 6 inches vertically and 16 inches horizontally using appropriate fasteners.
- Apply scratch coat: Apply a 1/2-inch thick scratch coat using Type S mortar and allow a full 24 hours to dry.
Scratch coat mix recipe: Combine 1 part Type S masonry cement with 2.5 parts clean sand. Add water gradually until you achieve a workable consistency that holds its shape when squeezed.
Step 2: Plan Your Layout

Dry-lay stones on the ground first to create an appealing, natural-looking pattern that avoids obvious repetition or awkward color clustering.
- Mix color tones: Mix light and dark tones naturally across your wall surface.
- Place corners: Place corner pieces correctly to create clean, professional edges.
- Balance sizes: Distribute large and small stones evenly to avoid heavy or light areas.
Here’s a pro tip: Use a chalk line to keep your rows level and maintain consistent horizontal alignment throughout the installation process.
Step 3: Install Corner Pieces First
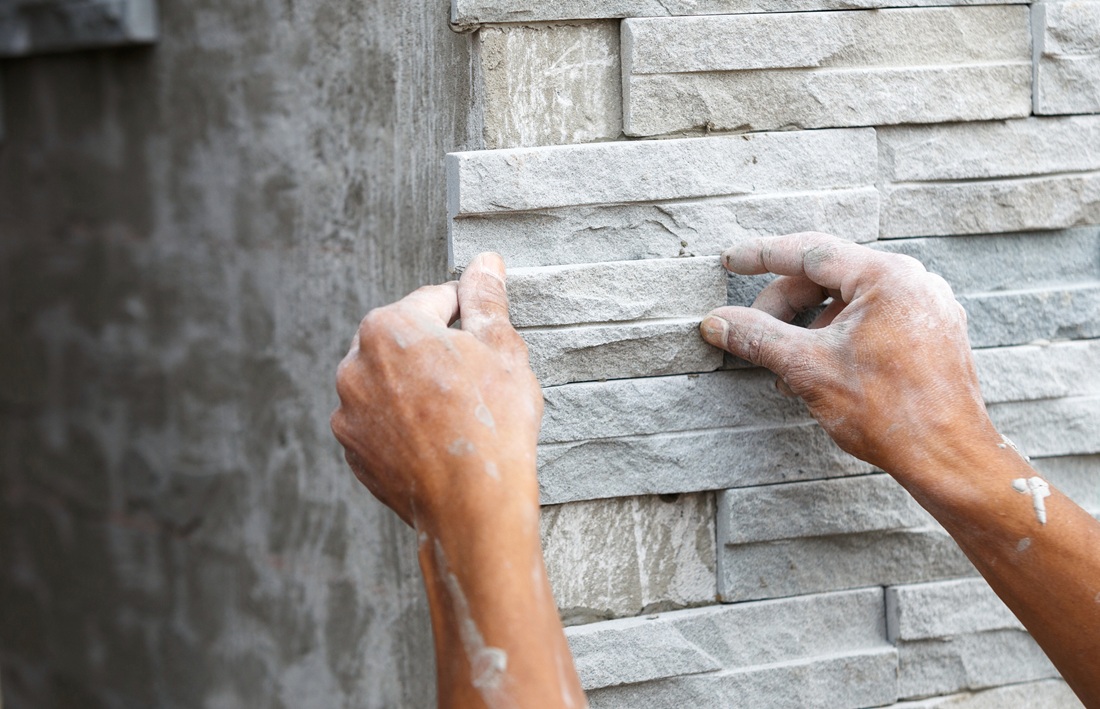
Corner pieces establish clean lines that define your entire installation's professional appearance. Start here to create reference points for the rest of your stone veneer project.
- Apply mortar: Coat both the wall and the back of the corner stone with stone veneer mortar.
- Set the stone: Press firmly into place with a slight twist to ensure strong adhesion.
- Check alignment: Use a level to confirm the piece is both plumb and level before the mortar sets.
- Clean edges: Wipe away excess mortar immediately to avoid staining the stone.
Step 4: Build Your Stone Wall

Work systematically from corners outward, maintaining consistent joint spacing and alignment. Start at the bottom and work upward to prevent stones from sliding down before the mortar sets properly.
- Prepare stones: Moisten the back of each stone to prevent it from drawing moisture from wet mortar.
- Apply mortar: "Butter" the stone back with a thin layer of mortar using your trowel.
- Attach the wall: Press into the wall with a slight wiggling motion to achieve proper suction and adhesion.
Step 5: Grout the Joints
Joint grouting creates the finished appearance that separates amateur work from professional installation.
- Prepare grout mixture: Use the same mortar mix as installation, adjusting the consistency to be slightly wetter for easier application through your grout bag.
- Fill the joints: Use a grout bag (like frosting a cake) to fill all joints completely without air pockets.
- Set the time: Wait 20-30 minutes for grout to reach thumb-print firmness.
- Tool joints: Shape joints to the desired depth and profile using appropriate joint tools.
- Clean the surface: Brush gently with a soft-bristle brush to remove excess mortar and create a uniform texture.
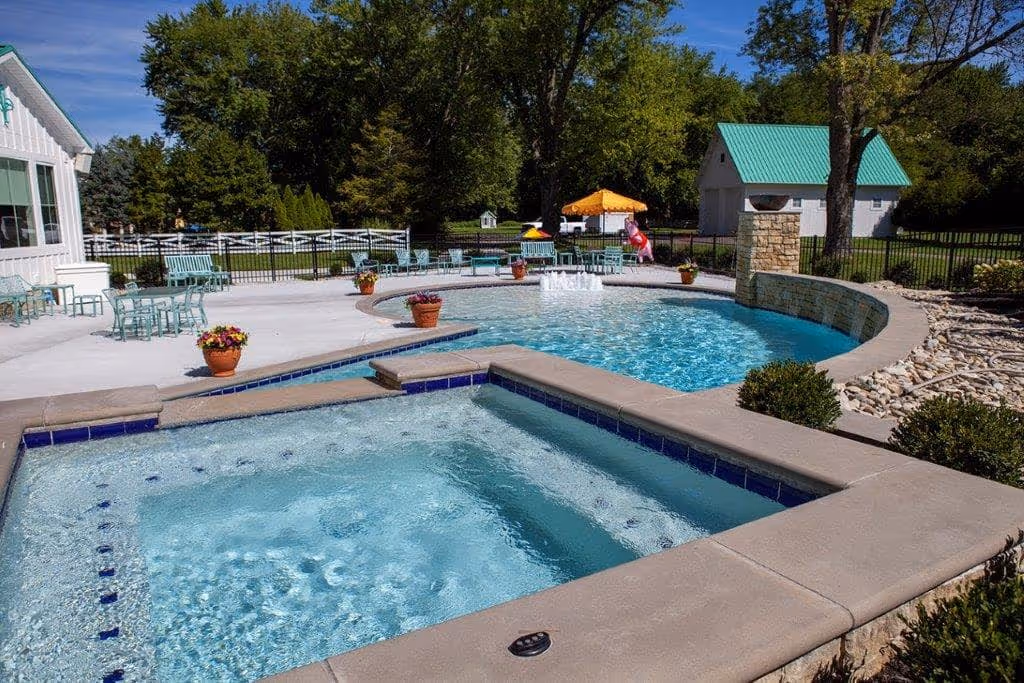
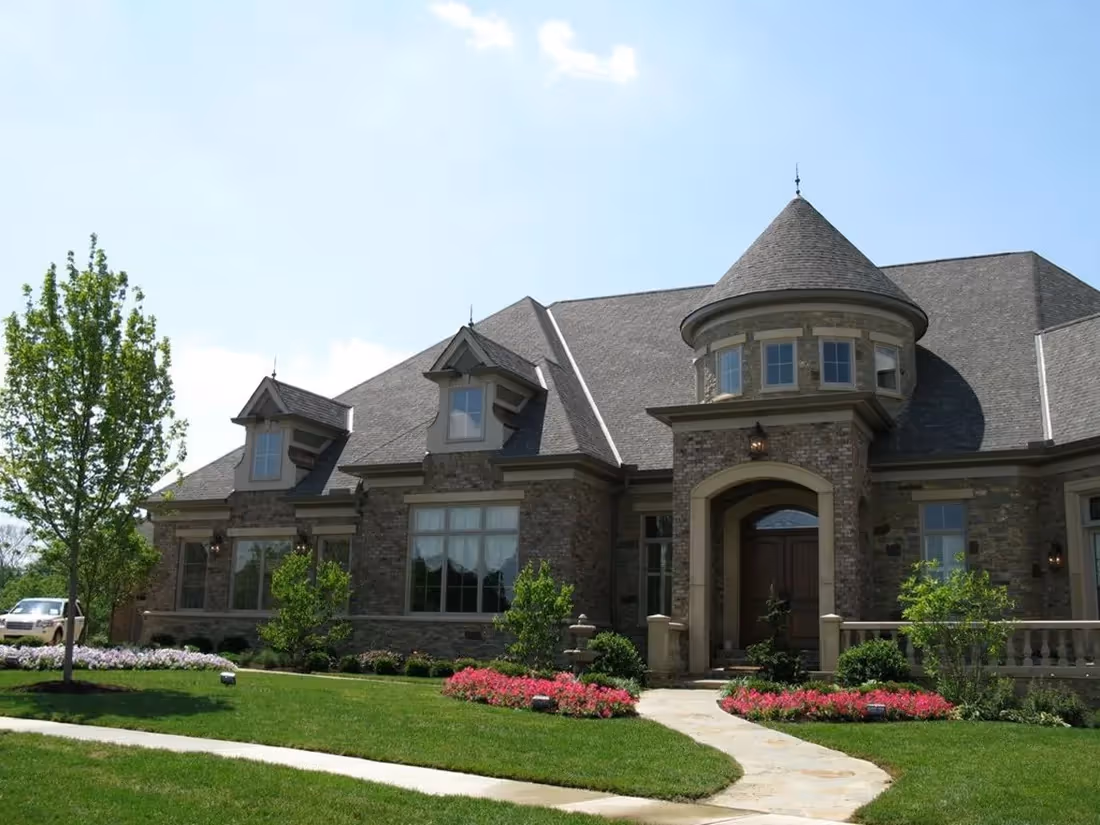
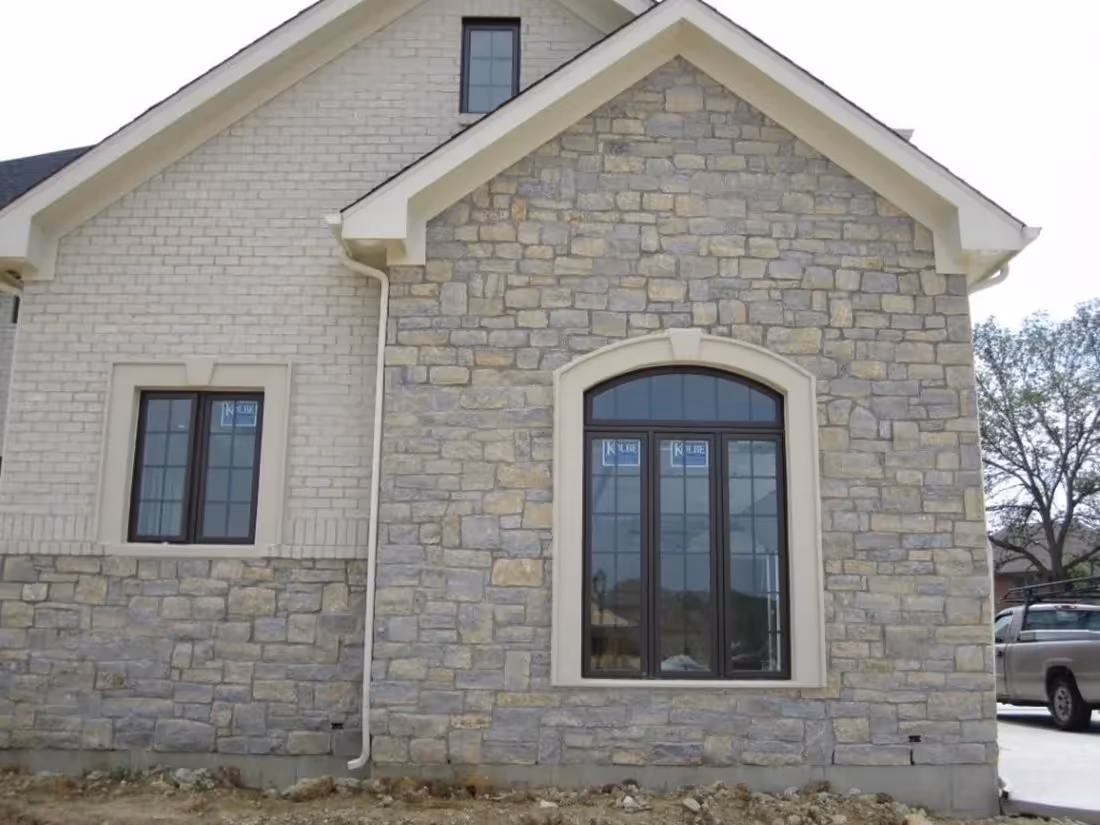
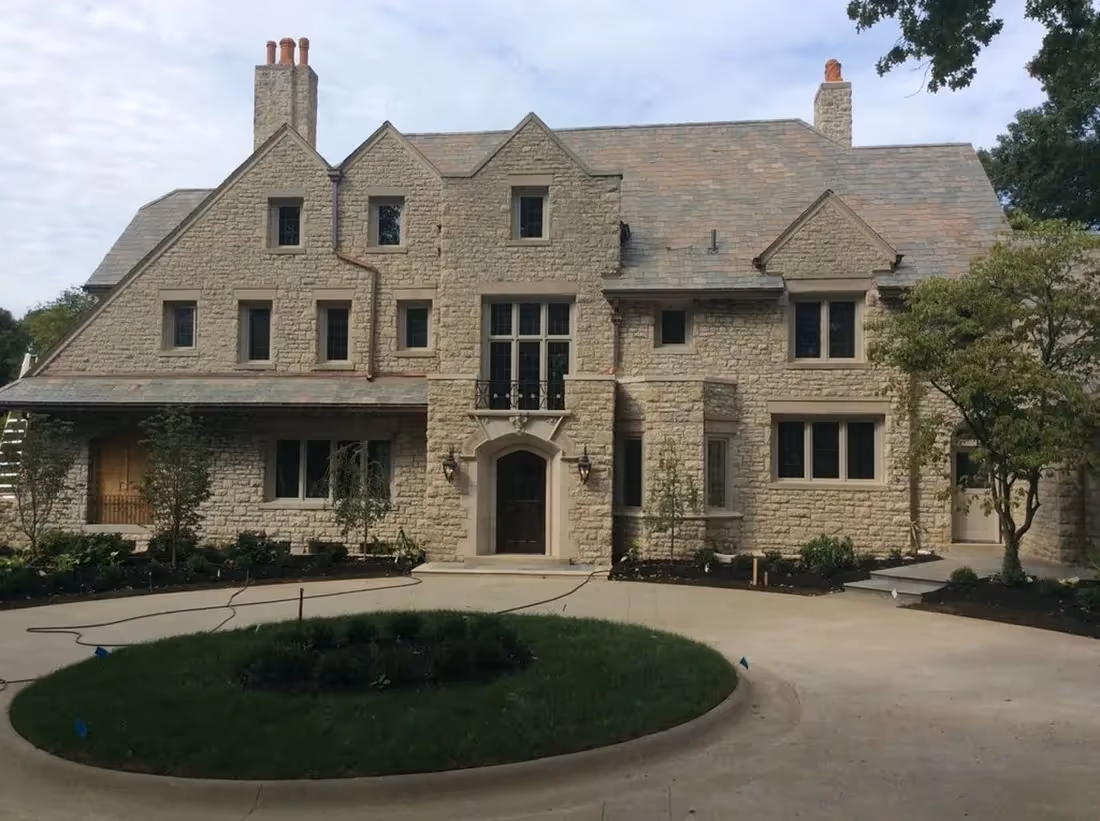
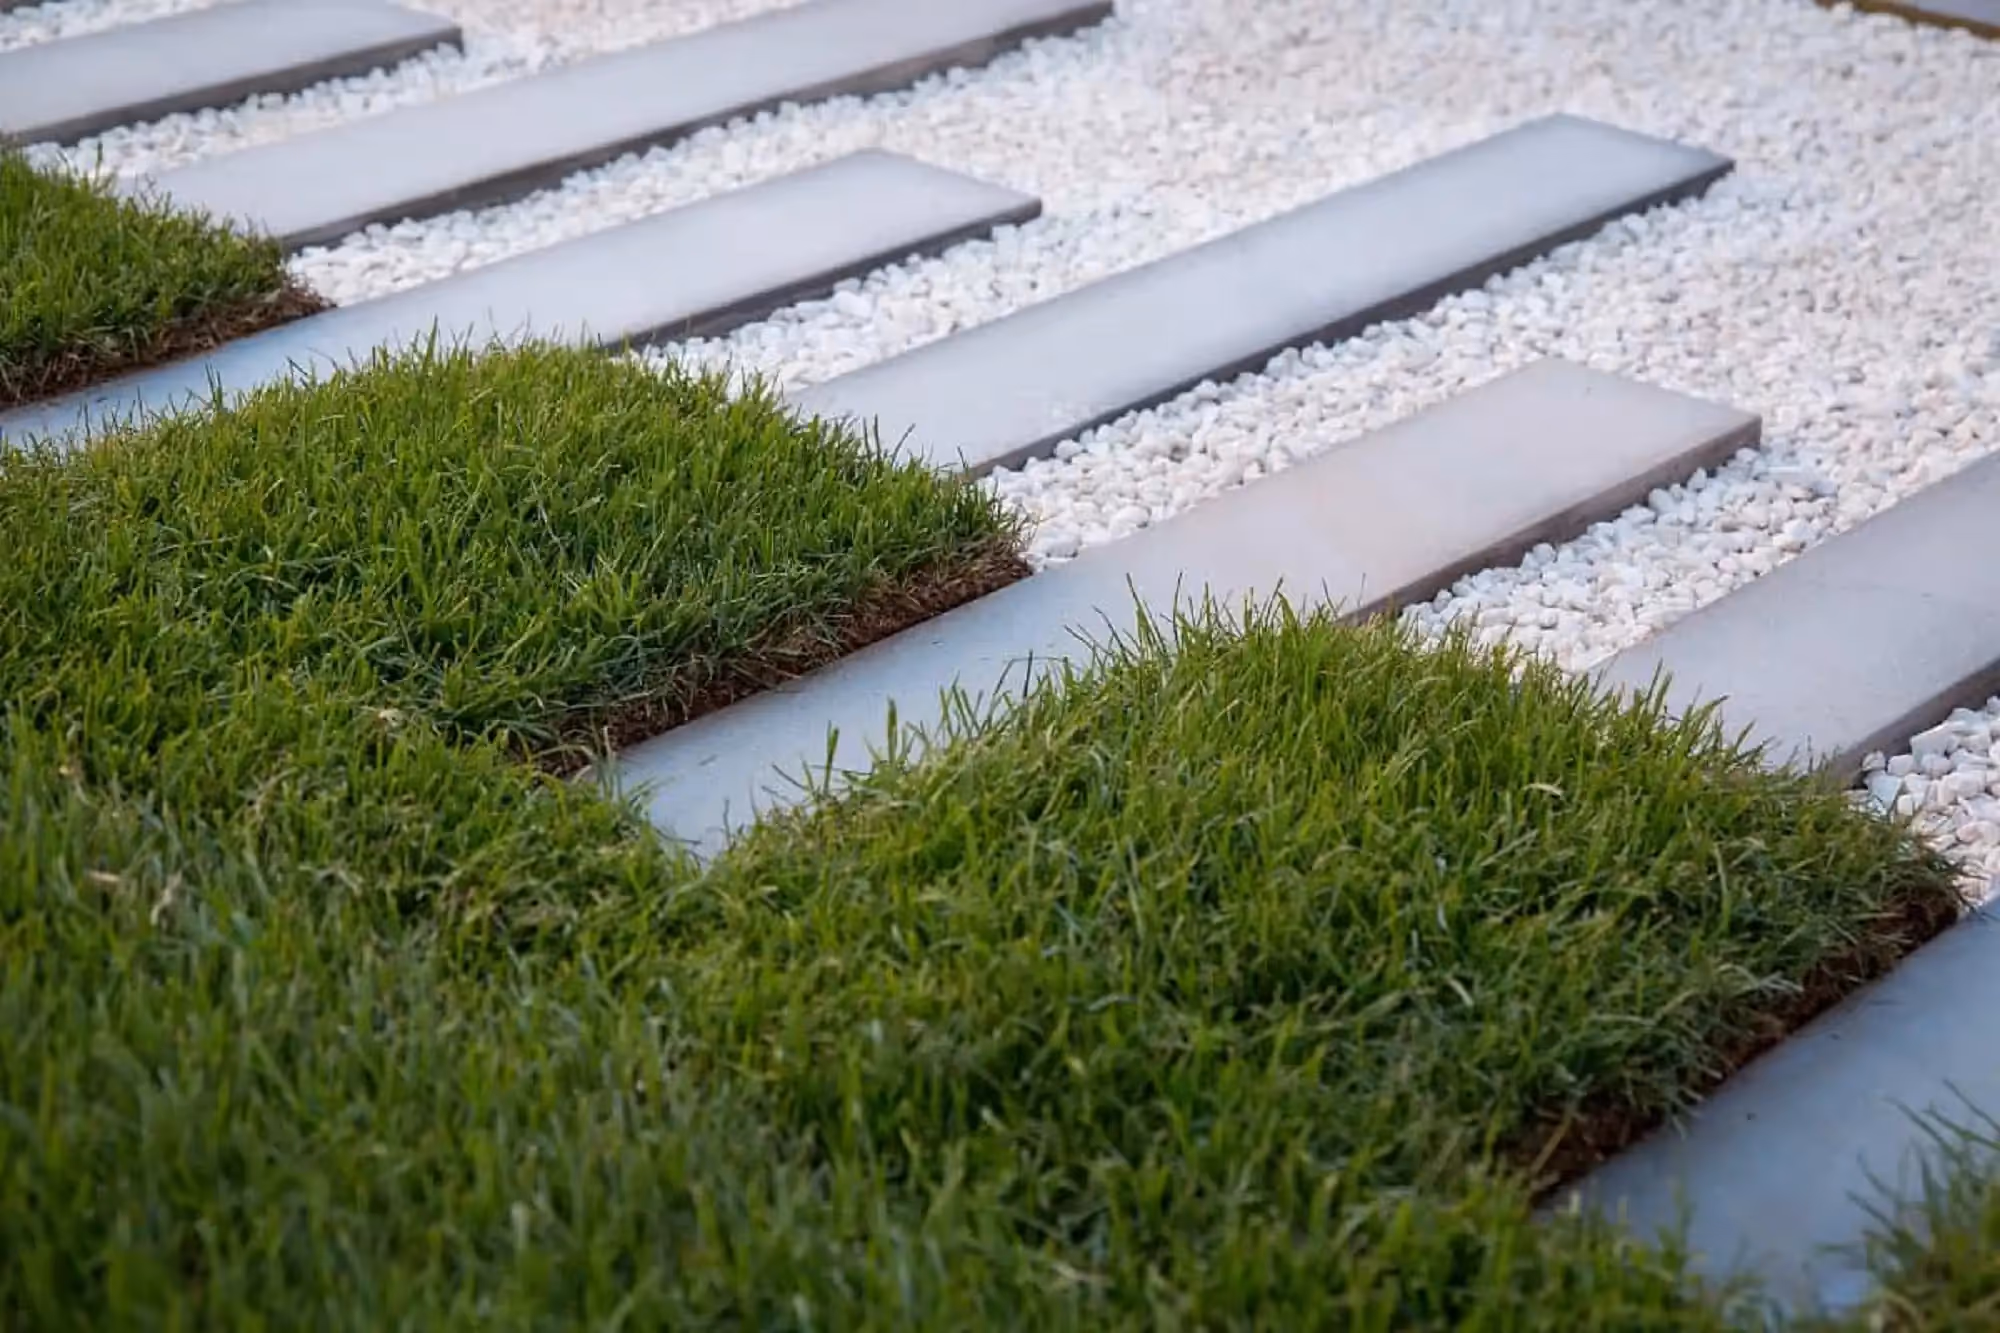
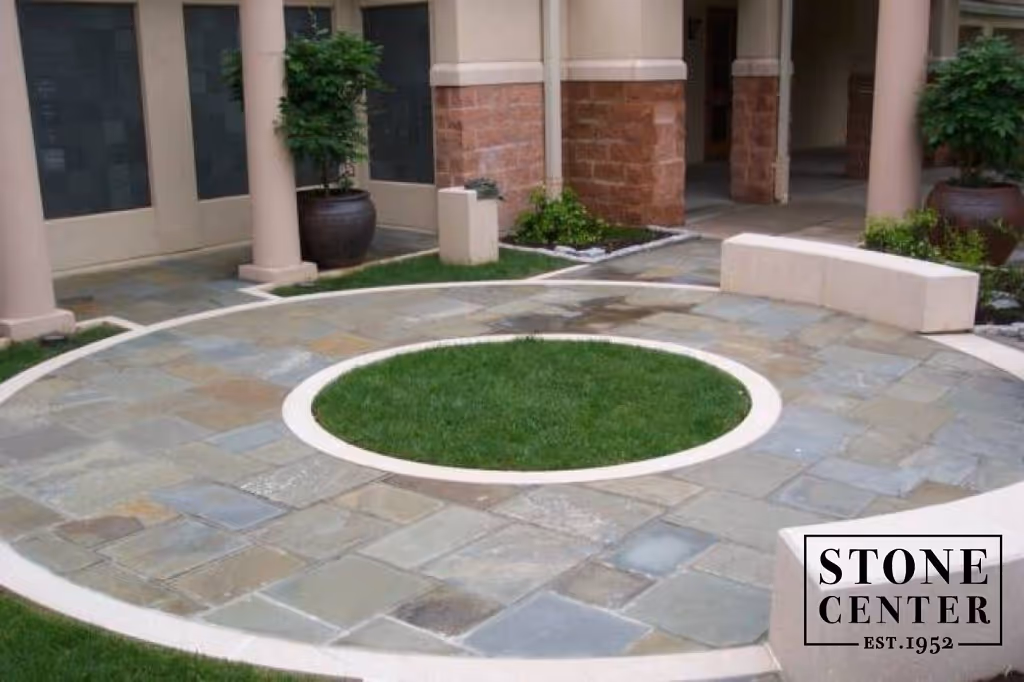
Your stone veneer installation creates lasting beauty that enhances your home's exterior and adds significant value to your property. Here’s what real projects with Stone Center materials look like:
#gallery_start

#gallery_end
Cost Considerations for Homeowners
Smart budgeting helps you make informed decisions about materials and installation methods. Understanding cost breakdowns allows you to balance quality with budget constraints effectively.
Hesitant to spend the money? We understand, however, stone veneer installation provides exceptional long-term value through enhanced curb appeal and property value increases. According to the JLC 2024 Cost vs. Value Report, manufactured stone veneer projects recouped 153 percent of their cost, making this one of the highest-return home improvements available.
Aftercare & Maintenance Tips
Your project isn’t over when the final stone is placed. Proper maintenance preserves your stone veneer's beauty while preventing expensive repairs. All it takes is a little bit of effort and regular attention to keep your installation looking fresh for decades.
Essential maintenance tasks include:
- Annual inspections: Check for loose stones, damaged mortar joints, or signs of water infiltration during spring and fall.
- Gentle cleaning: Use mild detergent and a soft brush for routine cleaning; avoid pressure washing above 1000 PSI.
- Caulk maintenance: Inspect and replace caulking around windows, doors, and penetrations annually.
- Seasonal preparation: Clear gutters and downspouts before winter to prevent ice dam formation.
- Weather protection: Apply breathable sealer in harsh climates to protect against freeze-thaw damage while allowing moisture vapor to escape.
Regular maintenance is a simple way to prevent minor issues from becoming major problems. Clean installation combined with proper care ensures your stone veneer project provides decades of beauty and protection.
Your Stone Veneer Journey Starts with Stone Center
Installing stone veneer can dramatically enhance your home's appearance and value when done correctly. The key to success lies in thorough preparation, quality materials, and attention to detail throughout the process. Take your time, don't rush the preparation steps, and remember that proper moisture management is critical regardless of your climate. Remember, you can always lean on professionals for support.
Stone Center provides premium natural stone and manufactured stone veneer materials for discerning homeowners who demand lasting quality at an affordable price. Our experienced team helps you select the perfect materials for your project requirements and local conditions. Contact us today for expert guidance on your stone veneer installation project.
FAQ
Frequently Asked Questions
Can I install stone veneer myself?
Yes, many homeowners can install stone veneer with the right prep, materials, and care. Key factors include surface preparation, mortar application, and moisture control. For complex installs or structural changes, we recommend hiring a pro to ensure safety and code compliance.
What’s better: mortar or adhesive?
Stone veneer mortar offers better long-term durability than adhesives. Type S cement forms strong bonds that resist weather and movement. Adhesives are known to fail under stress and require repairs. Most pros rely on mortar for reliable, lasting results.
Can I apply stone veneer directly to concrete?
Yes, but ensure the concrete is prepped correctly. Clean, solid concrete can accept veneer if properly treated. Smooth surfaces need scarification or bonding agents, so installing metal lath over concrete offers the best base, especially for exteriors.
.avif)
Jon, the owner of Stone Center, is a knowledgeable expert in natural stone products, specializing in various types of stone for landscaping and architectural projects. Passionate about promoting the beauty and versatility of natural stone, Jon aims to use these blogs to inspire readers with creative ideas to upgrade their homes.
Check Out Our Products You May Like
%20(1).avif)
Rockmount Series
Extreme Variation
.avif)
Blue Vein Split Veneer
$400 - $600
.avif)
Buff Split Veneer
$400 - $600
.avif)
Indiana Splitface
$450 - $600 (per ton)
.avif)
SC Gray Veneer
$300 - $500
How much does it cost to get a stone restored?
How much you end up spending to restore stone varies on the type of stone, the technique, and the stone’s current condition. Stone in good condition will cost less to restore, whereas stone that has a lot of wear and tear may require a longer restoration.