- Stone Center
- Blog
DIY Mosaic Stepping Stones: A Complete Guide to Natural Stone Projects
12/3/2026
3/6/2026
DIY Mosaic Stepping Stones: A Complete Guide to Natural Stone Projects
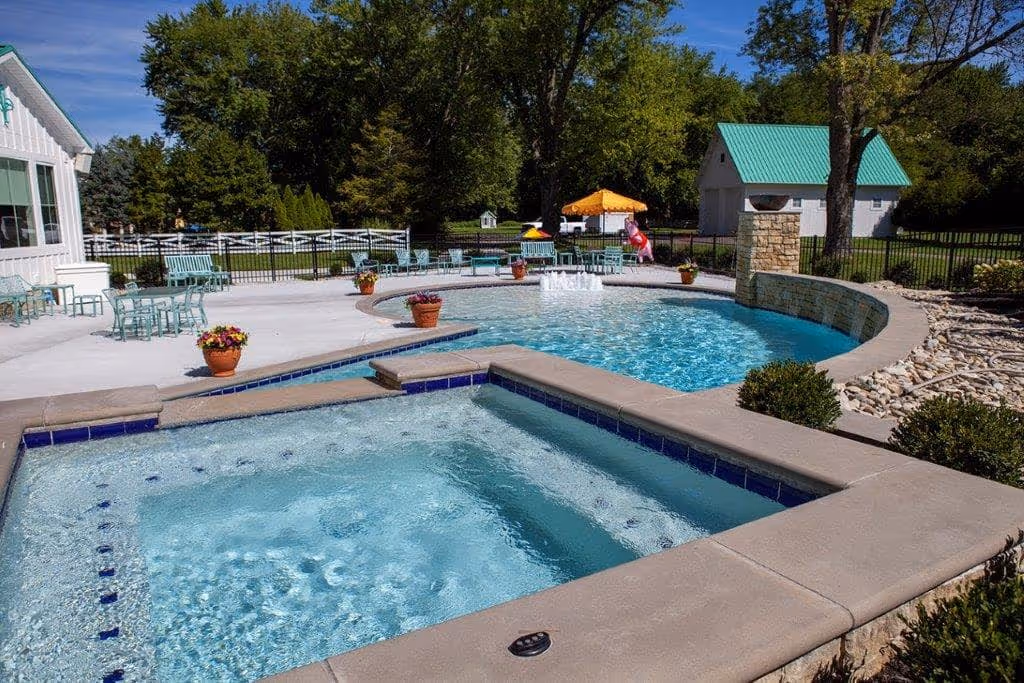
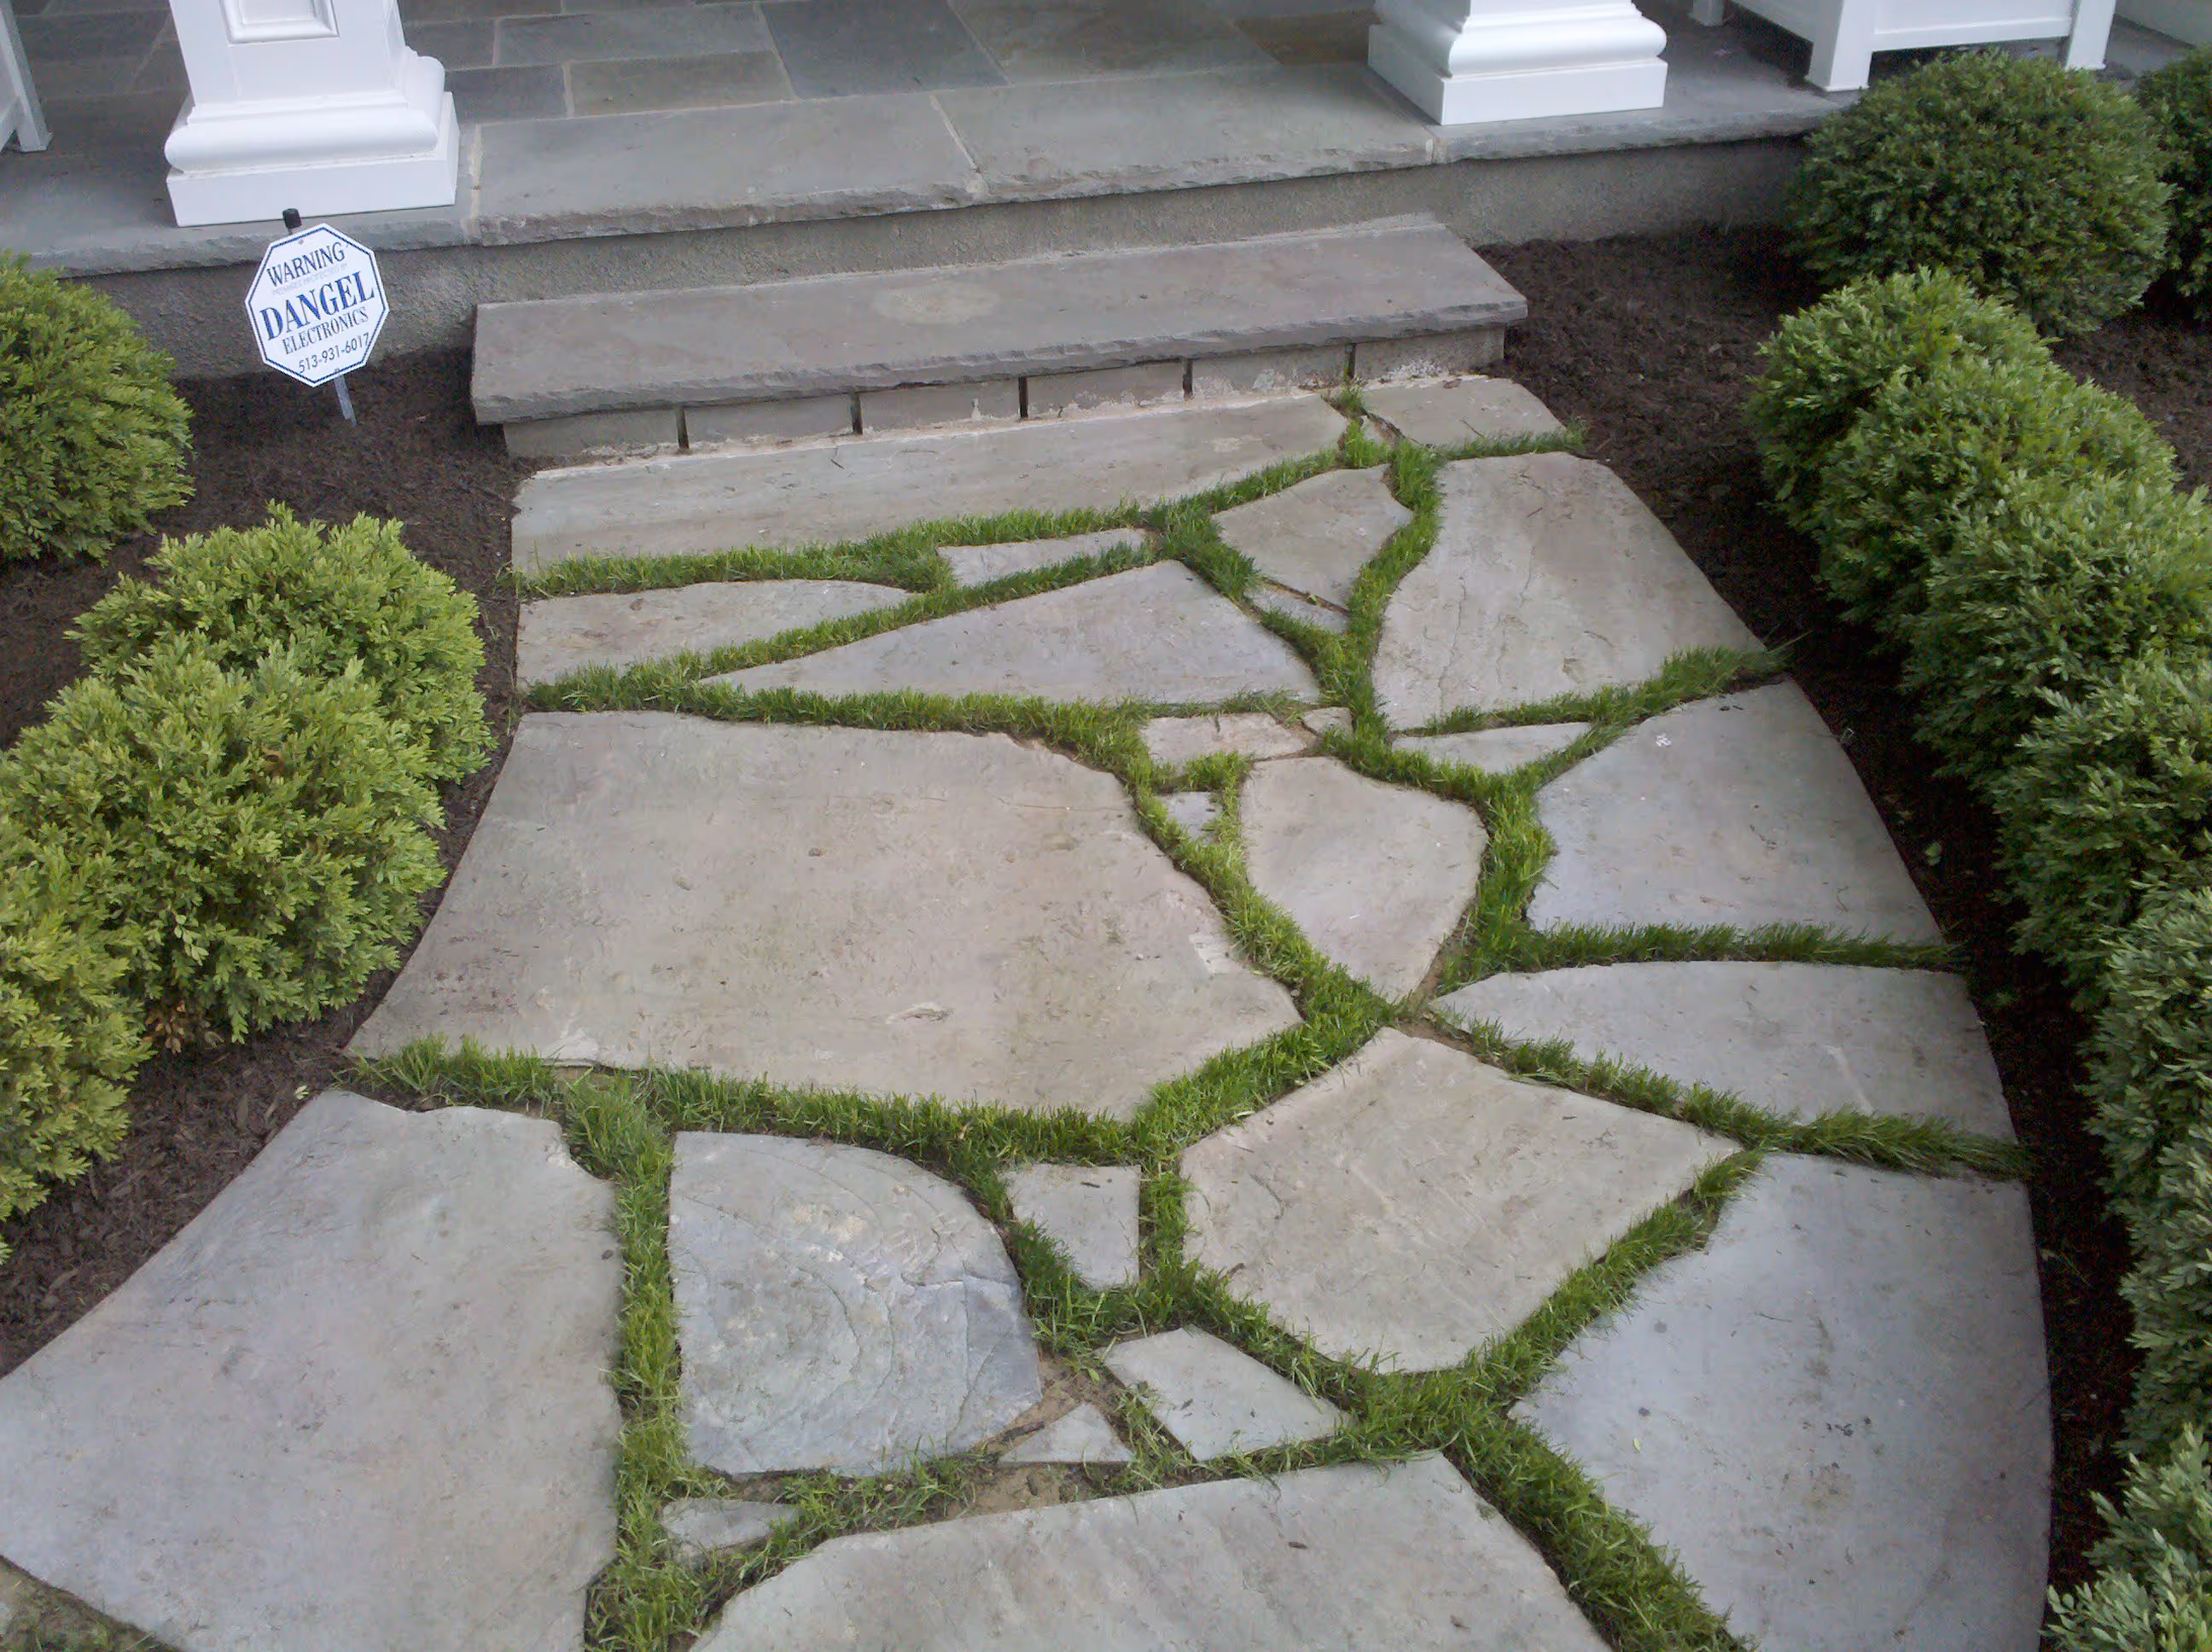
Garden pathways can often feel boring and feel generic. Creating DIY mosaic stepping stones with natural stone transforms cookie-cutter concrete pavers into personalized works of art that reflect your style while adding lasting beauty to your landscape.
Whether you're a weekend DIY enthusiast or a professional landscaper, natural stepping stones create the perfect foundation for mosaic projects. This guide by our Stone Center experts walks you through creating durable, weather-resistant mosaic stepping stones that will enhance your outdoor space for years to come.
Planning Your Mosaic Design

The success of your mosaic stepping stone starts with thoughtful design planning. Before mixing any concrete or gathering materials, take time to visualize your result and consider how the stone will function within your landscape.
Key design considerations:
- Pattern complexity: Simple geometric patterns work well for beginners, while experienced mosaic artists can explore nature-inspired motifs or abstract compositions.
- Color selection: Lighter limestone creates natural contrast against darker soil and mulch, while bluestone blends beautifully with existing hardscaping elements.
- Landscape integration: Your design should complement surrounding landscape features like stone retaining walls or patio borders rather than compete with them.
- Grout planning: Space pieces with small gaps to prevent a crowded appearance and allow proper adhesion.
- Stone placement: Consider where the stepping stone will sit in your garden when choosing colors and patterns.
- Traffic patterns: Account for foot traffic flow and placement along garden pathways.
Sketch your pattern on paper or arrange pieces in an empty mold before you start. A little preparation goes a long way in saving time during concrete setting and helps you identify any design challenges before materials are committed.
Materials and Tools You Need
Gathering the right materials before starting ensures a smooth mosaic creation process. Natural stone pieces form the foundation of durable outdoor mosaics, while quality concrete and grout provide ongoing stability.
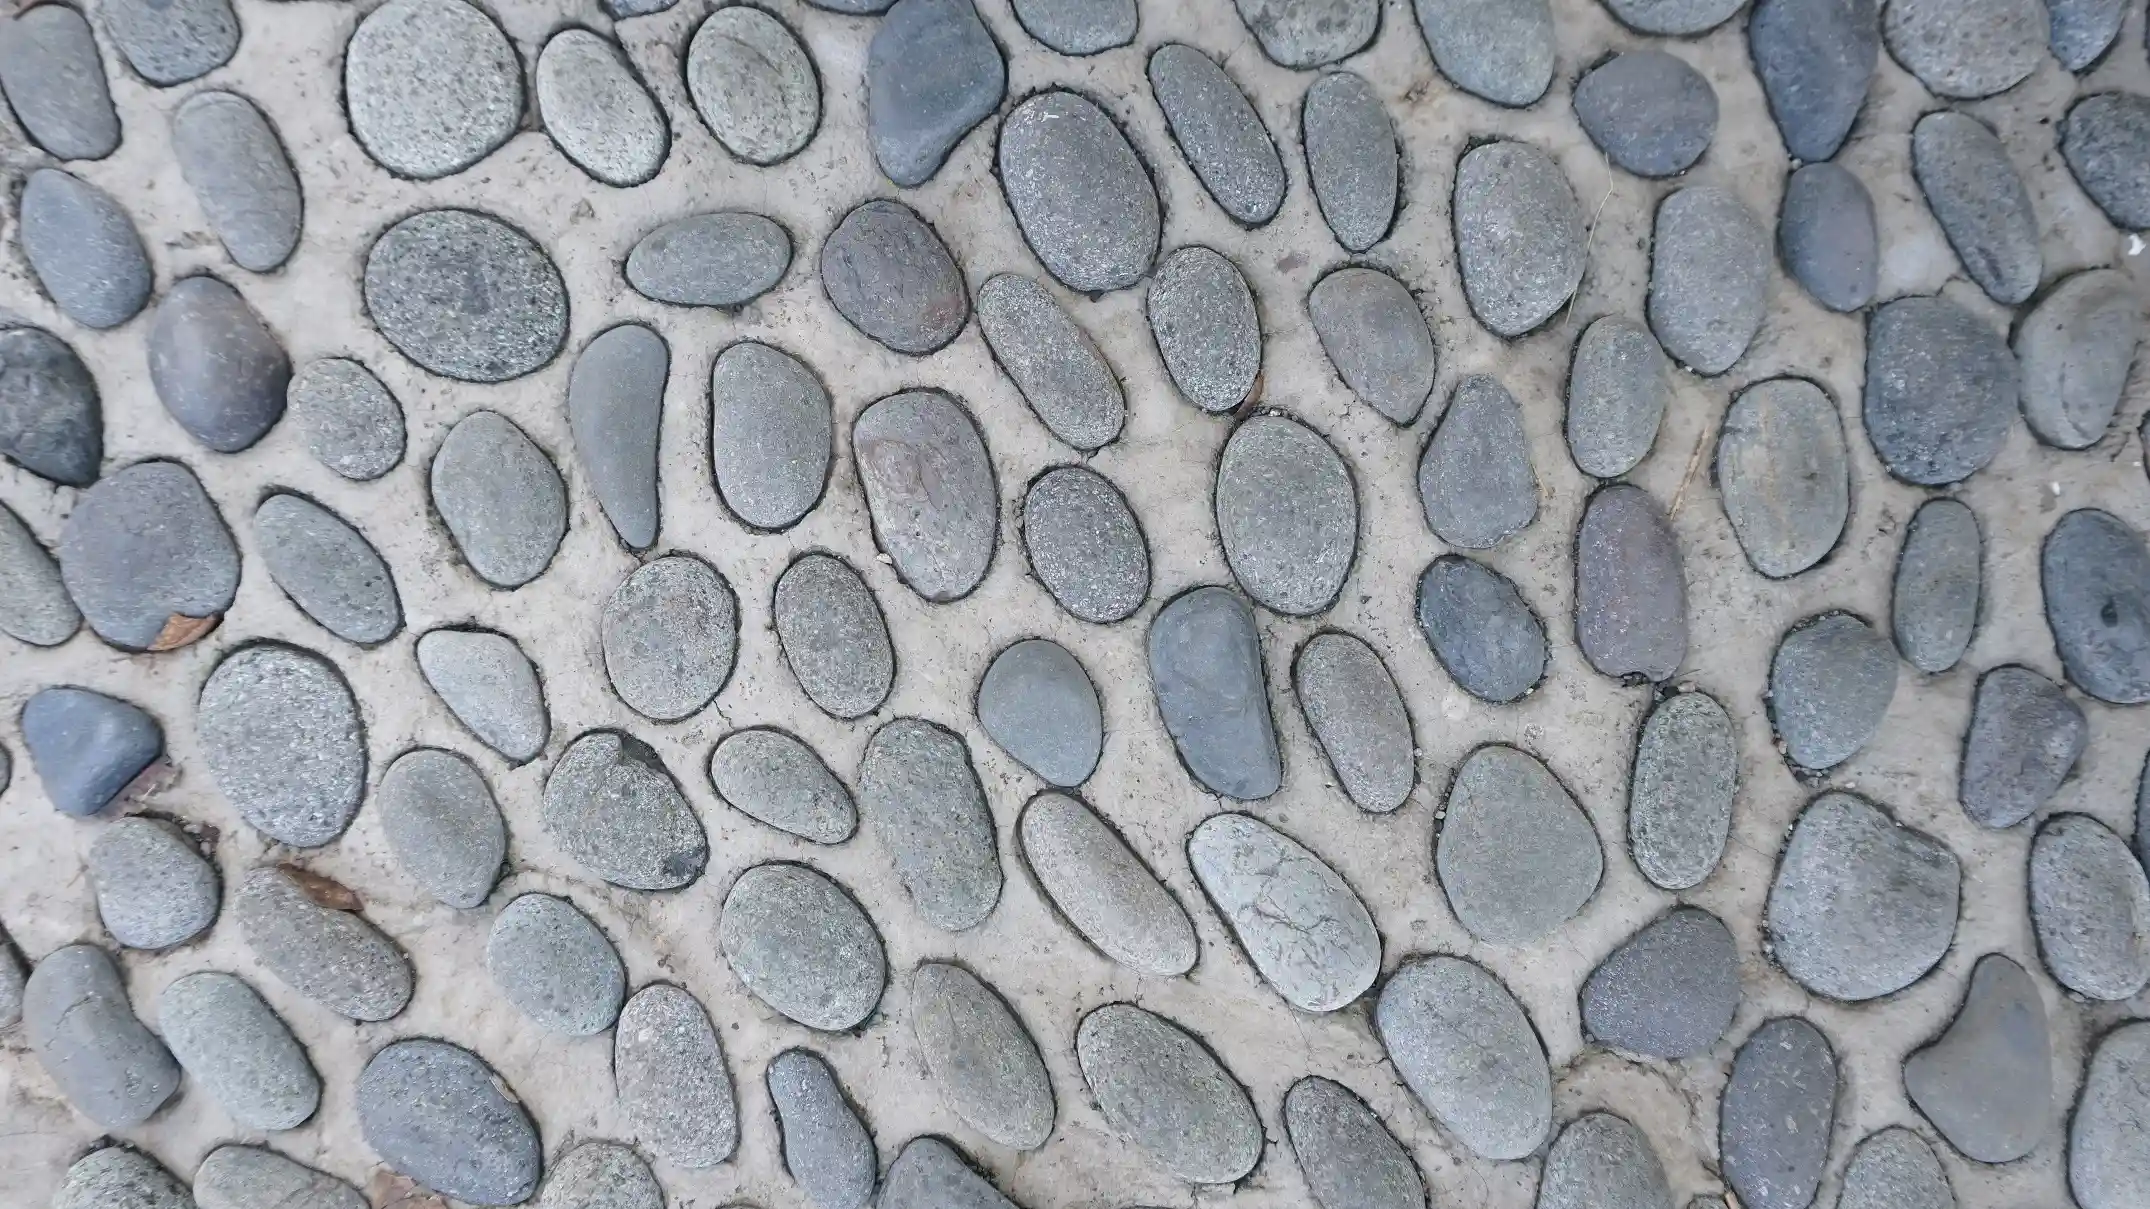
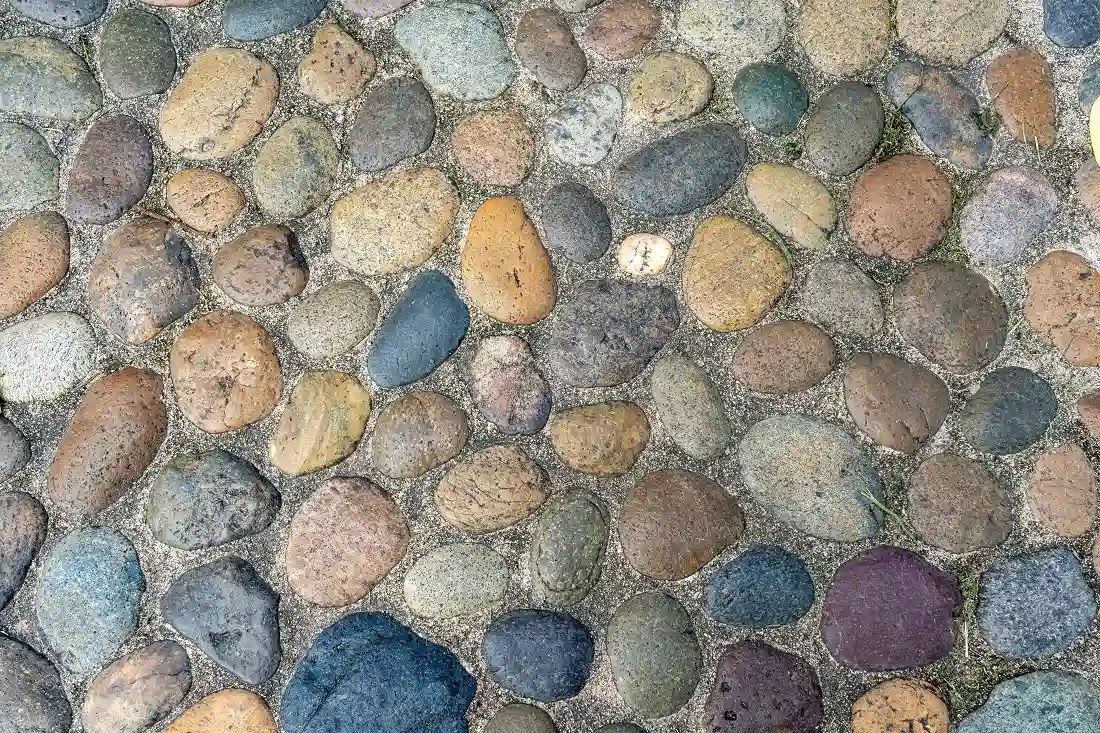
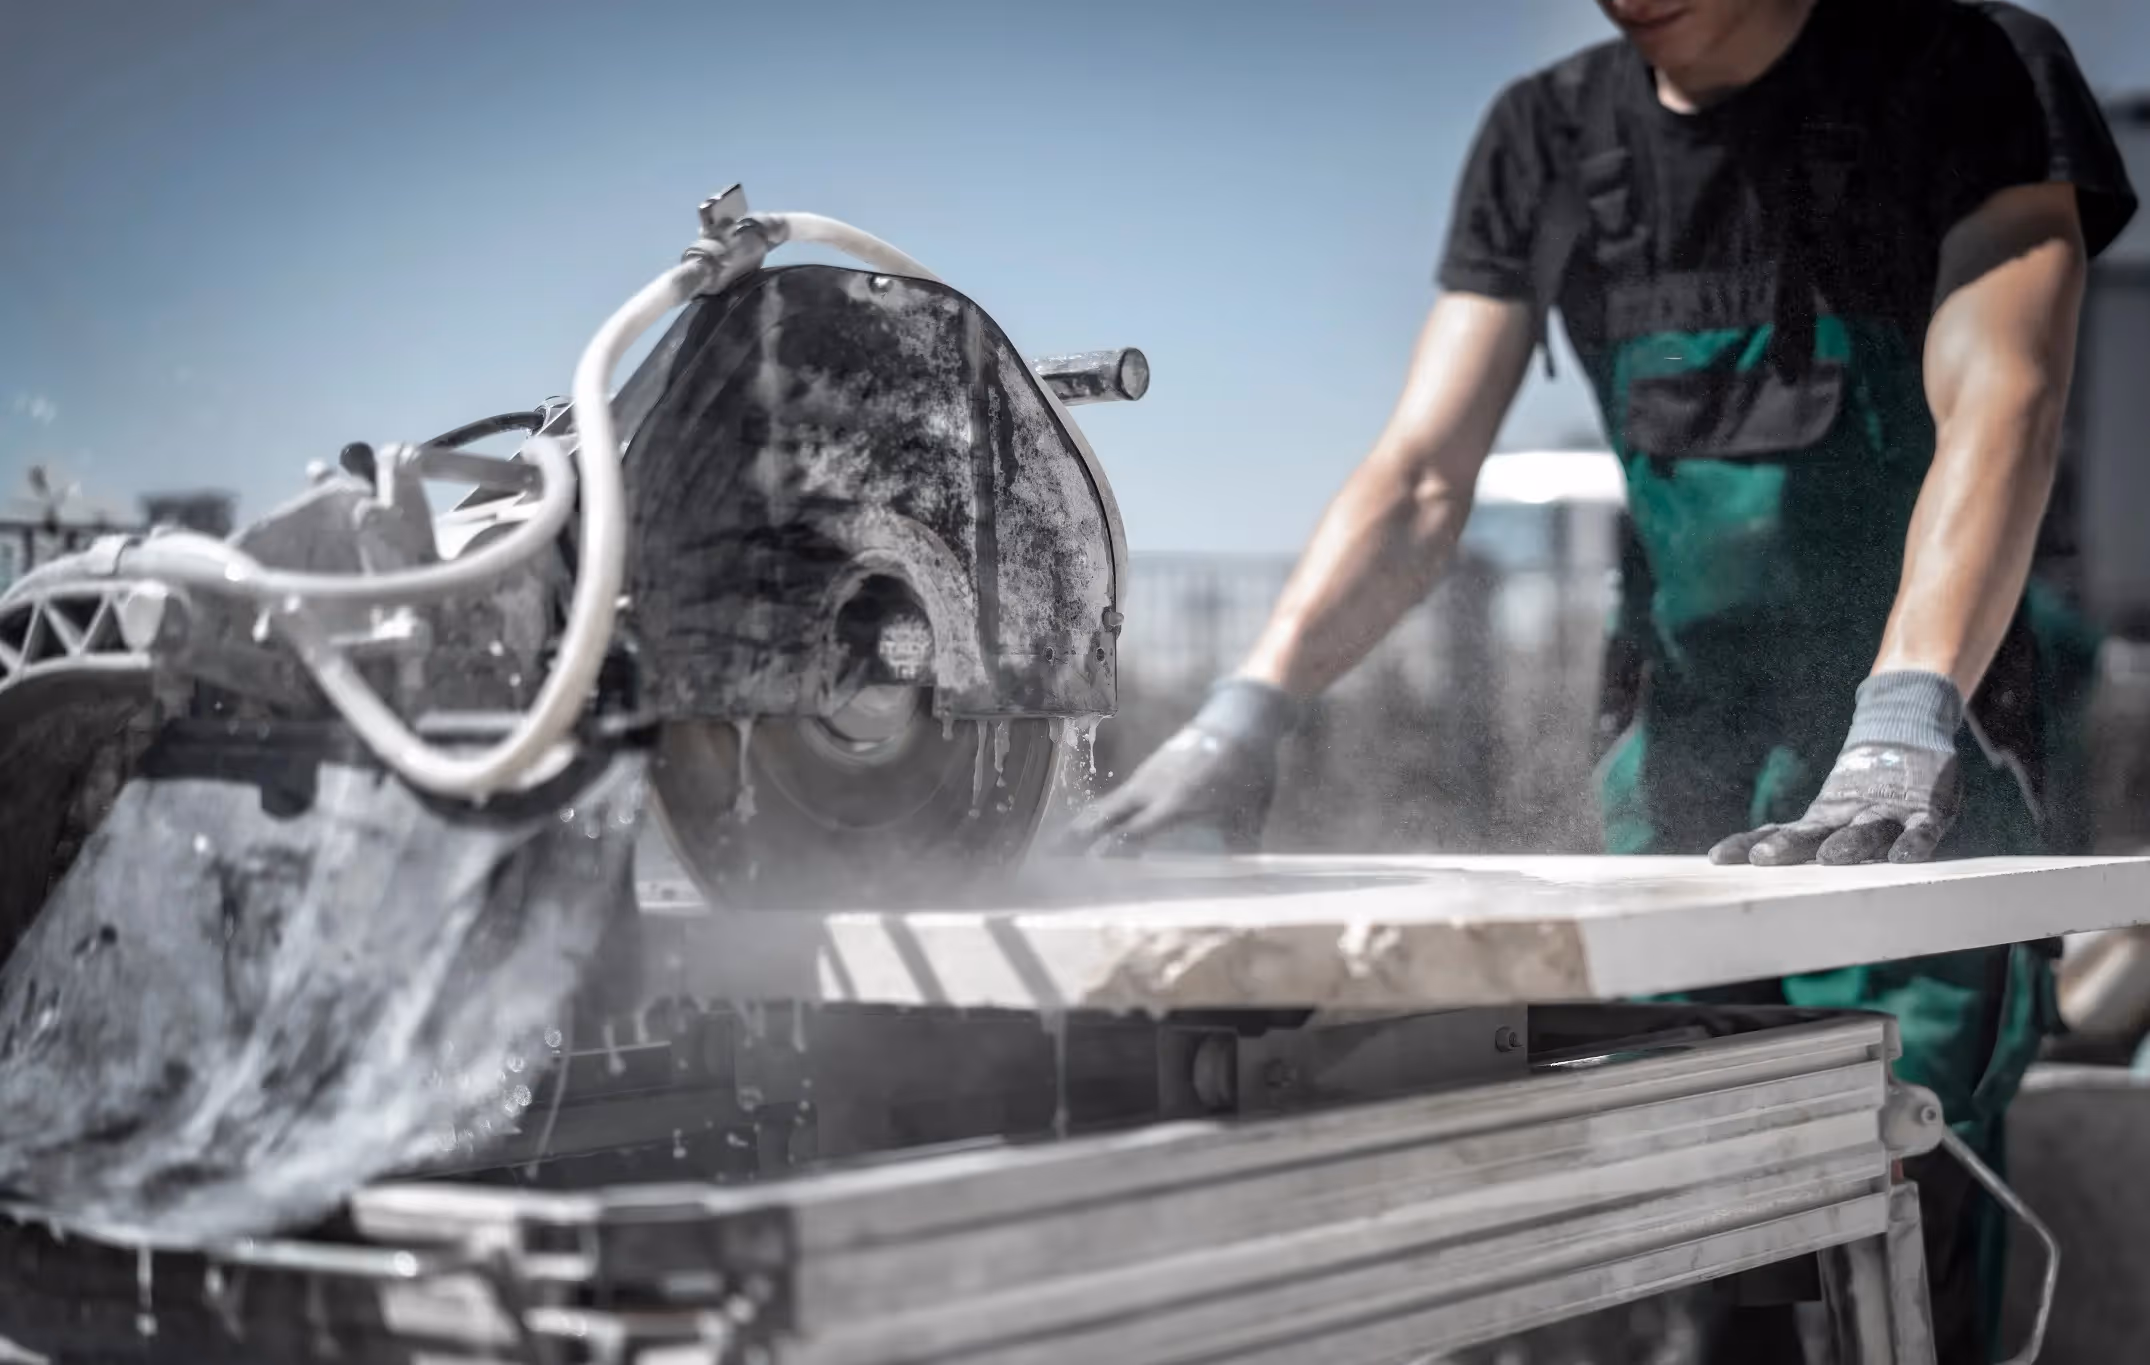
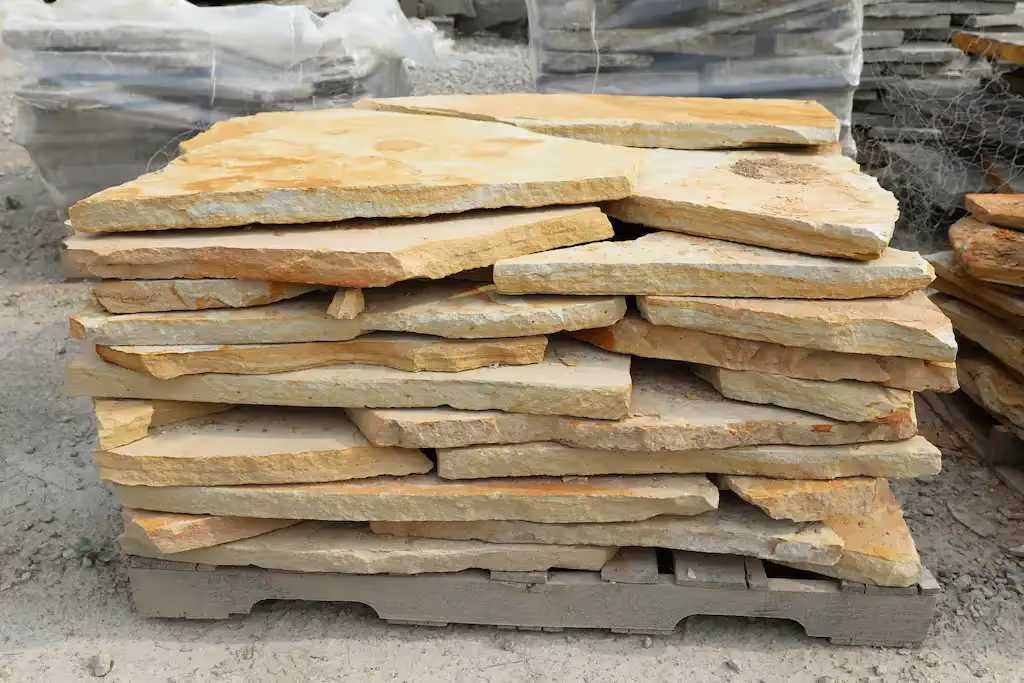
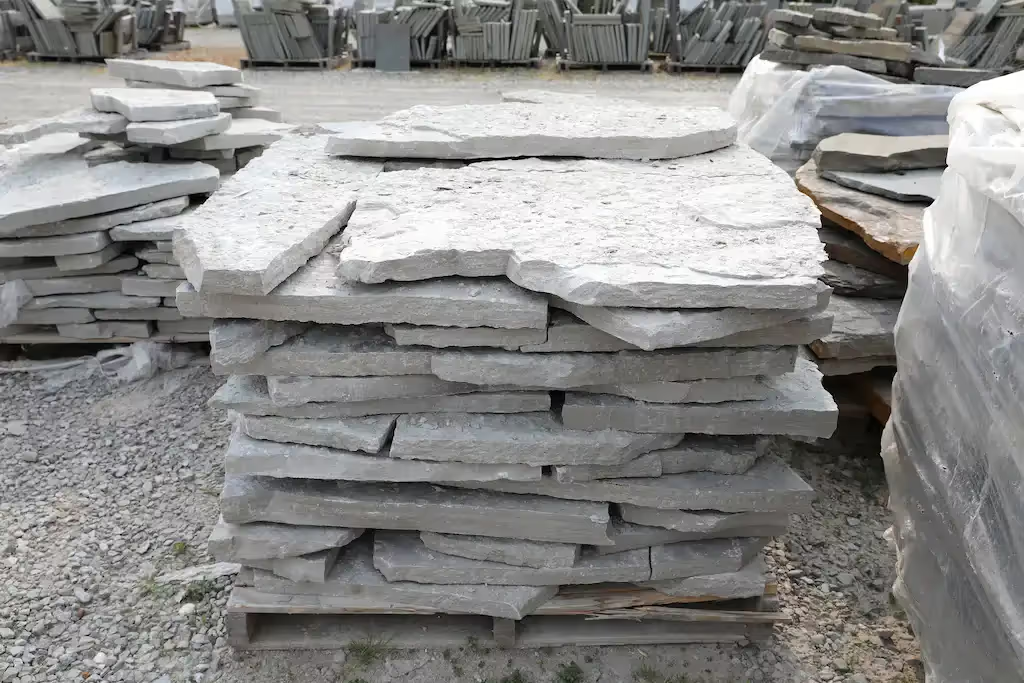
- Natural stone pieces: Limestone chips, bluestone fragments, or small flagstone pieces.
- Concrete stepping stone: Pre-cast concrete base or stepping stone mold.
- Concrete mix: Pre-mixed stepping stone concrete or standard concrete mix.
- Thin-set mortar: For adhering stones to a concrete surface.
- Grout: Exterior-grade poly-blend sanded tile grout.
- Safety glasses: Protect eyes when breaking stones.
- Rubber gloves: Shield hands from wet cement and grout.
- 3/16-inch notched trowel: Spread mortar evenly.
- Large bucket: Mix concrete to the proper consistency.
- Paper towels: Clean excess grout and water.
- Soft cloth: Buff finished stone.
- Contact paper: Plan patterns (optional).
- Flat surface: Cookie sheet or rigid board for transport.
Having these materials ready before mixing concrete prevents rushed decisions during the limited working time. Most items are available at local garden centers or through landscape supply companies.
Step-by-Step Instructions for Making Mosaic Stepping Stones
Timing and technique are essential when creating mosaic stepping stones. Follow these steps to achieve professional results that ensure proper stone adhesion and level surfaces.
Step 1: Prepare Your Workspace and Mold
Set up your project area on a stable, flat surface before mixing materials. Coat the inside of your mold with petroleum jelly or cooking spray, creating a layer that allows easy removal once the concrete cures. This preparation step prevents cracking during demolding and ensures your finished stone releases cleanly.
Place the prepared mold on a rigid surface for moving during the drying phase. Have all tools and materials within reach since concrete begins setting once mixed. Pre-planning saves valuable working time and reduces stress during the actual creation process.
Step 2: Mix the Concrete
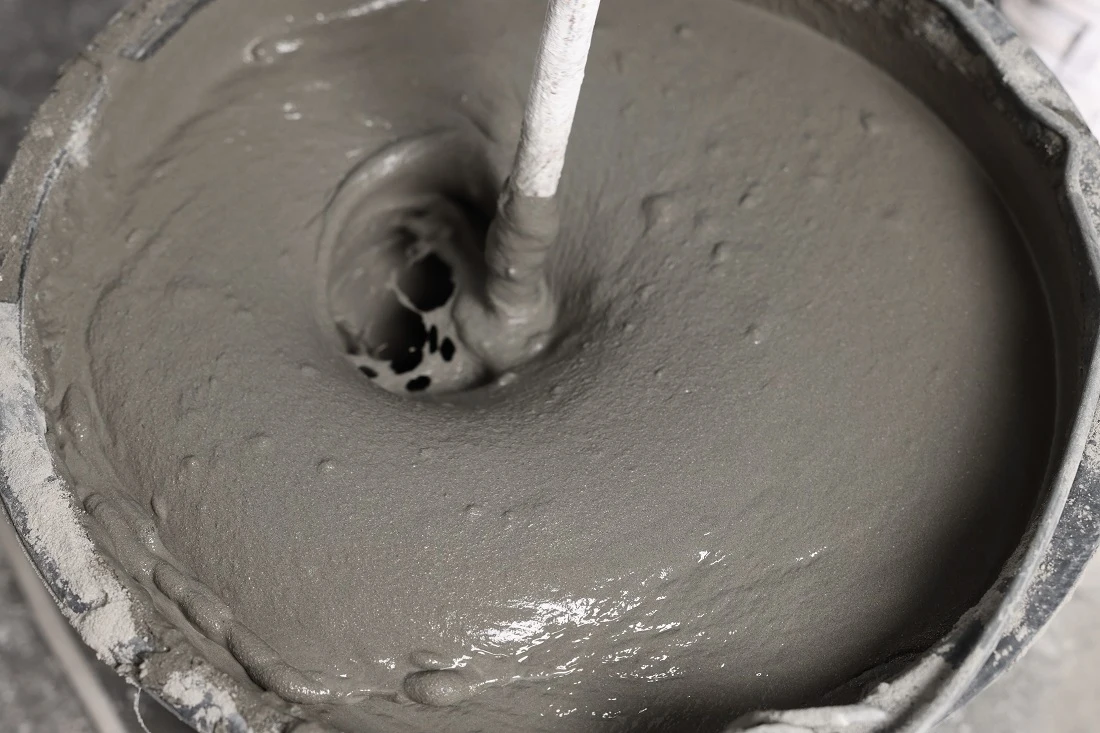
Measure water carefully and add it to the dry concrete mix in a large bucket. Start with approximately 2 cups of water per stone, adding more gradually. Stir thoroughly until the mixture reaches a smooth, consistent texture similar to thick brownie batter or peanut butter.
The concrete should be pourable but not runny. Add water in small amounts and mix completely between each addition to avoid over-thinning. The right consistency allows stones to lie flat while providing enough workability to press mosaic pieces level with the surface.
Step 3: Pour and Level the Concrete
Pour concrete into the greased mold, filling it about 3/4 full to leave room for mosaic pieces. Shake and twist the mold gently back and forth to level the concrete surface. This motion also brings air bubbles to the top, which can compromise concrete integrity if left trapped inside.
Pop visible bubbles with a paper towel or by tapping the mold's edge. Continue this process for several minutes until the bubbles have mostly disappeared. A smooth, level surface is the best foundation for your mosaic design.
Step 4: Place Your Stone Mosaic Pattern
Start from the outside edge and work toward the center, pressing each stone piece into wet cement until level with the surface. This technique prevents tripping hazards when creating garden pathways and ensures all pieces adhere properly. Tap pieces gently into place, checking that they sit at the same depth.
Leave small gaps between stones for grout application later. The space allows proper grout adhesion and prevents pieces from touching. Work steadily but don't rush, as most concrete mixes give you 30-45 minutes of workable time before they’re too firm to work with. The same careful placement approach used in professional natural stone patio installations applies to mosaic stepping stones.
Step 5: Let the Stone Cure
Allow the mosaic stepping stone to dry in the mold for 24-48 hours in a covered area away from direct sunlight. Rapid drying can cause cracking, so patience is key during this phase. The concrete should feel completely solid before attempting removal.
Gently flex the mold edges to release the finished stone. If using a rigid mold, tap around the perimeter to loosen it. Set the removed stone on a flat surface for an additional 24 hours to complete the curing process before grouting.
Step 6: Apply Grout
Mix exterior-grade grout according to package directions until it reaches a thick, spreadable consistency. Scoop a generous amount onto the stone surface and spread with a rubber spatula or tile trowel. Work grout into all gaps between stone pieces, covering edges thoroughly to seal the entire mosaic.
Remove excess grout from stone surfaces using a damp sponge. Wipe in multiple directions and rinse the sponge frequently to prevent grout haze. Be careful not to remove too much grout from the gaps between pieces, and let the grout dry for 24-48 hours. Then, buff the entire mosaic with a soft cloth to reveal the natural stone's full beauty.
Natural Stone vs. Other Mosaic Materials
The material you choose for your mosaic stepping stone impacts its appearance and longevity. While ceramic tiles, glass, and broken china offer colorful options, natural stone provides unmatched durability for outdoor applications.
The porous nature of some ceramic materials makes them vulnerable to moisture absorption, which leads to cracking during freeze-thaw cycles common in Ohio's climate. Limestone and bluestone remain stable through temperature fluctuations, while stained glass and ceramic tiles can crack from thermal expansion.
The initial investment in natural stone pays off through reduced replacement costs and minimal maintenance requirements. Natural stone's timeless appearance also maintains property value better than trendy manufactured materials, especially when integrated thoughtfully with other natural stone elements in your landscape design.
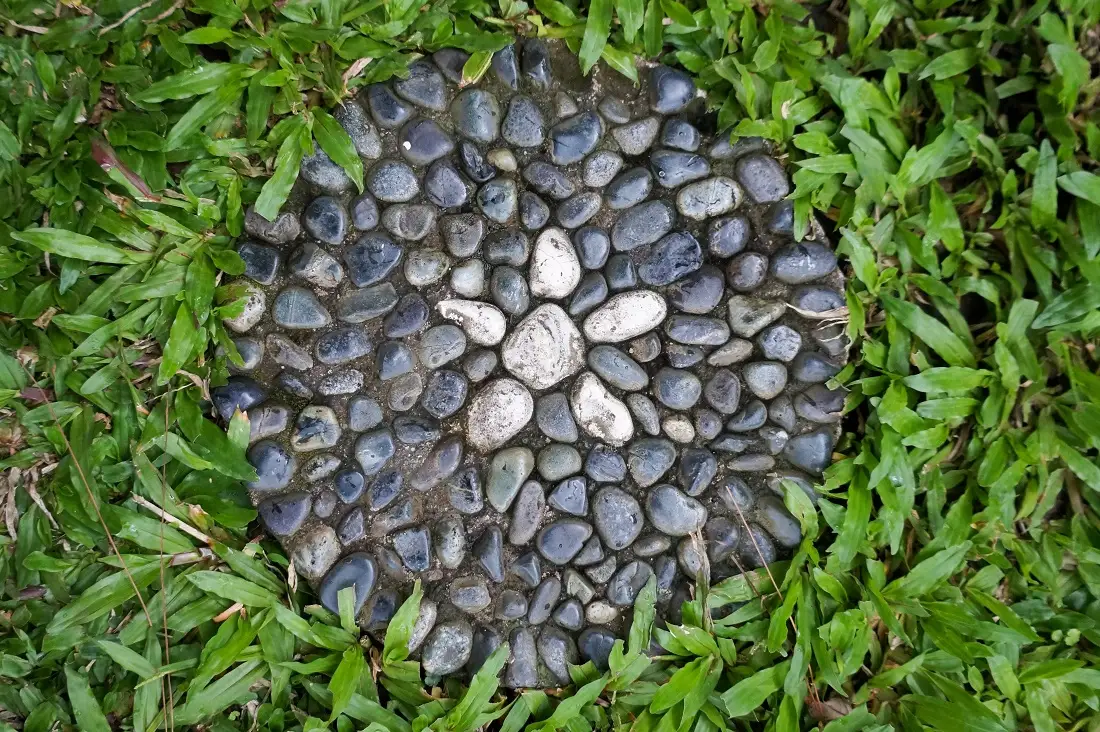
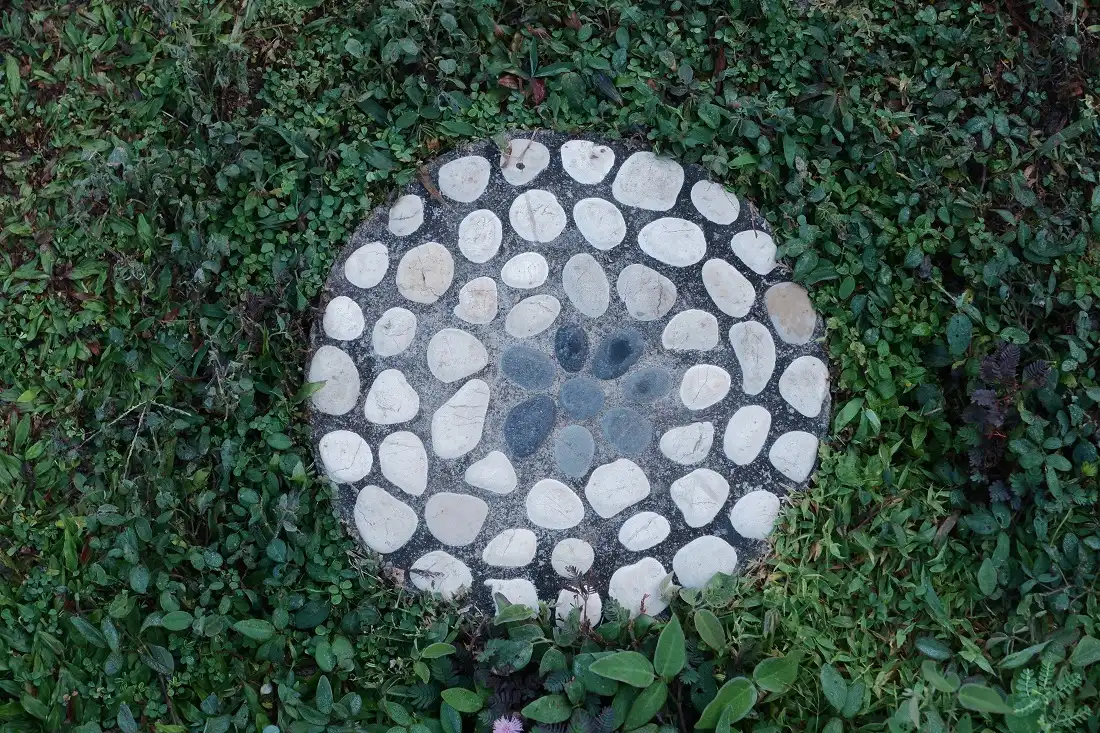
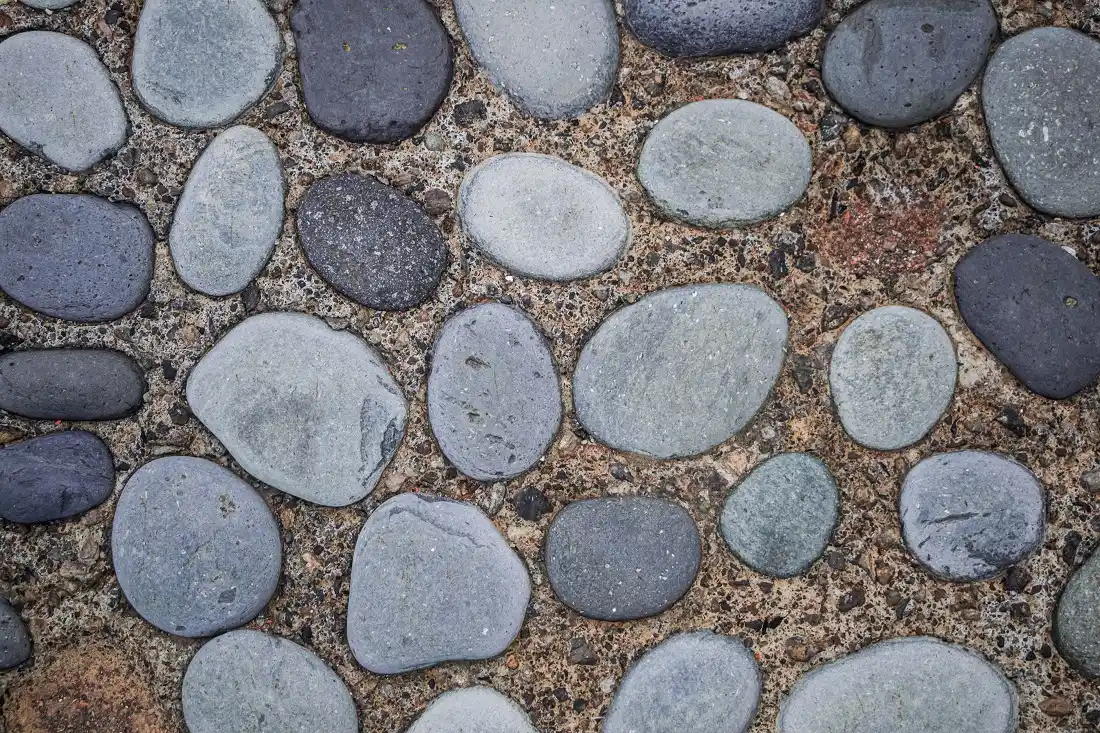
Stunning Design Ideas for Mosaic Stepping Stones
Natural stone offers endless design possibilities for personalized garden pathways. These popular patterns combine visual appeal with practical functionality, creating stepping stones that enhance any landscape style.
#gallery_start
#gallery_end
Geometric Patterns
Square or rectangular stones create clean borders around circular center designs. Arrange limestone pieces in radiating patterns from a central point, or develop stepped designs. Natural color variations in thermal bluestone add visual depth without needing complex cutting.
Nature-Inspired Motifs
Irregular flagstone pieces suit organic patterns mimicking natural rock formations or flowing water. Create leaf shapes, flower petals, or abstract swirls. River rock pebbles fill small spaces and add texture while maintaining the natural theme.
Color-Blocked Designs
Sort natural stone by color to develop monochromatic stepping stones or create rainbow gradients. Buff-toned limestone provides warm earth tones, while blue-gray stone pieces offer cool pathways. You can also mix different limestone finishes for subtle light-catching variation.
See How Custom Mosaic Stepping Stones Can Transform Your Garden
Mosaic stepping stones are the perfect combination of creative expression with functional landscaping. These handmade garden features withstand Ohio weather while adding personality to outdoor spaces. The project requires basic materials like concrete, natural stone pieces, mortar, and grout, plus simple tools most homeowners already own.
Stone Center serves as an Ohio landscaping stone supplier with locations in Columbus and Cincinnati. We provide natural stone materials and expert guidance for all your outdoor projects, from small DIY stepping stones to major landscape installations. Visit us to source quality materials for your mosaic creations, or contact our team to get personalized recommendations on stone selection and project planning.
FAQ
.avif)
Jon, the owner of Stone Center, is a knowledgeable expert in natural stone products, specializing in various types of stone for landscaping and architectural projects. Passionate about promoting the beauty and versatility of natural stone, Jon aims to use these blogs to inspire readers with creative ideas to upgrade their homes.


Check Out Our Products You May Like
.avif)
Steps
Alpine Steppers
.avif)
Fond Du Lac Premium 1-2.5"
$800 - $1000
Fond Du Lac Steppers
.avif)
Ozark Flagstone
$670 - $825
How much does it cost to get a stone restored?
How much you end up spending to restore stone varies on the type of stone, the technique, and the stone’s current condition. Stone in good condition will cost less to restore, whereas stone that has a lot of wear and tear may require a longer restoration.