- Stone Center
- Blog
How to Build Outdoor Steps on a Slope With Natural Stone: A Practical Guide
8/5/2026
5/8/2026
How to Build Outdoor Steps on a Slope With Natural Stone: A Practical Guide
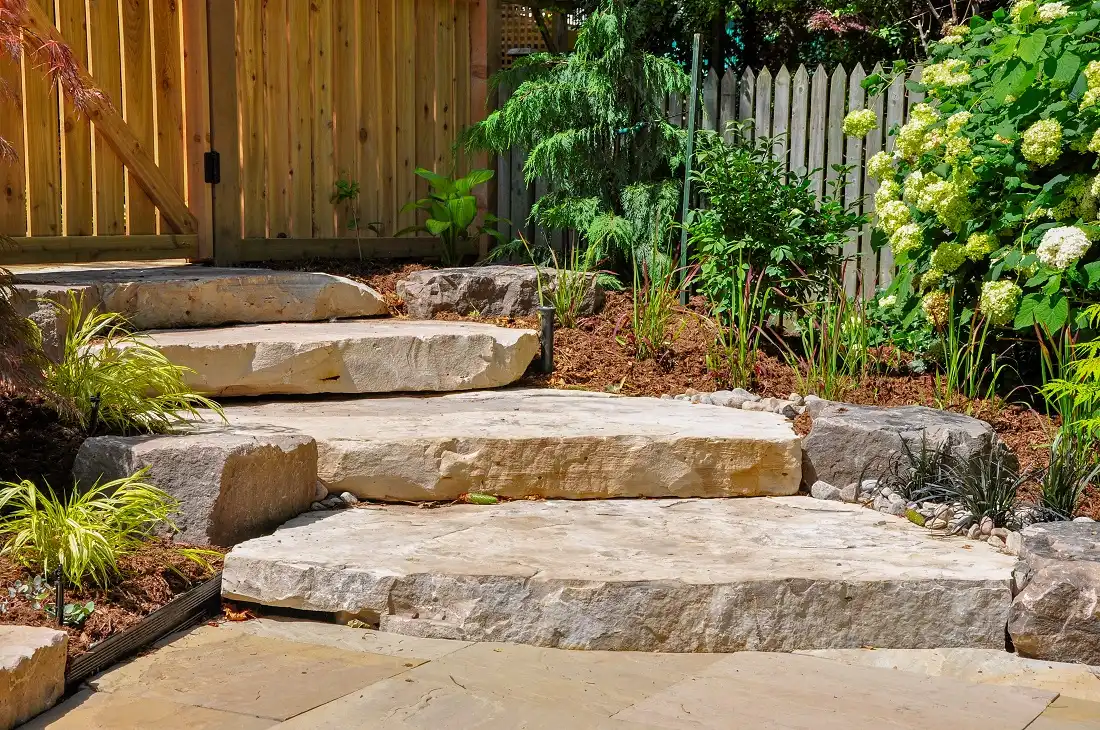
Picture stepping out your back door and down a set of solid natural stone steps onto a garden path that winds through your yard. More homeowners tackle this project than you’d think. With the right plan, the right natural stone steps and treads, and a free weekend, impressive results are within reach. We’ve outlined everything you need to know.
Essential Tools and Materials for DIY Stone Steps
To ensure your stone step project achieves professional results, gathering the right tools and materials is crucial for both safety and success.
Best Material Options and Cost Considerations
Choosing the right stone affects both upfront cost and how well your steps hold up through Ohio winters. Different types of natural stone offer varying benefits, and understanding these differences helps optimize your investment.
Here are the most popular options for building outdoor stone stairs, with approximate cost per square foot:
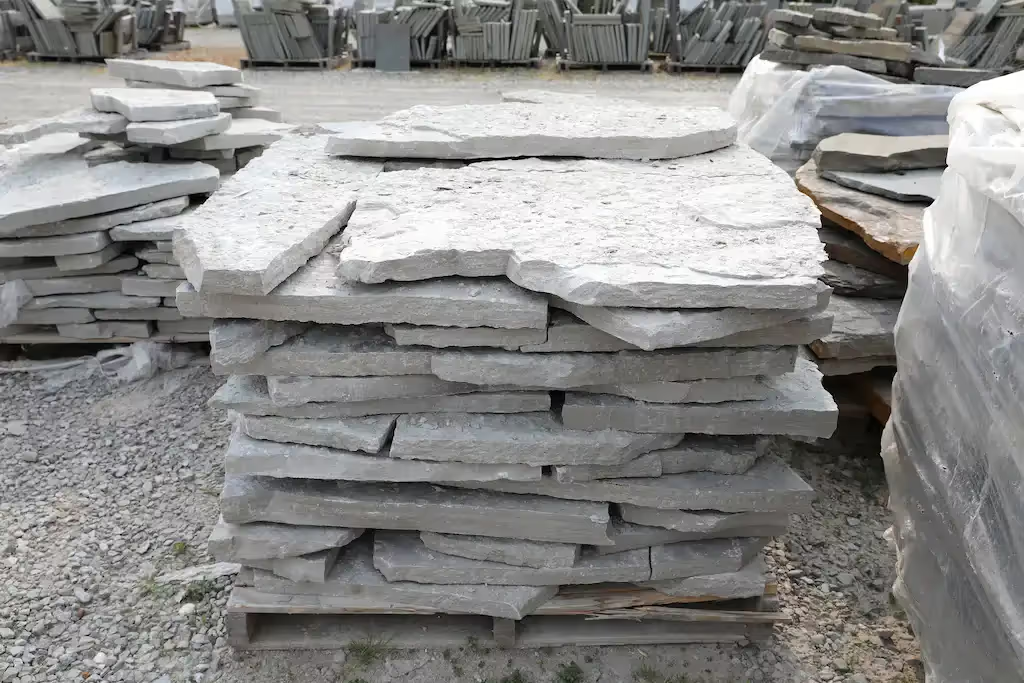
- Bluestone ($15–30/sq ft): Beautiful blue-grey color, excellent durability, premium appearance.
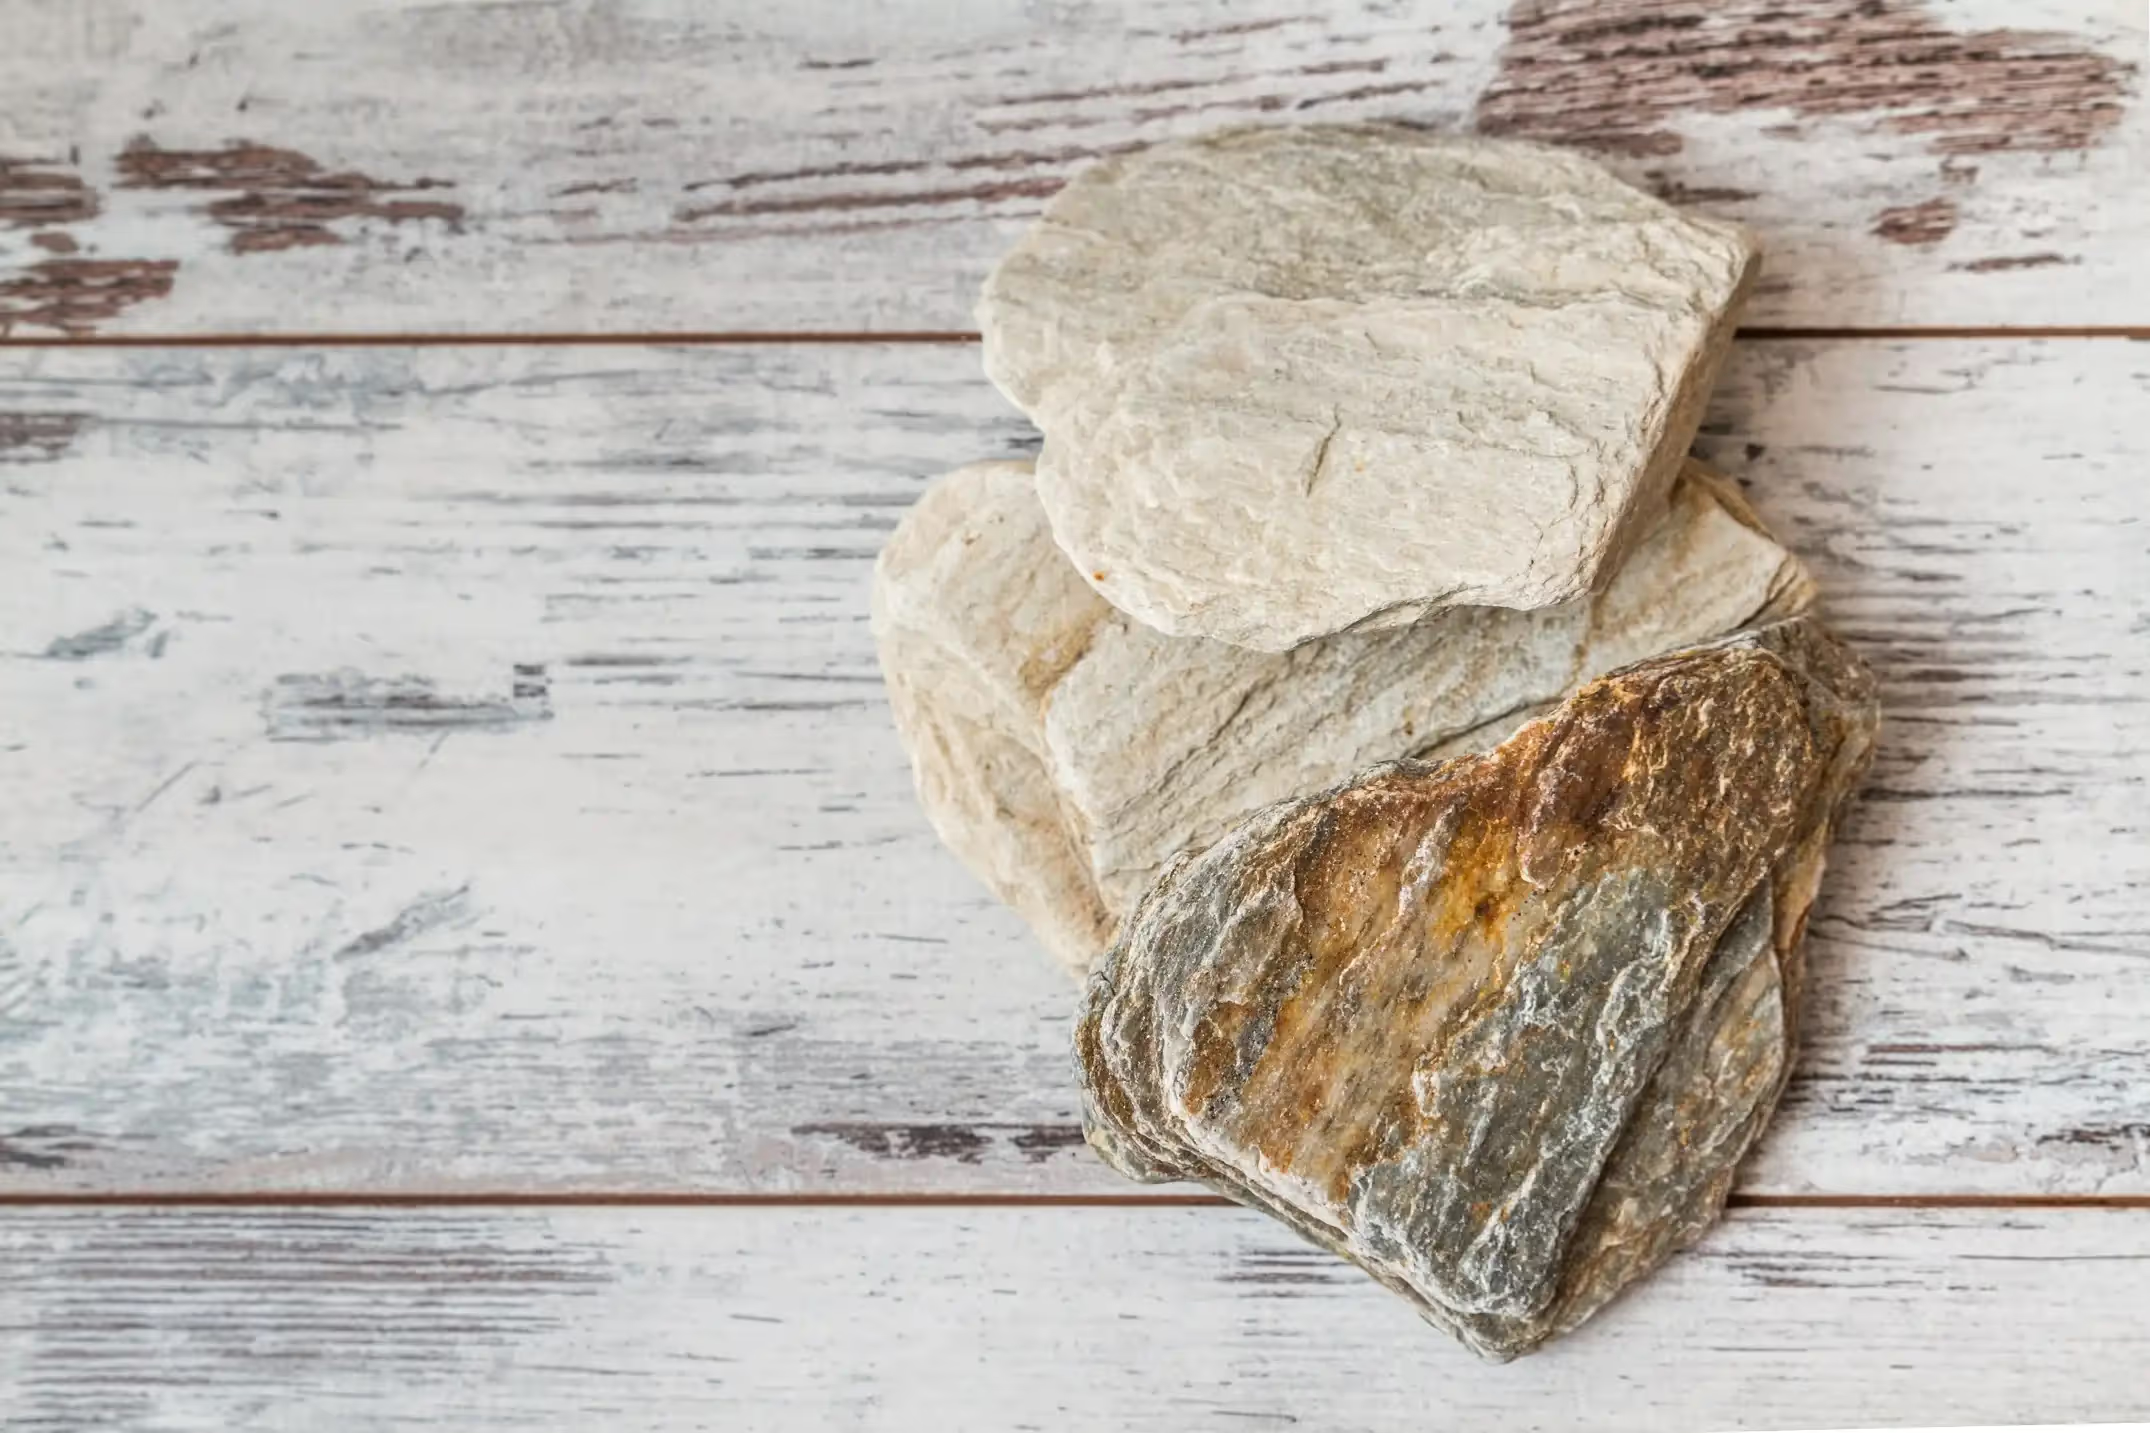
- Flagstone ($15–25/sq ft): Natural irregular shapes, versatile colors, cost-effective option.
- Limestone ($20–30/sq ft): Classic appearance, various colors available, may show unique patterns.
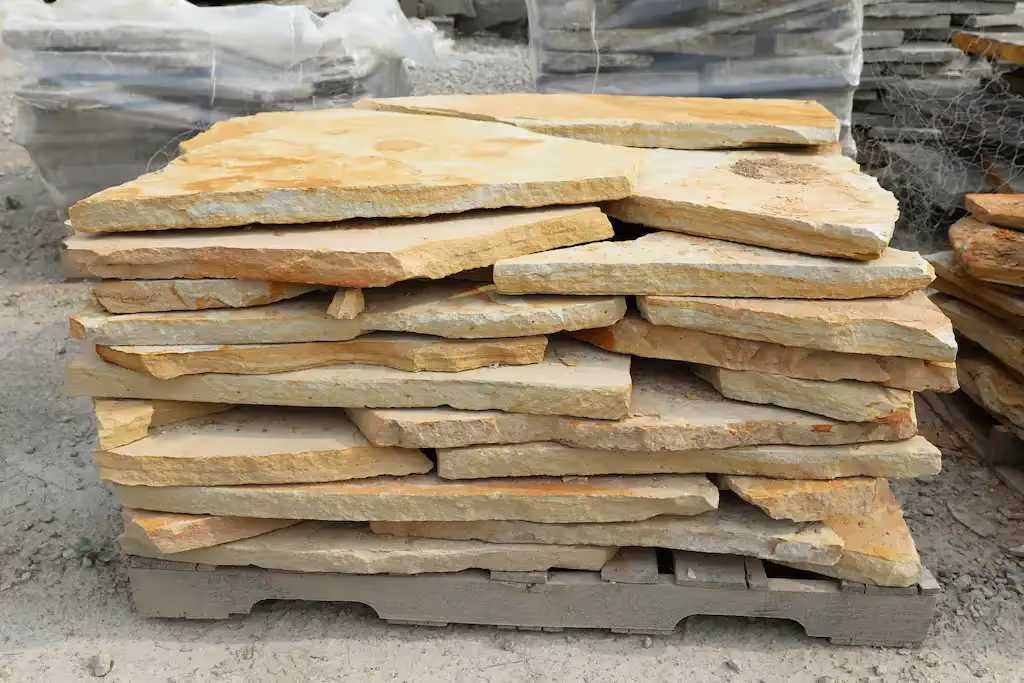
- Sandstone ($10–20/sq ft): Wide color variety, relatively affordable, moderate durability.
- Slate ($20–30/sq ft): Smooth fine-grain surface, elegant appearance, can be slippery when wet.
- Granite ($20–35/sq ft): Extremely durable, multiple color options, premium pricing.
- Precast Concrete ($5–10/sq ft): Most economical option, various styles available, less natural appeal.
While natural stone is more expensive up front than concrete alternatives, the superior durability, appearance, and property value benefits make it a smart long-term investment for most homeowners.
Calculating the Rise & Run of Your Future DIY Stone Steps
Before you start, you need two numbers: how high your slope rises (total rise) and how far it runs horizontally (total run). From there, everything else follows.
How to Measure
Stand at the bottom of the slope. Hold a long level board horizontally out from the top of where your first step will land, then measure straight down to the ground — that's your total rise. The horizontal distance that the board spans is your total run.
How to Calculate Your Steps
Use these two formulas:
- Number of steps = Total Rise ÷ Riser Height (use 6–7 inches)
- Tread depth = Total Run ÷ Number of Steps (should land between 12–18 inches)
For example: a slope with a 36-inch rise over a 72-inch run gives you 36 ÷ 6 = 6 steps, and 72 ÷ 6 = 12-inch tread depth — right in the safe range.
Choosing Your Stone Dimensions
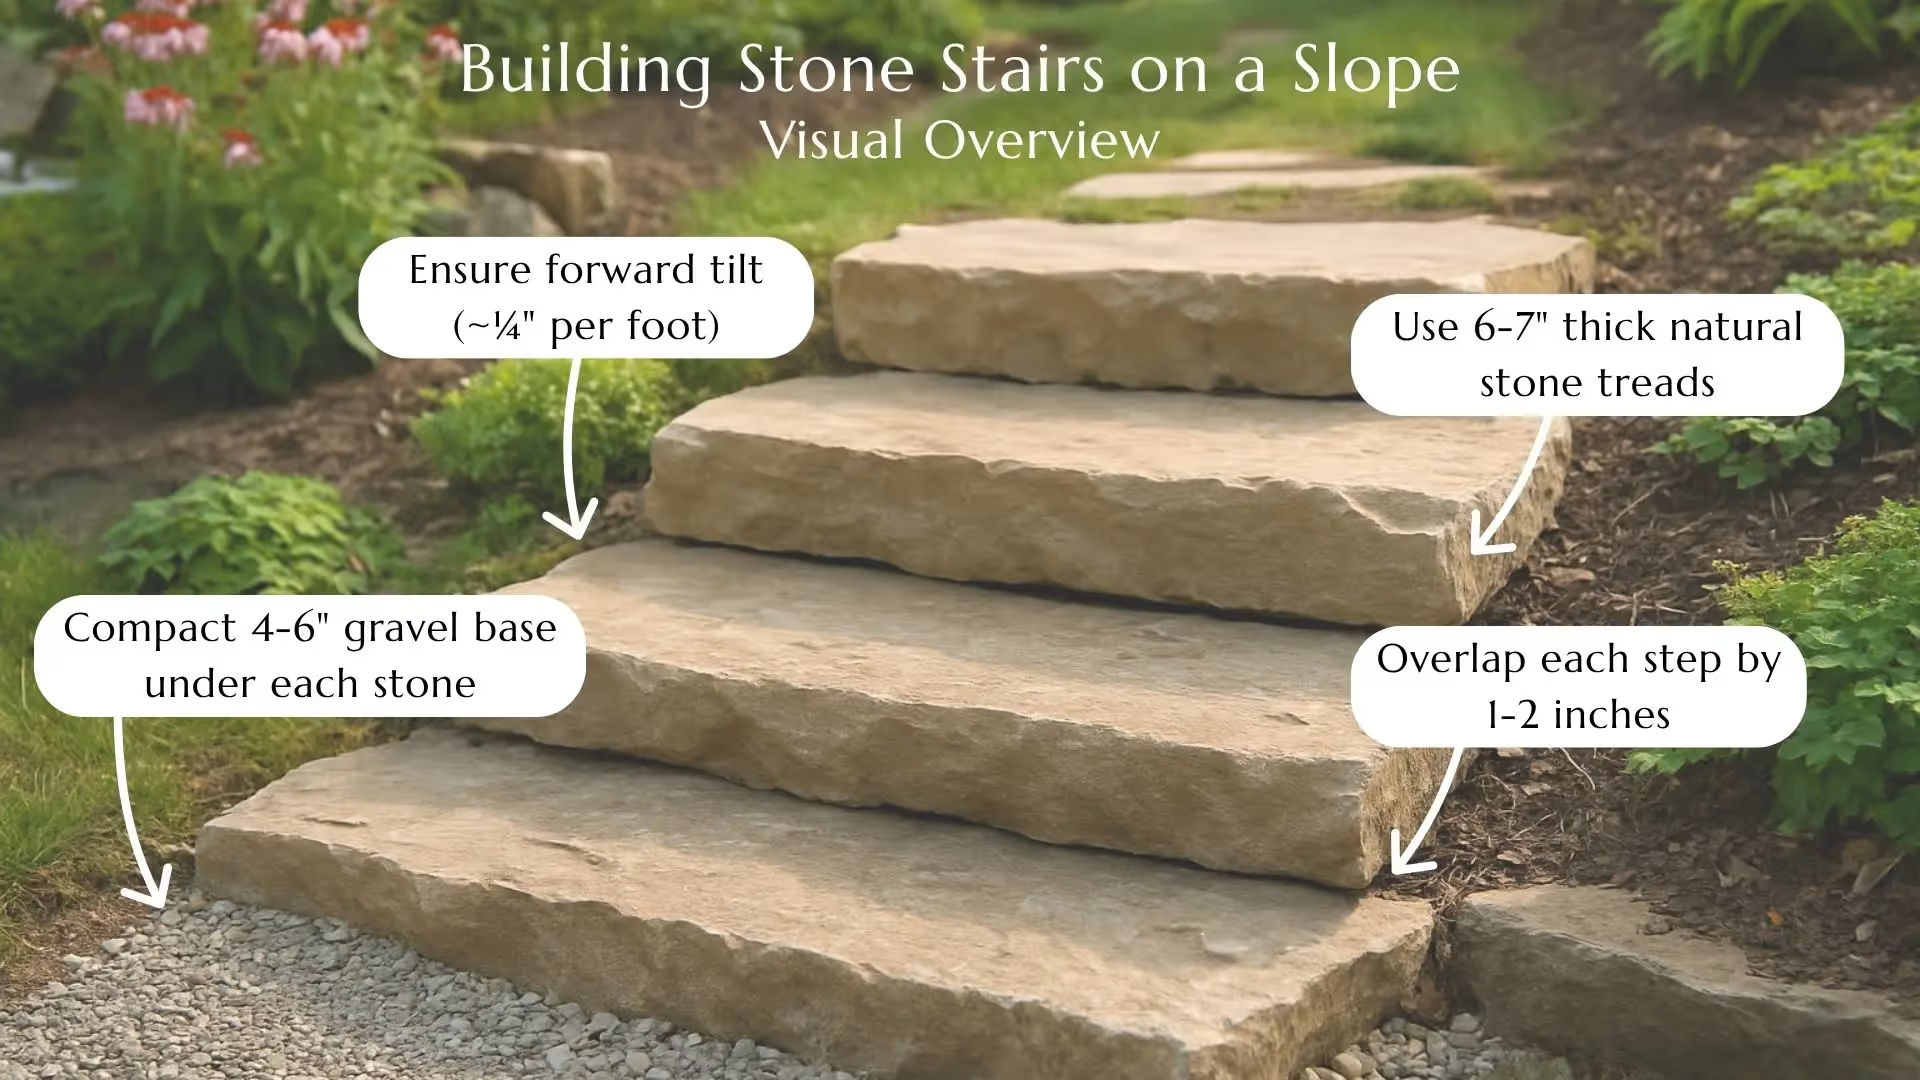
For the slabs themselves, aim for 6–7 inches of thickness to handle foot traffic and the elements. If the bottom step sits level with the ground, subtract one from your total step count and adjust that tread accordingly.
How to Build Stone Stairs on a Slope: Step-by-Step Guide
Now that you've prepared your plan and gathered your materials, the exciting part begins — building your stone steps!
Here's a step-by-step guide to help you create your vision into a beautiful reality.
1. Mark and Plan the Layout
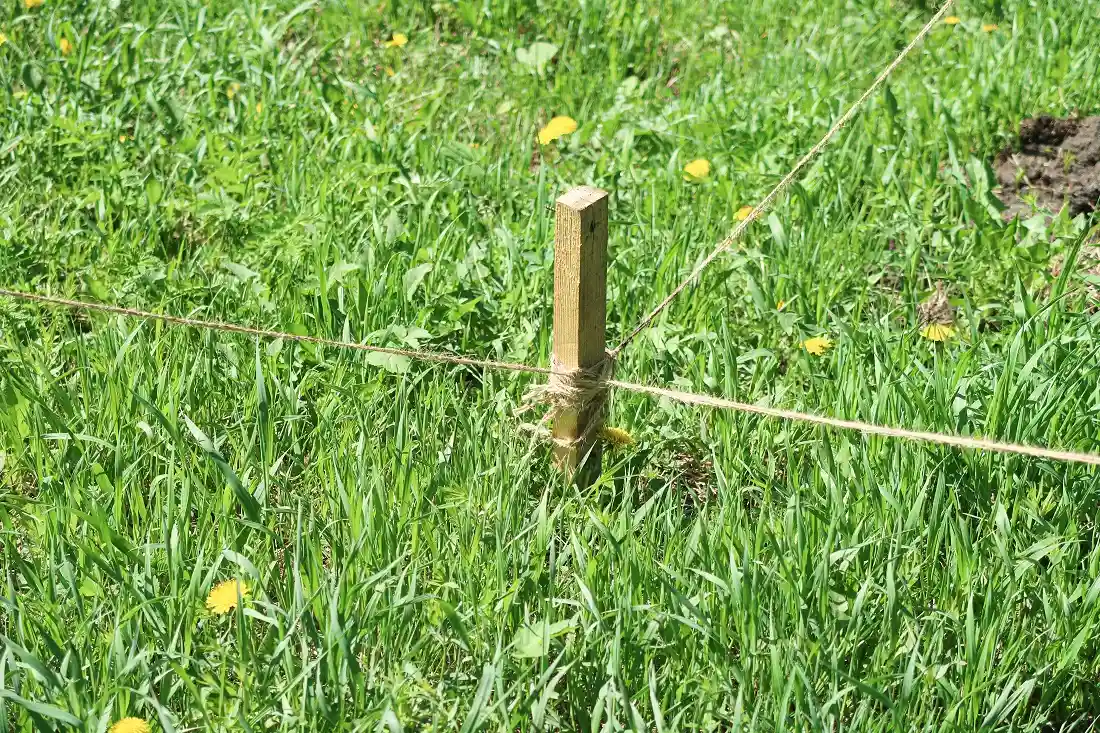
We've covered the importance of calculating rise and run measurements for your stone steps. Now use stakes and string lines to outline your staircase path on the slope.
Important note: Check with local building departments, such as Columbus Building & Zoning Services or Cincinnati Building & Construction Services, to ensure your project meets local codes and doesn't require permits.*
2. Prepare the Foundation and Add a Base

The first step is to dig out the surface area where the stair will be constructed to ensure it's flat, level, and stable. Remove all grass, plants, and debris that might interfere with the foundation. Dig the trench to a depth of 8-10 inches below the finished grade.
Once the surface is level, the space for drainage must be created by digging a trench at the base of the stairs. Add 4-6" crushed stone base and compact thoroughly (you can rent a compactor from Home Depot or similar stores). The crushed stone also provides a good base for the mortar, which will help secure the stone slab in place.
Pro tip: If your slope has drainage issues, consider installing a French drain to prevent water from accumulating under your stairs and maintain structural stability. In Ohio's freeze-thaw climate, this step is especially important, as trapped water expands when it freezes and can shift even well-set slabs over a single winter.
3. Lay the First Natural Stone Step Slab
As soon as the foundation is ready, it's time to lay the first slab. Position the first stone carefully, ensuring it sits level from side to side. Ensure a slight forward tilt (~¼ inch/foot) for proper water drainage.
If necessary, a small DIY retaining wall can be built to ensure the slab is appropriately supported, especially on slopes.
4. Lay Out the Rest of the Steps from Bottom to Top
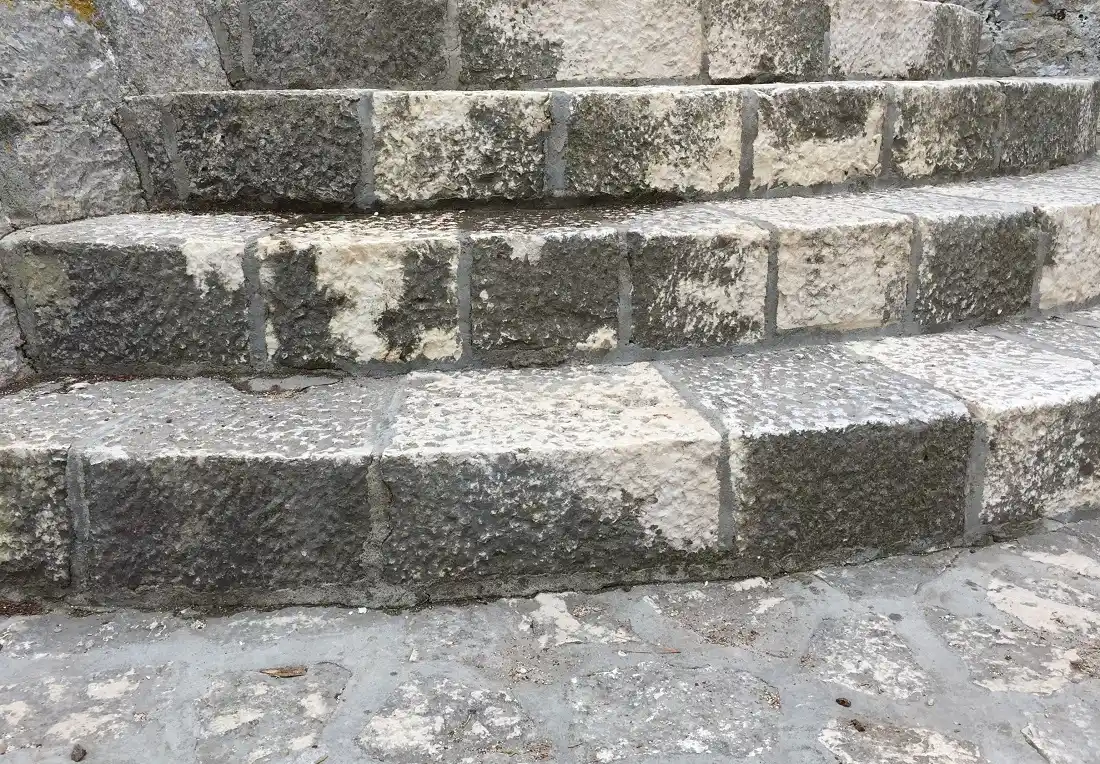
While carefully laying down each subsequent stone step, ensure that each step has a bit of overlap on the one below it and is aligned and leveled. Additionally, it is crucial to slightly tilt each step forward. This slight tilt helps the water to flow down the stairway instead of pooling on each step. Before moving on, make certain that each stone is even and level with the surrounding steps.
Backfill beneath and behind each stone. The gaps between each stacked stone can be filled with mortar, gravel, or even leftover stacked stone, depending on the design.
5. Secure the Stones
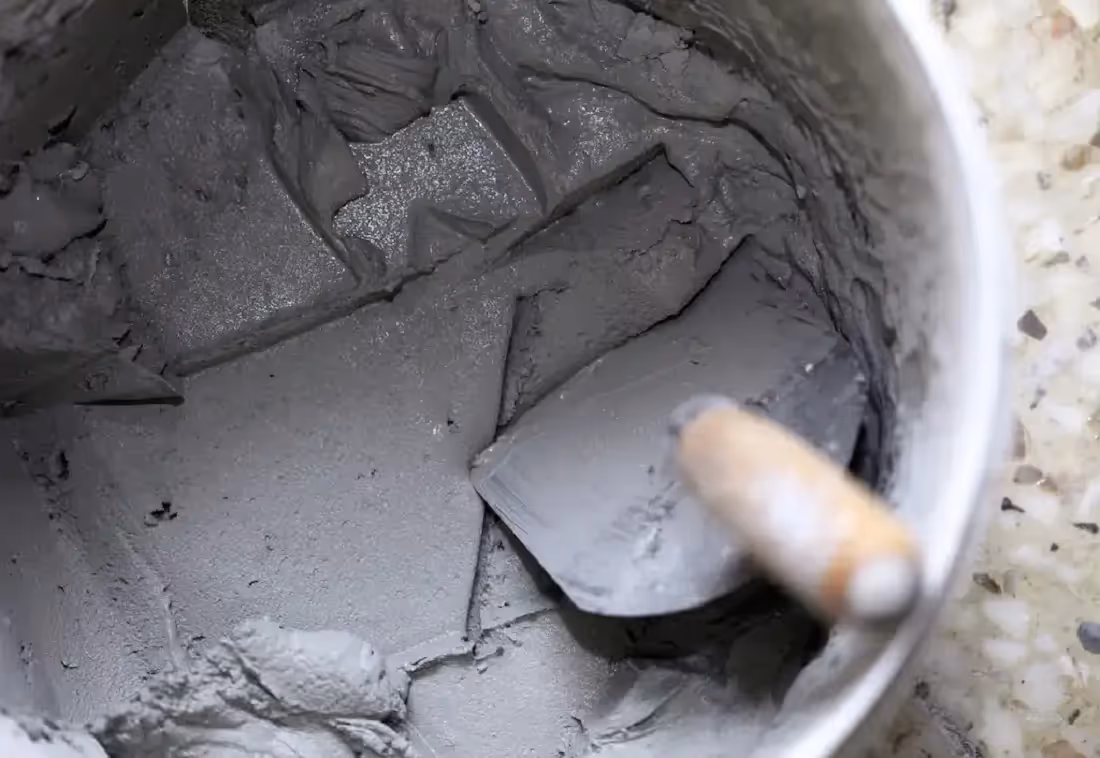
The gaps between the flat stones should be filled with mortar, adhesive, or polymeric sand, leaving enough time to dry thoroughly per the manufacturer's instructions. Install metal or plastic edge restraints along both sides of the staircase run to prevent lateral spreading under foot pressure and frost heave — a step that's easy to skip but expensive to fix later.
6. Add Finishing Touches
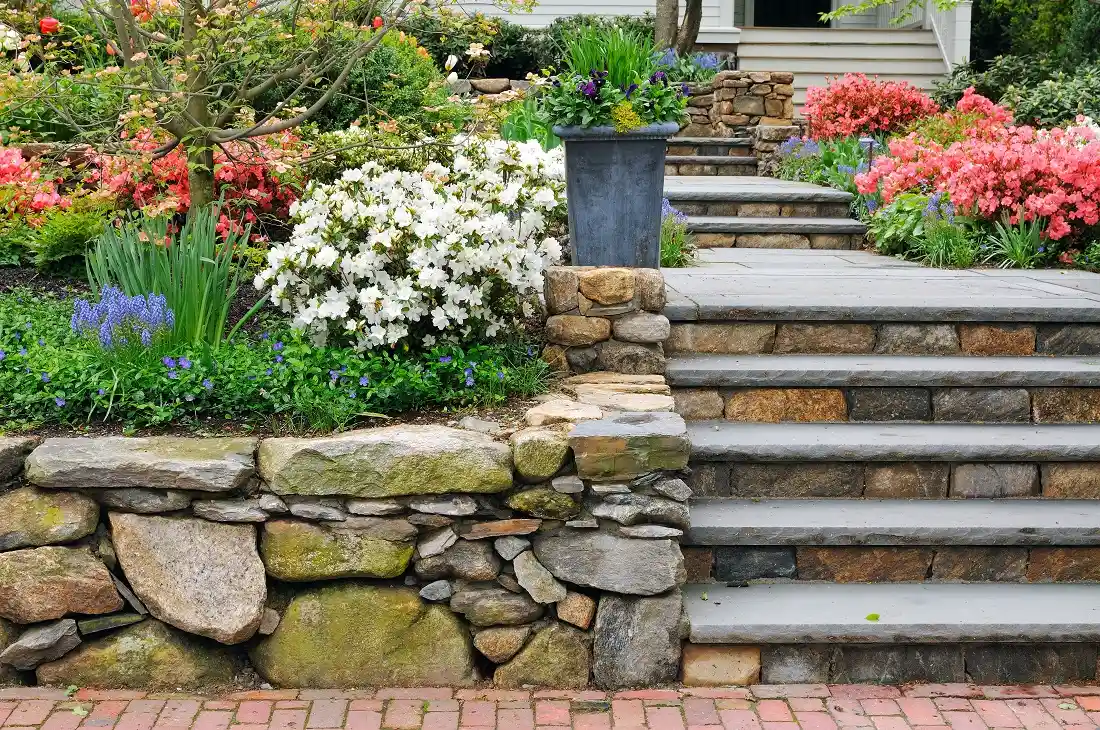
To enhance the aesthetic appeal of your outdoor space, consider incorporating decorative rock steps into your landscape design. Here are a few natural stone steps ideas to make the space your own:
- Flower beds: Enhance the aesthetic appeal of your outdoor space by planting vibrant and fragrant flowers on both sides of the stairway, adding a captivating touch of nature's beauty to your surroundings. You can also create beautiful borders using natural stone edging techniques.
- Arches: Consider constructing arches that frame the stone steps leading to the entryway, thereby enhancing its inviting and cozy atmosphere.
- Natural transition: Design your stone steps to blend beautifully with your landscape — try adding a border of mulch or low-growing plants at the edge for a natural transition.
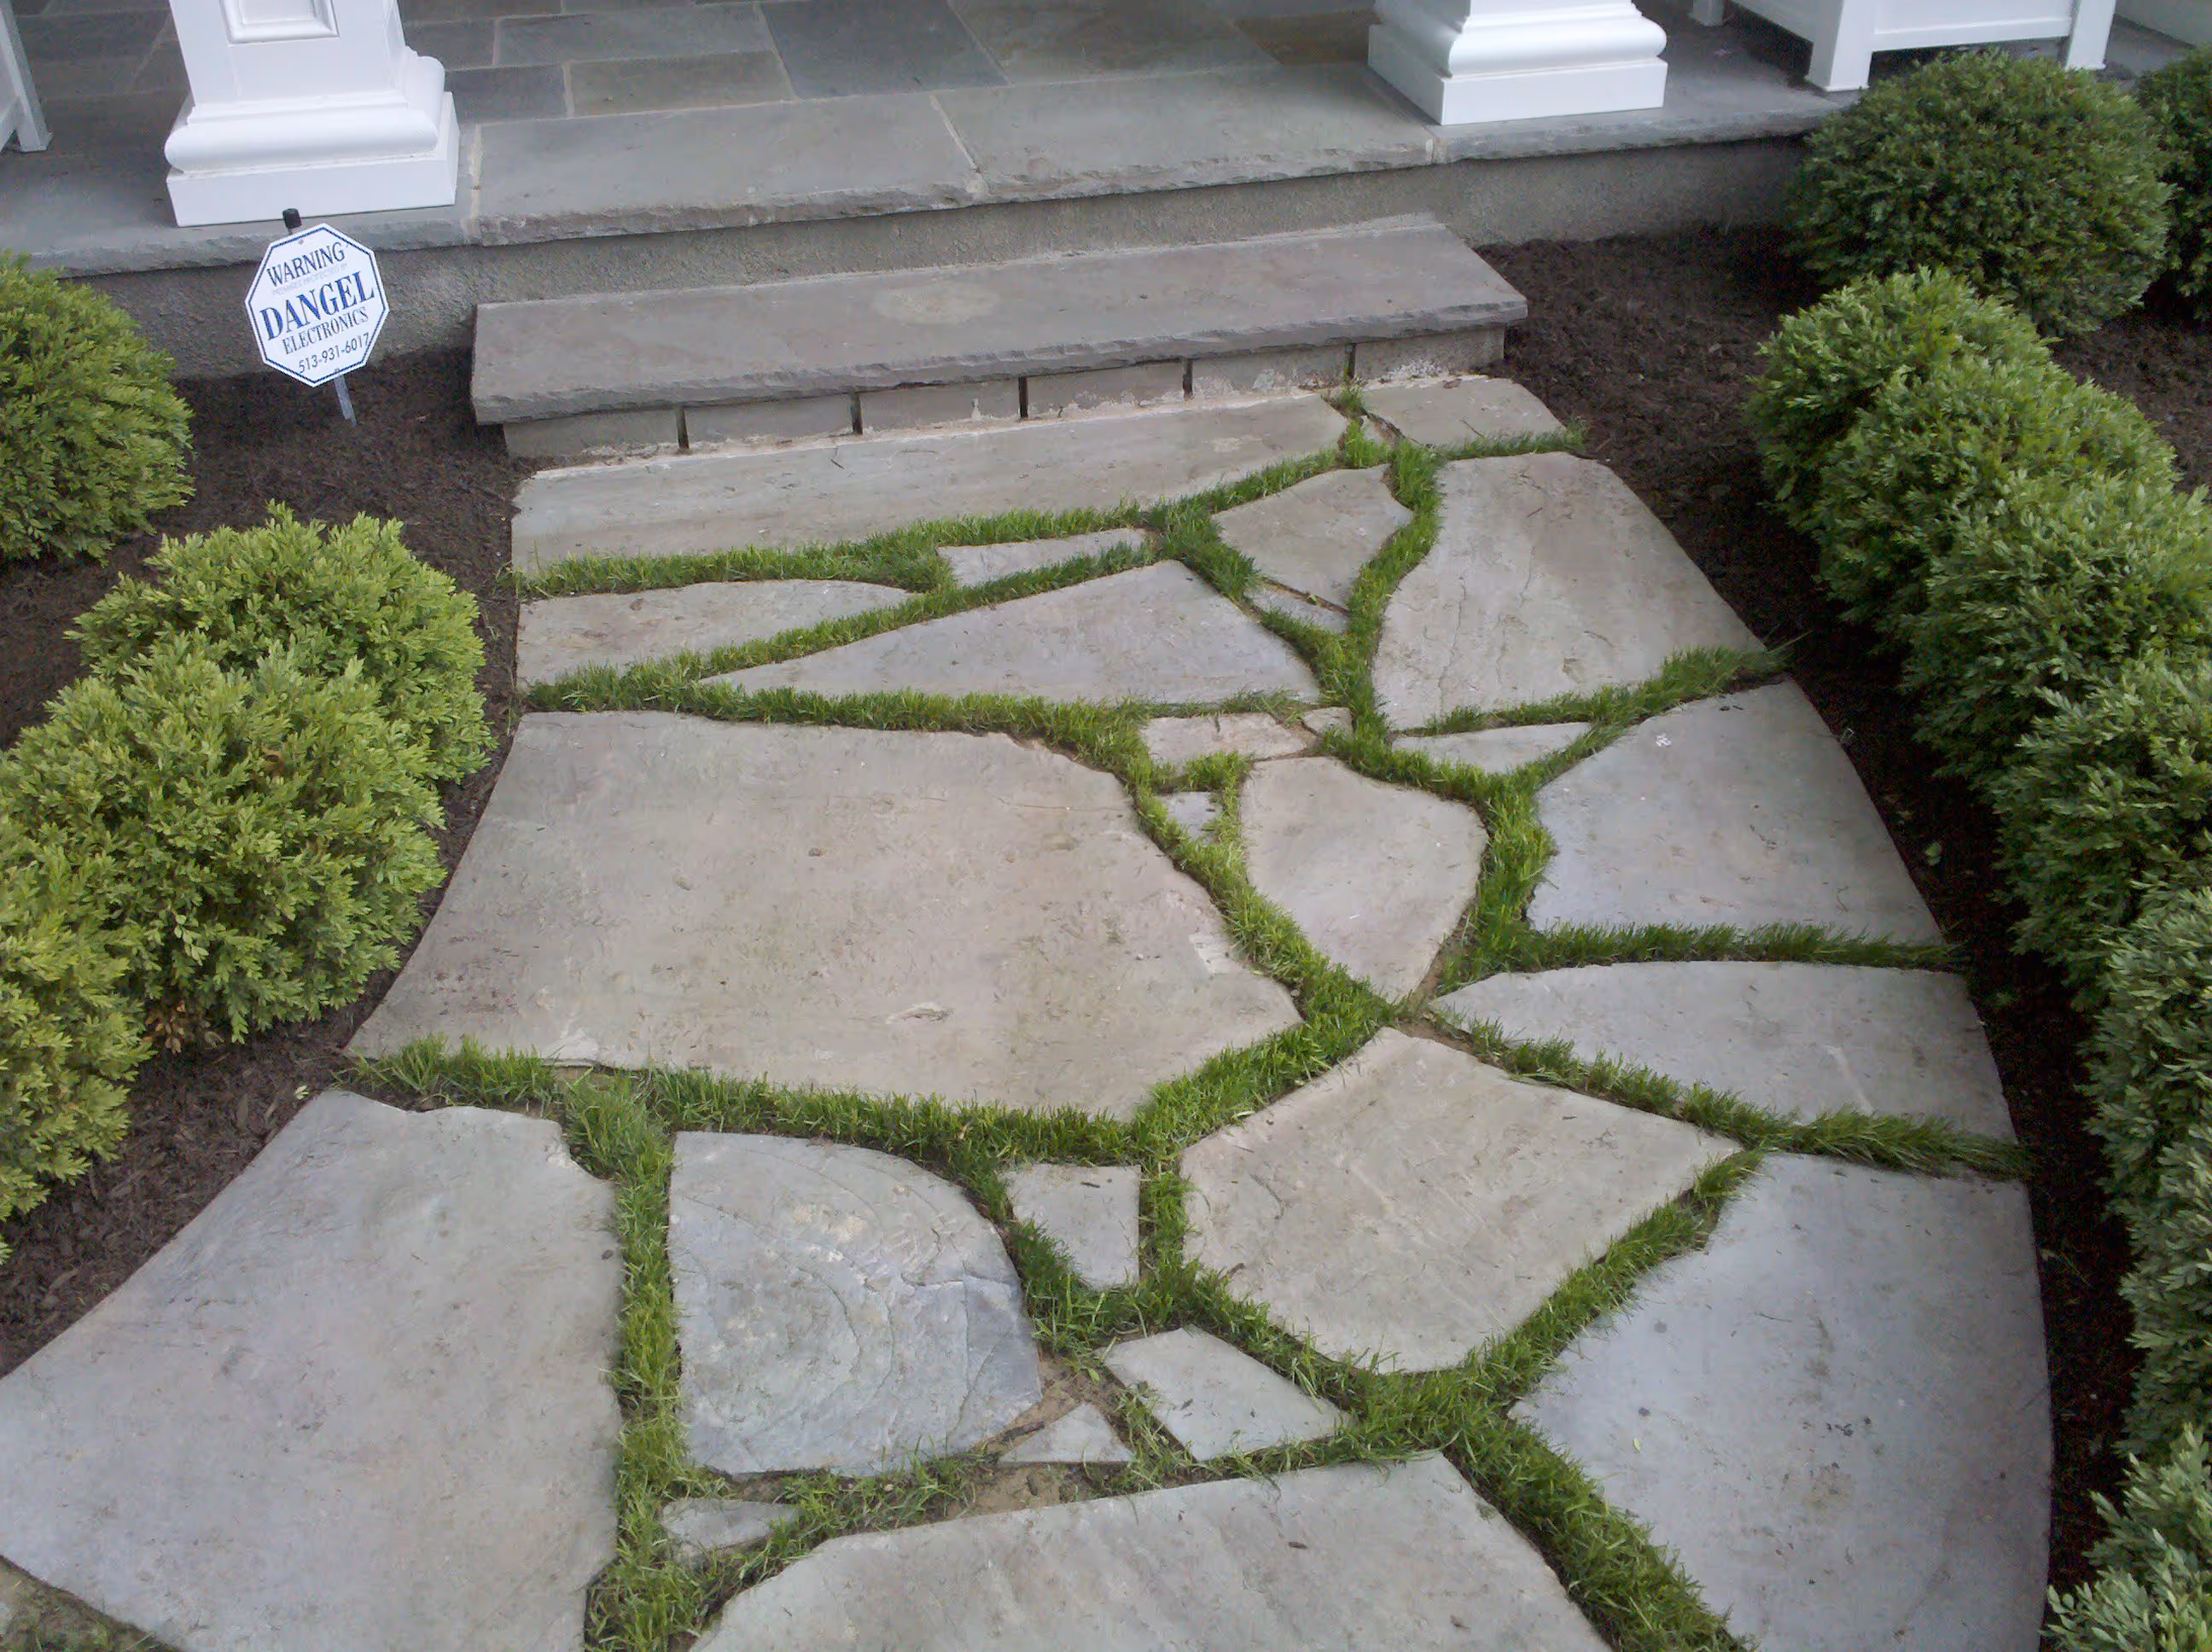
- Stepping stone path: Connect your new rock stairs to a stepping stone walkway that winds through the garden for a cohesive, finished look.
- Step lighting: Low-voltage lights set into or beside the risers improve safety after dark and highlight the stone’s natural texture.
Common Mistakes When Building Stone Steps on a Slope
Even experienced DIYers run into avoidable problems when building stone steps on a slope. Here are some things to avoid.
#spoilers_start
Skipping Base Compaction
An uncompacted gravel base shifts under load and frost, creating uneven, unsafe steps. Always compact in 2–3 inch lifts before laying any stone.
Poor Drainage Planning
When water collects behind risers, it can accelerate erosion and undermine the entire base over time. Pitch each tread slightly forward and consider a French drain on steep or wet sites.
Risers That Are Too Steep
Steps taller than 8 inches become uncomfortable and hazardous on a hillside. Ensure riser height is between 6–7 inches for a safe, natural stride.
Skipping Edge Restraints
Without edging, stone treads gradually migrate outward under foot pressure, creating gaps and trip hazards. Install metal or plastic restraints along both sides of the staircase run.
Using Polished Stone Outdoors
Honed or polished finishes turn dangerously slick when wet, which is a huge safety risk for outdoor steps on a slope. Choose a thermal, brushed, or natural-cleft finish instead.
#spoilers_end
Keeping Your Stone Steps Beautiful: Simple Maintenance Tips
With a little regular care, your natural stone steps will stay in top condition for years to come. Here's how:
- Prevent buildup: Regularly sweep away dirt, leaves, and other debris to keep your steps looking clean.
- Rinse away grime: Use a hose or pressure washer to remove stubborn dirt and prevent stains.
- Stop weeds: Remove any weeds or grass growing between your stones to maintain a polished look.
- Check for damage: Inspect for loose or damaged stones and make repairs promptly to prevent further issues.
- Protect with sealer: If recommended for your stone type, apply a sealant periodically to help repel stains and weather damage.
Let Stone Center Make Your Stone Step Dreams a Reality
You now have everything you need — the plan, the steps, and the stone knowledge — to build outdoor rock stairs that look great and hold up for decades.
At Stone Center, we supply premium natural stone across Ohio, with locations in Columbus and Cincinnati. Whether you're building garden steps or formal staircases, our team offers expert guidance and a wide selection to bring your vision to life. Contact us today to get started!
FAQ
.avif)
Jon, the owner of Stone Center, is a knowledgeable expert in natural stone products, specializing in various types of stone for landscaping and architectural projects. Passionate about promoting the beauty and versatility of natural stone, Jon aims to use these blogs to inspire readers with creative ideas to upgrade their homes.

Check Out Our Products You May Like
.avif)
Buff Sandstone Rockface
$200 - $270 (each)
.avif)
Caspian Creme
.avif)
Jurassic Tread
$200 - $400 (each)
.avif)
Thermal Bluestone Tread
$140 - $250 (each)
Alpine Steppers
Fond Du Lac Steppers
How much does it cost to get a stone restored?
How much you end up spending to restore stone varies on the type of stone, the technique, and the stone’s current condition. Stone in good condition will cost less to restore, whereas stone that has a lot of wear and tear may require a longer restoration.