- Stone Center
- Blog
Building a Paver Stone Base: A Complete Step-by-Step Tutorial
8/5/2025
10/19/2024
Building a Paver Stone Base: A Complete Step-by-Step Tutorial
Tired of uneven patios, sinking walkways, and frustrating weed growth? You’re not alone. A solid paver base is the foundation for a beautiful, durable outdoor space. At Stone Center, we're passionate about providing not just the finest natural stones to transform your backyard and your property, but also the knowledge to make your project a success.
This guide dives into the essentials of paver base preparation, walking you through every step from soil analysis to proper compaction. We'll explain the right base materials, help you choose the best option for your project, and give you the knowledge to build a lasting patio you'll love.
Preparation
Preparing the perfect paving stone base is essential for creating a long-lasting, sturdy patio or walkway. Whether you're working on the project yourself or hiring a contractor, understanding the key steps involved can help guarantee a successful outcome. But why is a base so important? A properly constructed base prevents shifting, sinking, and water damage, while also providing a smooth surface for your pavers. Let’s examine the crucial preparation steps that will set you up for a durable and well-constructed paving stone installation.
We’ve outlined the key considerations to ensure your project starts on the right path:
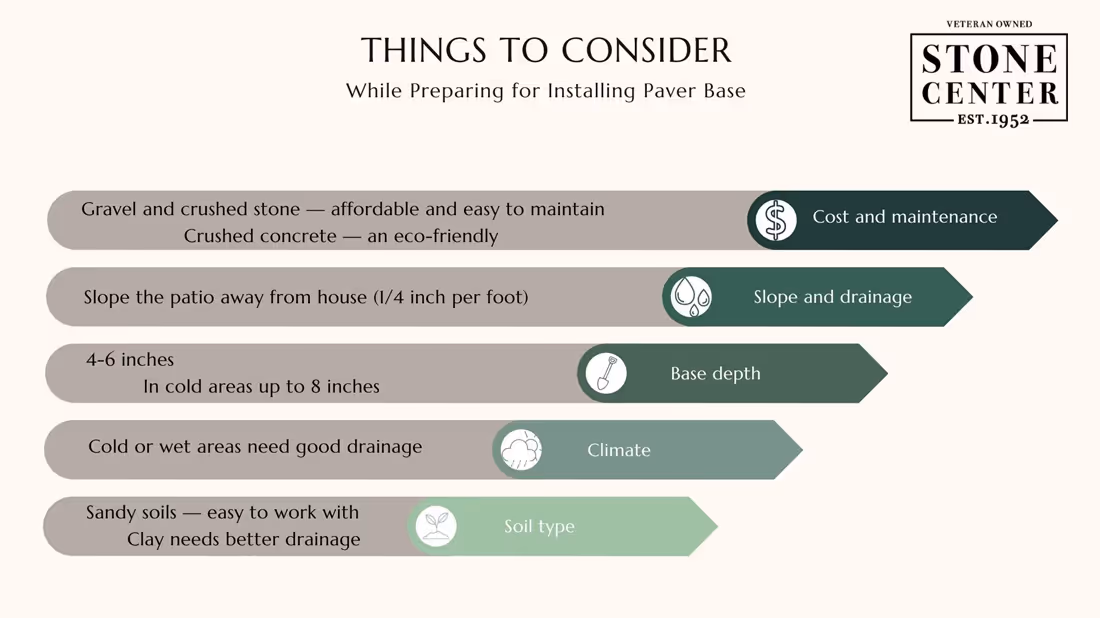
These are easy but important things to consider. Now that we understand the main things to consider, let's figure out what materials we need for the paving base!
Paver Base Materials
When choosing the right base for your paver project, selecting the proper material can help ensure durability and long-term stability. Different materials offer various benefits, such as strength, drainage, and ease of installation. The table below outlines commonly used paver base materials as well as when to use them for every climate in the United States:
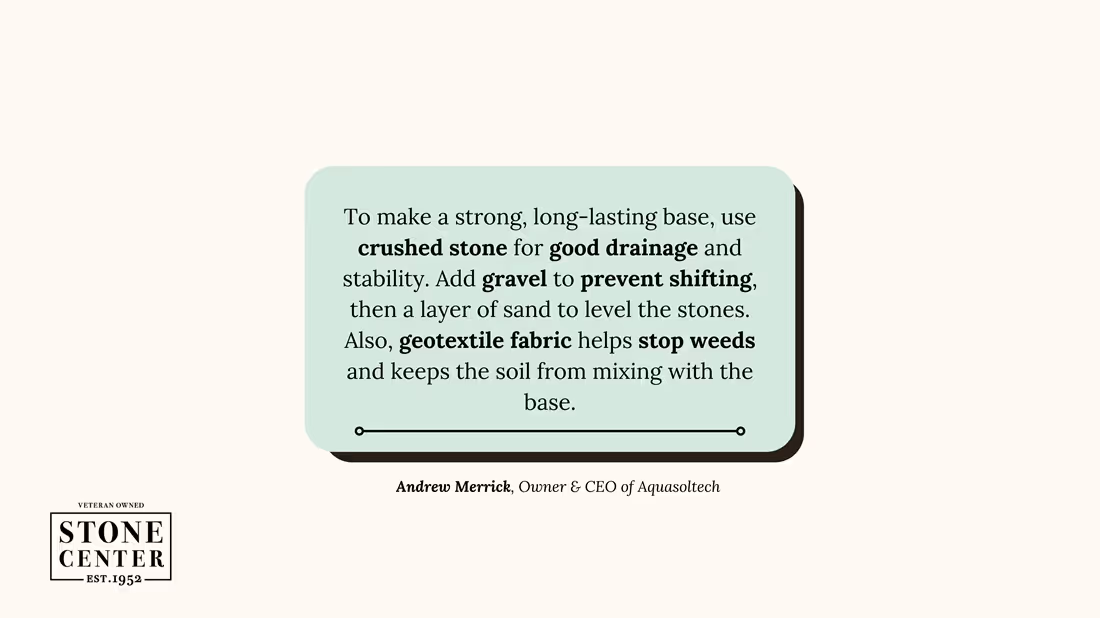
You might see some other options on the market, but they might not be as good as you think.
“Round stones or pea gravel don't interlock like crushed stone. Even though they might look similar, the round shape doesn’t provide a solid base because they don't compact well. Over time, they’ll shift and settle, causing the surface to become uneven.” — Bill Bencker, Ace Avant Concrete Construction.
For a small-sized patio of approximately 100 square feet, using 6-8 inches of base material, you would likely spend $400-$700 on materials for the base alone. This includes crushed stone or gravel, sand, and any additional materials like geotextile fabric if needed.
Step-by-Step Instructions
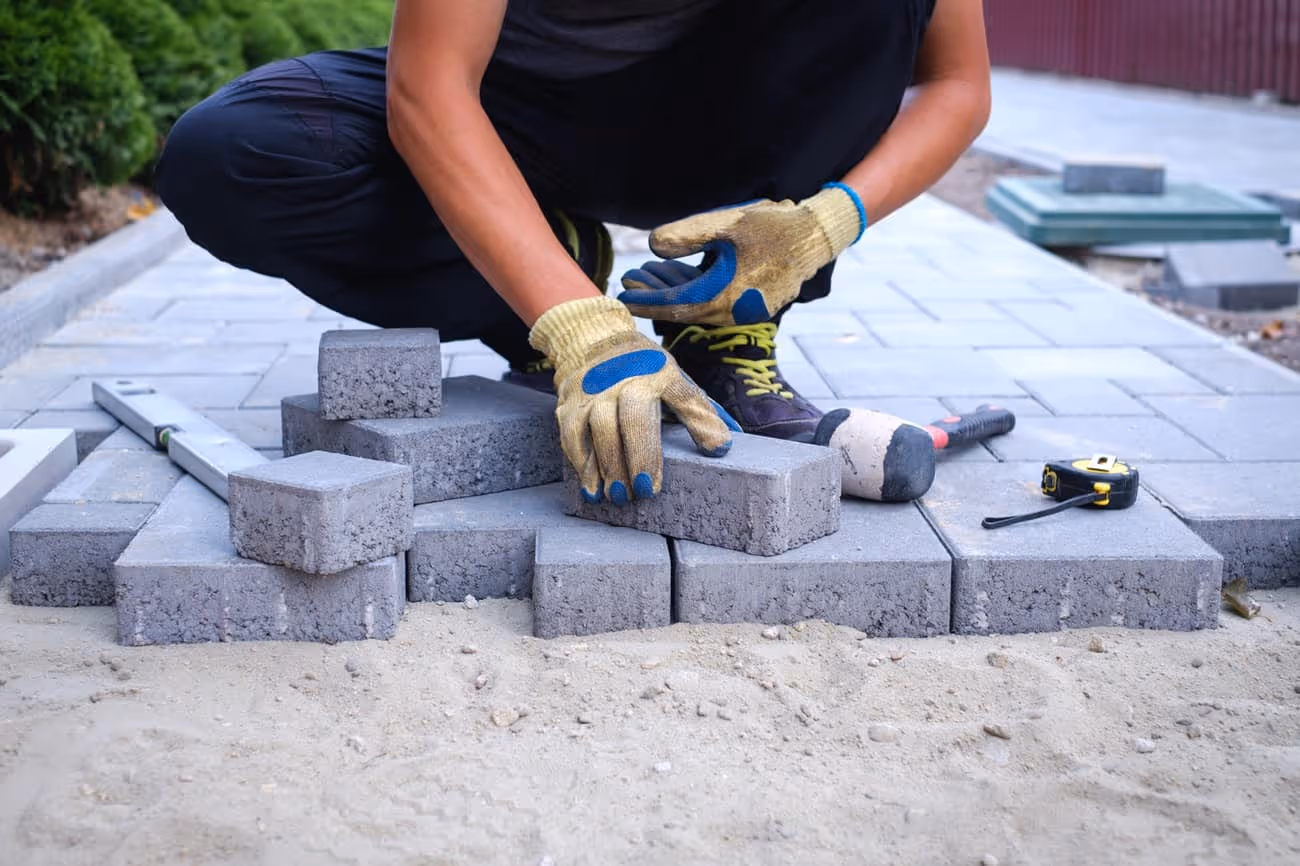
Installing a paving stone base is a crucial step in creating a long-lasting and durable patio or walkway. Below our team at Stone Center has outlined a step-by-step guide to help you install your base correctly:
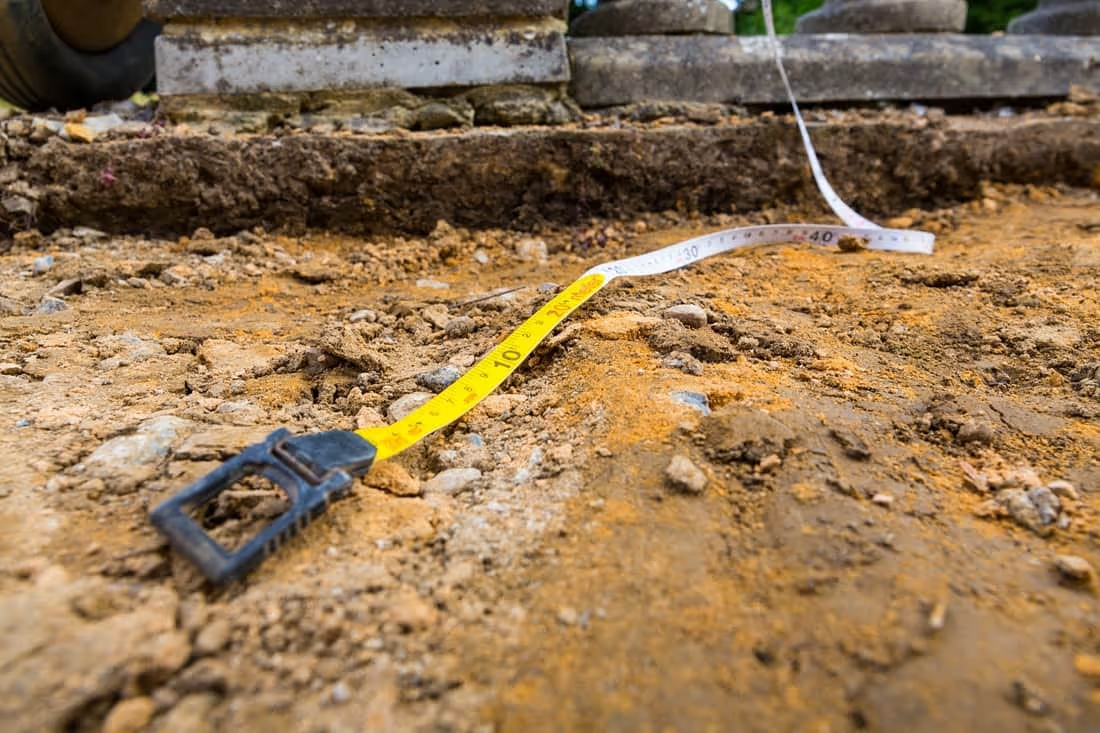
Step 1: Plan and Measure
Before any digging begins, carefully plan and measure the area where the patio will be installed. Use stakes and string to mark the dimensions of the patio, and make sure the area has the right slope (about 1/4 inch per foot) to allow proper water drainage.
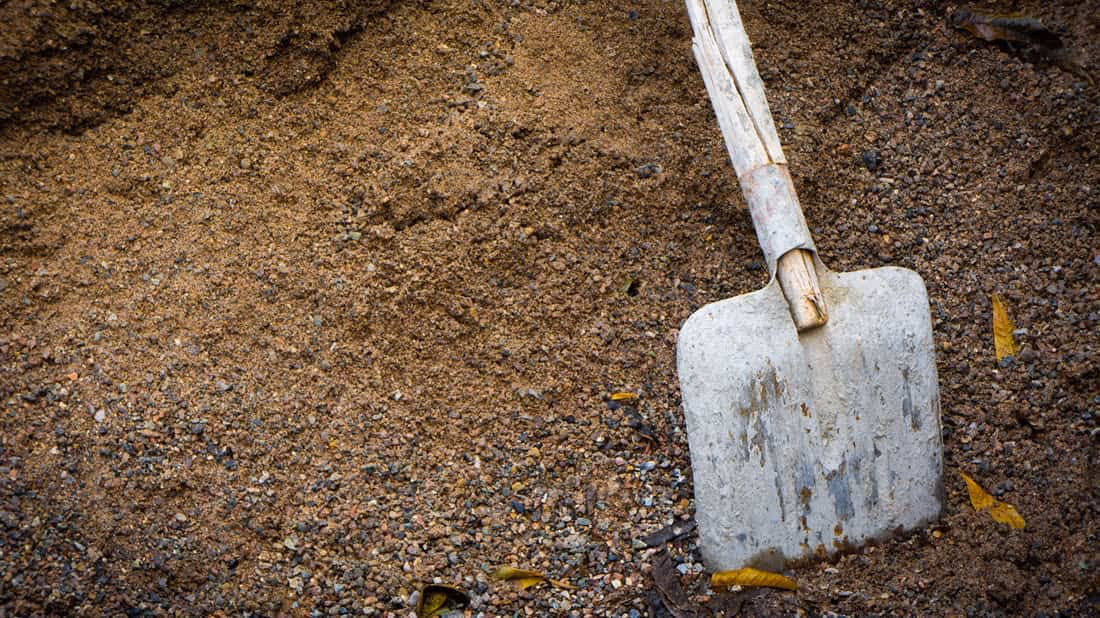
Step 2: Excavate the Area
Dig out the marked area to the depth required for the base materials and pavers. Typically, you’ll need to excavate around 6–8 inches deep. For cold climates, consider digging deeper (up to 10 inches) to prevent frost heaving. Make sure the bottom of the excavation is even.
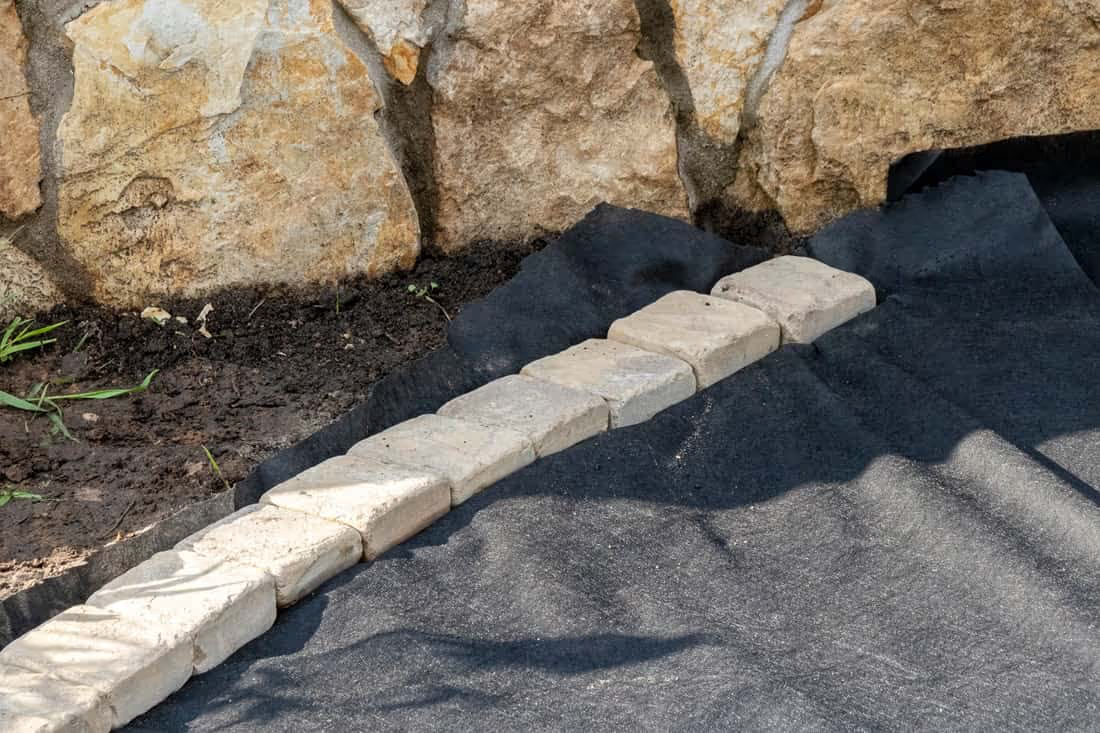
Step 3: Add a Geotextile Fabric (Optional)
For areas with poor soil drainage or a lot of clay, it’s a good idea to lay a geotextile fabric at the bottom of the excavated area. This fabric helps prevent the base material from sinking into the soil and improves drainage altogether.
Step 4: Install the Base Layer
Add the first layer of base material, typically crushed stone or gravel, about 4-6 inches thick. Spread it evenly across the area so that it maintains the proper slope for drainage.
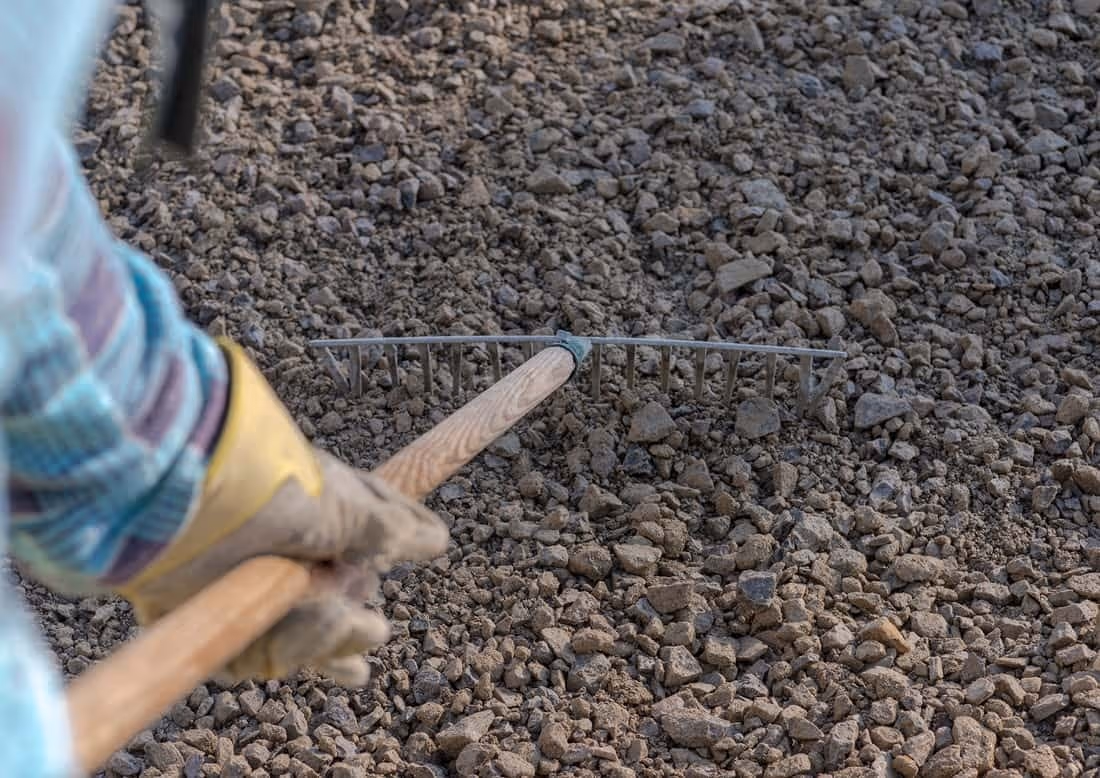
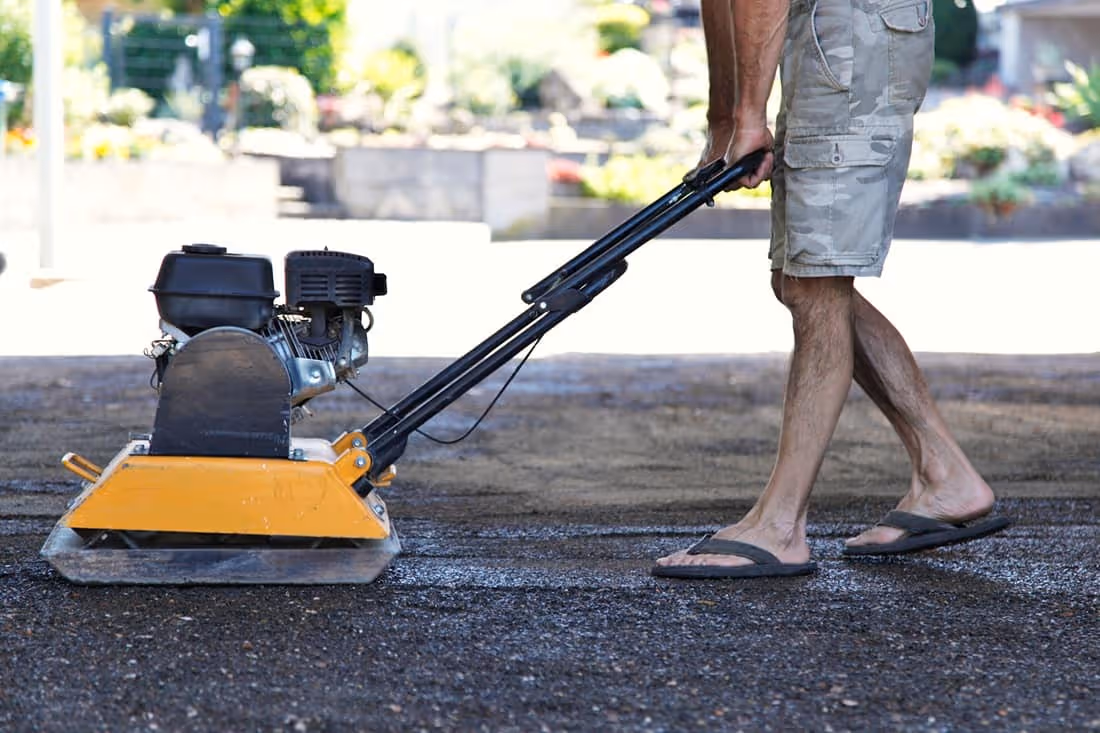
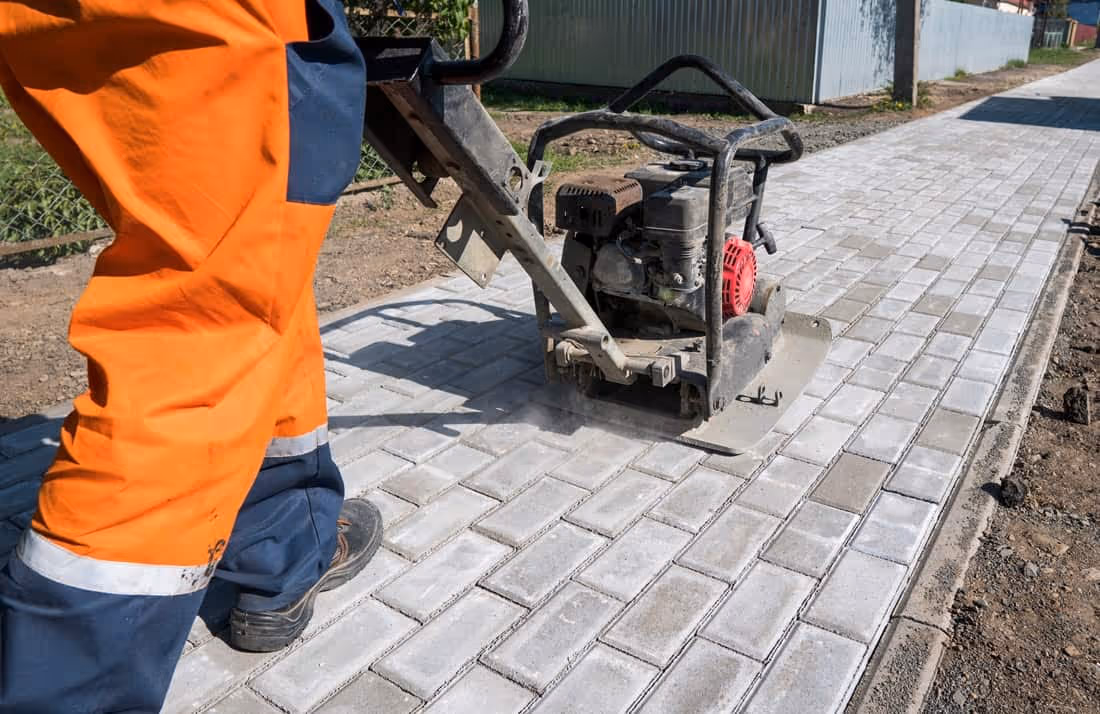
Step 5: Compact the Base Layer
Use a plate compactor to compact the crushed stone or gravel. Compacting each layer ensures the base is stable and won’t shift over time. For larger patios, consider compacting in layers, especially if the base is deeper than 6 inches.
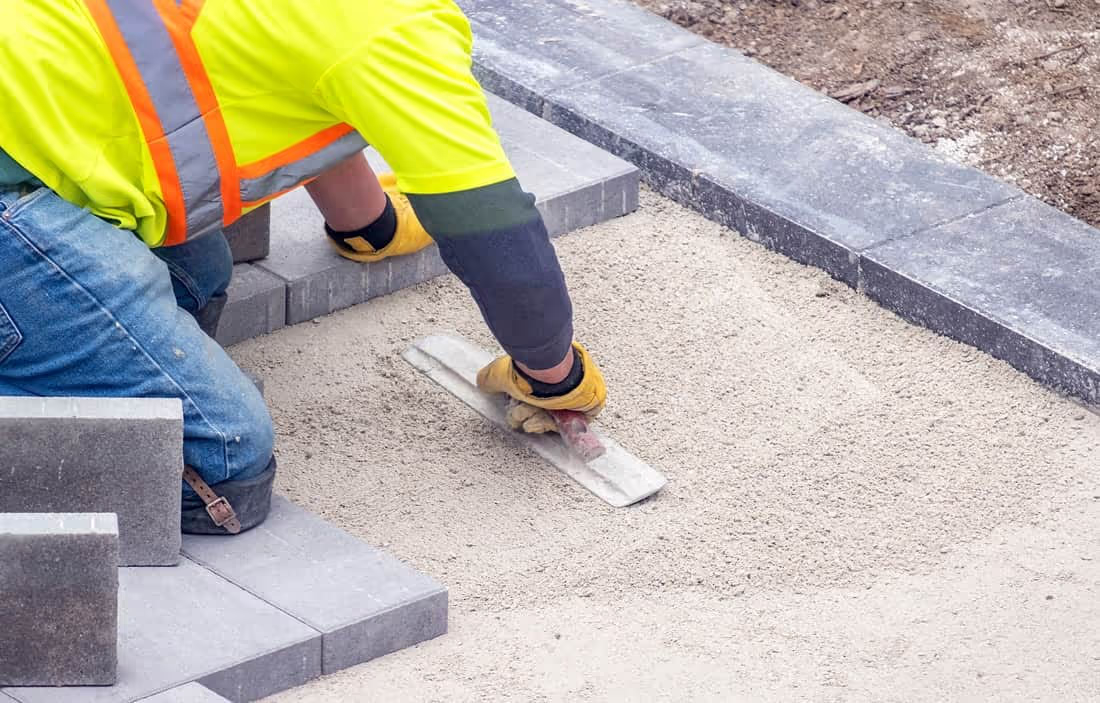
Step 6: Add the Bedding Sand Layer
Spread a 1-2 inch layer of bedding sand over the compacted base. This sand layer helps level the surface and provides a smooth cushion for the pavers. Use a screed board to make sure the sand is evenly spread and completely level.
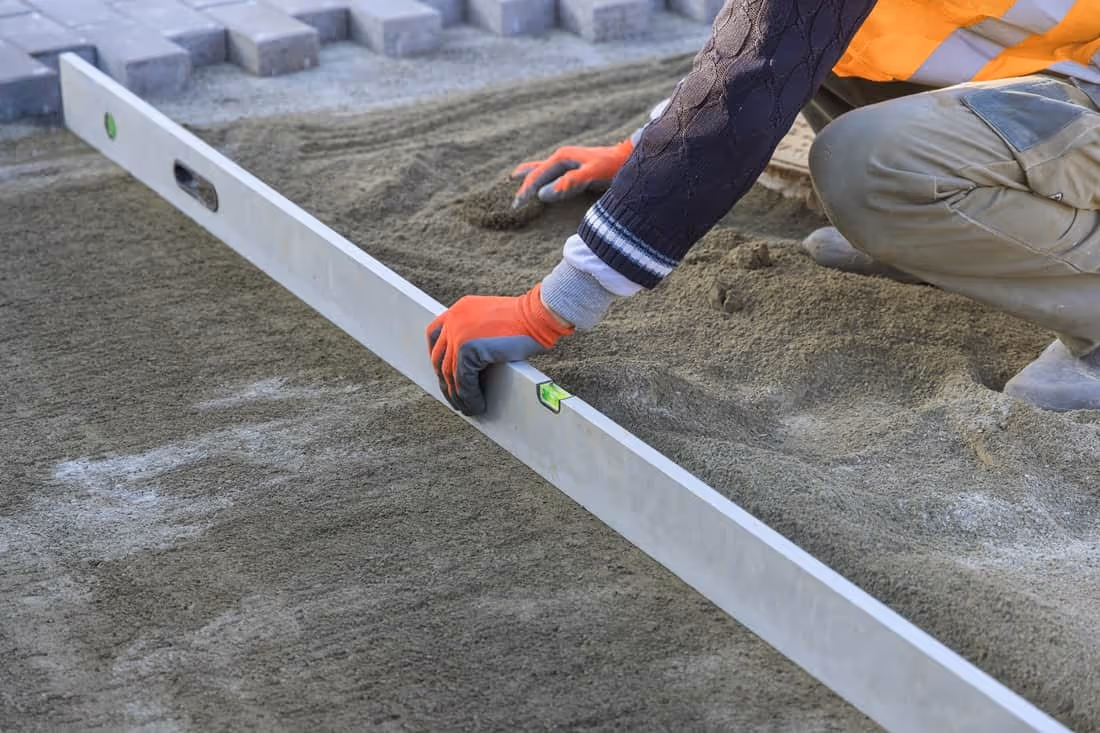
Step 7: Level and Check the Slope
Once the sand is laid, check the surface with a long level to ensure it is smooth and even. Verify that the slope is correct for water runoff, and adjust it as needed by adding or removing small amounts of sand at a time.
Step 8: Lay the Pavers
Carefully start placing the pavers on the leveled sand base, following the pattern you’ve planned. Leave small gaps between the pavers for joint sand and adjustments, but keep them as even as possible.
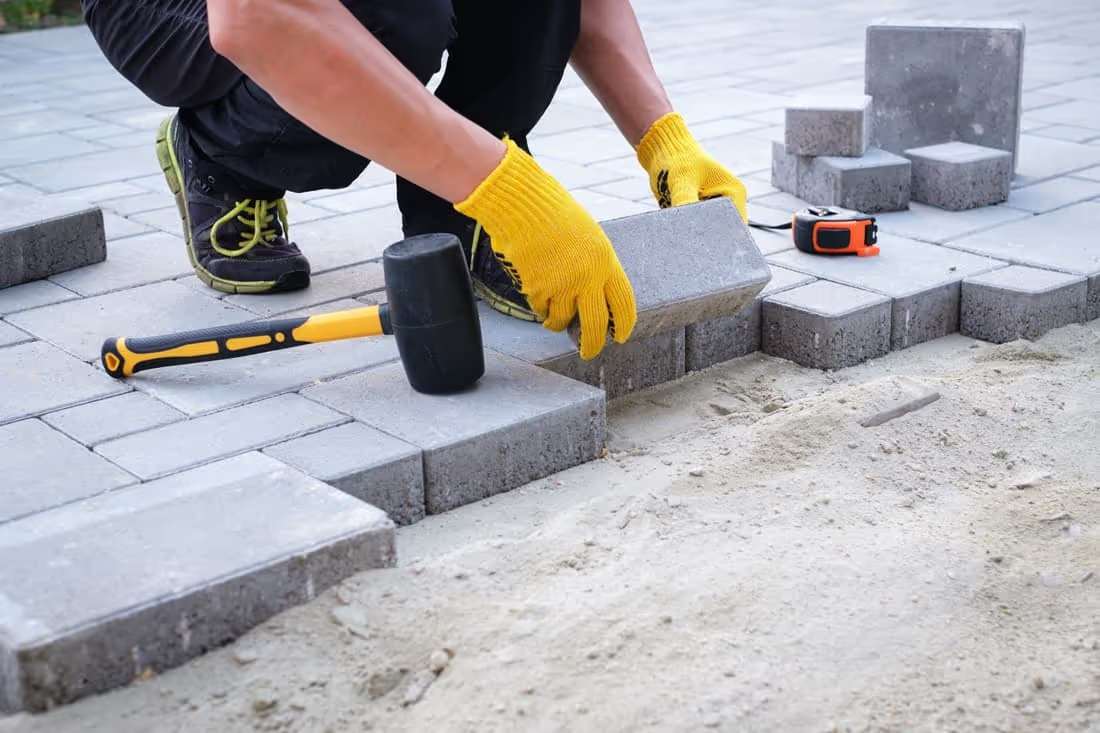
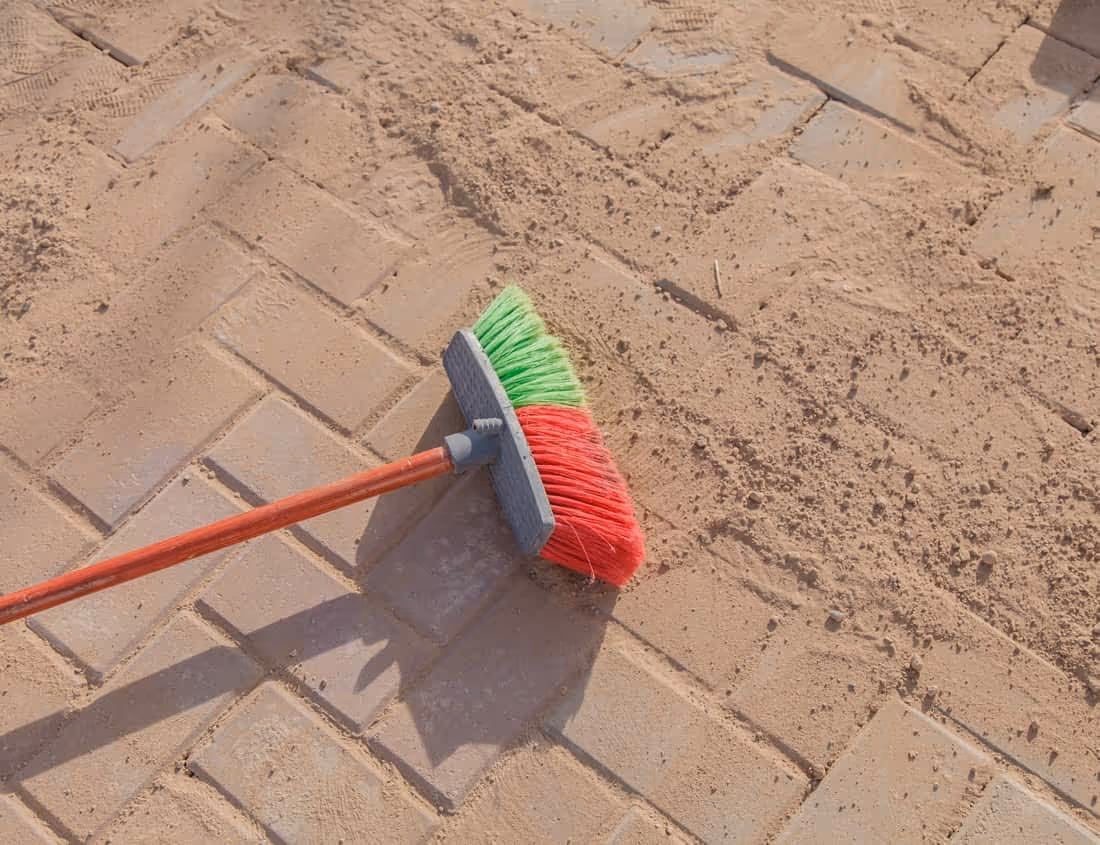
Step 9: Fill the Joints and Compact Again
After all the pavers are in place, sweep joint sand into the gaps between them to lock them in place. Once filled, use the plate compactor once more to ensure the pavers are level and firmly set in the base.
Step 10: Seal the Pavers (Optional)
Sealing the pavers can help protect them from staining, weathering, and moss growth. It’s an optional step but we recommend it for long-term durability.
By following these steps, you’ll have a strong, stable paving stone base that will keep your patio or walkway looking great for years to come!
Tips for Laying Paver: Dos and Don'ts
Now that you’ve successfully installed your paving stone base, it’s time to ensure everything is laid properly and will stand the test of time. To help you get the best results and avoid common mistakes, we’ve put together a list of essential dos and don'ts for laying pavers.
Do not rush and instantly start digging holes in your backyard. While the process might sound like a piece of cake, it's better to know every little piece of advice that you might get before starting your work. We prepared some additional tips for you to make sure that the paver base will be perfect.
Some material may need additional laying to even the paver surface. Here are some examples of materials that might need additional leveling and the process of how to do so:
- Crushed Stone/Gravel can sometimes settle unevenly no matter how careful you are. If you notice uneven areas, try using fine crushed stone (like limestone screenings) to fill in gaps and smooth out the surface. Compact it well to ensure a level finish.
- Crushed Concrete may have rough, uneven particles. To create a smoother base, try adding a thin layer of sand or finer crushed material on top as this helps even out the surface before laying your pavers.
- Sand, while easy to level, can shift if the base underneath isn't flat. To improve the smoothness, try using a screed board to spread the sand evenly. If needed, you can also add a small amount of fine gravel underneath to help stabilize the sand.
- Decomposed Granite can settle unevenly, especially in wet climates. For a smoother surface, try using a thin layer of sand or fine gravel on top before compacting it again. This helps prevent dips and creates a more even foundation.
While this list is helpful, it isn’t extensive. We prepared a list of dos and don'ts for the whole patio paver installation process for you to keep in mind:
After all of this explanation on how to choose the right materials and install a paving stone base, you might still have one underlying question: Why do I even need a base for my paver patio? Let's take a look.
Why Do You Need Base Material for Patio Pavers?
You need a base material for patio pavers because it creates a solid, stable foundation that supports the weight of the pavers and prevents them from shifting or sinking over time. The base supports the system as a whole and prevents weeds from growing. It also helps with drainage by allowing excess moisture to pass through, preventing pooling that can cause damage. Without a proper base, the pavers can move, crack, or become uneven, leading to costly repairs. A good base ensures your patio stays level, looks great, and lasts for years with minimal maintenance and stress.
Conclusion
Building a paver base is a bit like building a house — a strong foundation is essential. We've shown you the crucial steps and considerations to ensure a rock-solid base that will stand the test of time.
As the Ohio stone supplier, we've been committed to your success since 1952. Whether you're an enthusiast or working with a contractor, we offer expert advice, premium materials, and a range of services to make your paver project a masterpiece. Need help choosing the best pavers just for you? Don't hesitate to contact Stone Center.
FAQ
.avif)
Jon, the owner of Stone Center, is a knowledgeable expert in natural stone products, specializing in various types of stone for landscaping and architectural projects. Passionate about promoting the beauty and versatility of natural stone, Jon aims to use these blogs to inspire readers with creative ideas to upgrade their homes.


How much does it cost to get a stone restored?
How much you end up spending to restore stone varies on the type of stone, the technique, and the stone’s current condition. Stone in good condition will cost less to restore, whereas stone that has a lot of wear and tear may require a longer restoration.