- Stone Center
- Blog
How to Build a Pond Out of Rocks and Stones: From Planning to Completion
28/4/2026
3/12/2026
How to Build a Pond Out of Rocks and Stones: From Planning to Completion

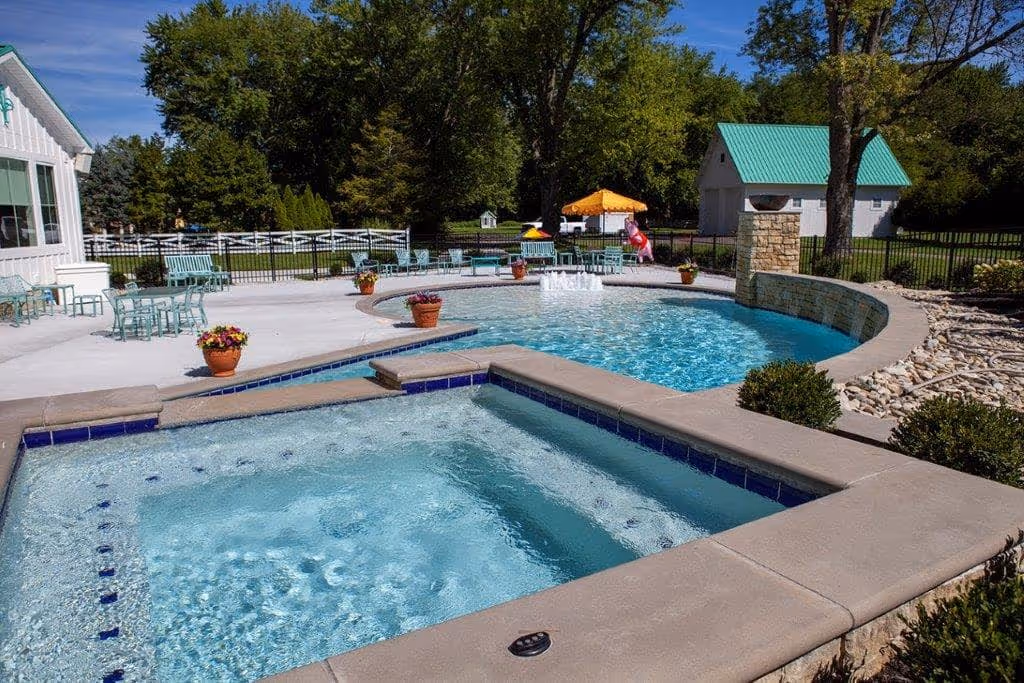
Building a pond in your backyard creates a peaceful retreat where you can enjoy the soothing sounds of flowing water and watch wildlife gather. Whether you're planning a small garden pond or a larger water feature, the process requires careful planning and the right materials to ensure your pond stands the test of time.
In this guide, we walk you through how to create a beautiful stone pond using quality natural landscaping stones that blend seamlessly with your outdoor space. From selecting the perfect location to placing the final boulders, you'll learn everything you need to transform your yard into a tranquil oasis.
How to Choose the Right Location and Design for Your Backyard Pond

Finding the ideal spot for your pond sets the foundation for success. The location affects everything from water quality to how often you'll enjoy your new water feature.
- Sunlight and shade balance: Your pond needs partial sunlight (roughly 4-6 hours daily). Too much direct sun encourages algae growth, while too little prevents pond plants from thriving.
- Ground stability and drainage: Choose level ground away from natural drainage paths that could wash debris into your pond. The soil should be stable enough to support the weight of water, rocks, and features like waterfalls.
- Pond size and depth planning: Most backyard ponds range from 6-12 feet across and 18-24 inches deep at the center. For a 1-acre pond, aim for a depth of 8-12 feet to support fish and prevent complete freezing in winter.
- Shelf design for plants and safety: Include at least one shallow shelf around 12 inches deep. These shelves create planting areas, provide safety access points, and give wildlife easy entry and exit.
Once you've picked your location and planned the design, gather your materials before starting excavation. With proper preparation, the build process will flow smoothly from start to finish.
Essential Materials and Equipment for Building a Stone Pond
Having the right materials and tools ready before you start digging saves time and prevents mid-project delays.
Materials Needed
- Pond liner to hold water and shape the pond
- Underlayment to protect the pond liner
- Stones and rocks to form edges and structure
- Sand to cushion the liner
- Pump and filter system to circulate and clean the water
- Tubing and fittings to connect pump components
- Waterfall foam or pond-safe silicone to secure stones and seal gaps
- Pond plants to support natural filtration
Tools and Equipment
- Shovel and spade to dig and shape the pond
- Spirit level to keep pond edges even
- Garden hose to mark the layout and fill the pond
- Wheelbarrow to move soil and stones
- Scissors or a utility knife to trim excess liner
- Tape measure to measure pond size and depth
Step 1: Excavation and Ground Preparation
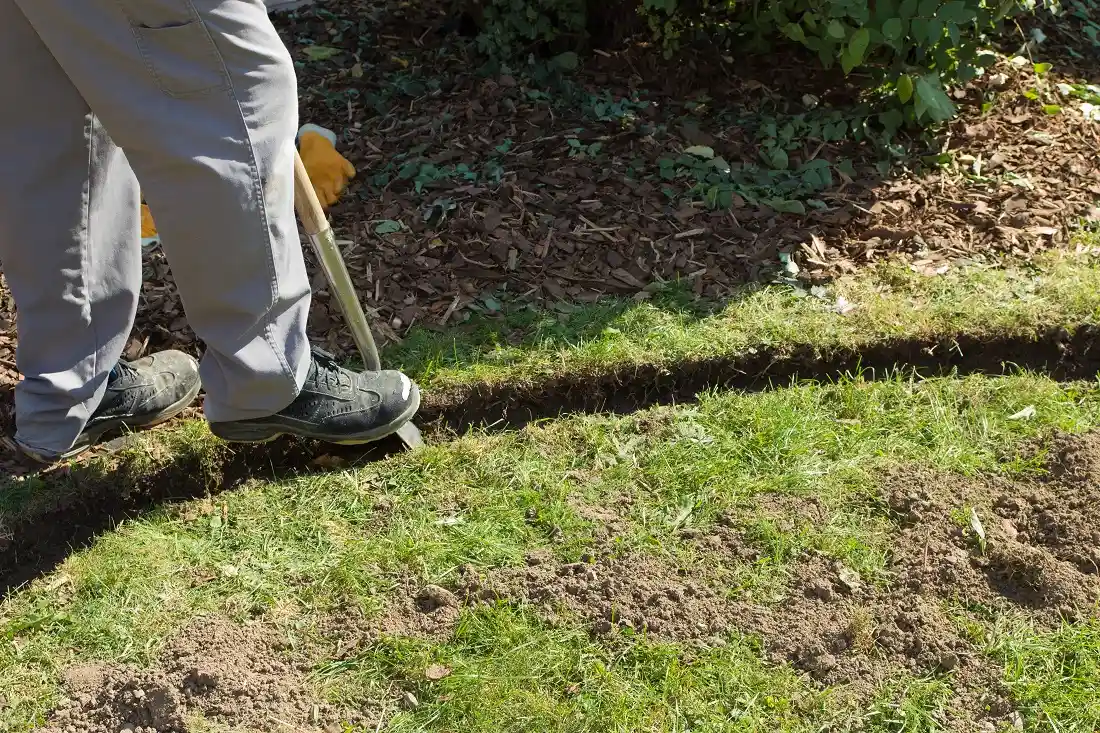
Digging your pond properly prevents future headaches and ensures your liner stays protected for years.
Marking and Digging the Hole
Start digging from the center, working outward to create your planned shape. Remove soil in layers, setting aside the dirt for later use in your landscape. Create distinct shelves at different depths with one shallow area for plants and a deeper central zone. A spirit level ensures the pond edge sits level all the way around. When edges are uneven, it causes water to pool on one side and expose the liner on the other.
Removing Sharp Objects and Preparing the Base
Walk through the excavated hole and remove any sharp stones, roots, or debris that could puncture your liner. Even small rocks can work through protective layers over time, so be thorough during this process. Consider lining the bottom with a thin layer of sand to create an extra cushion, similar to preparing a base for paver installations.
Step 2: Underlayment and Pond Liner Installation
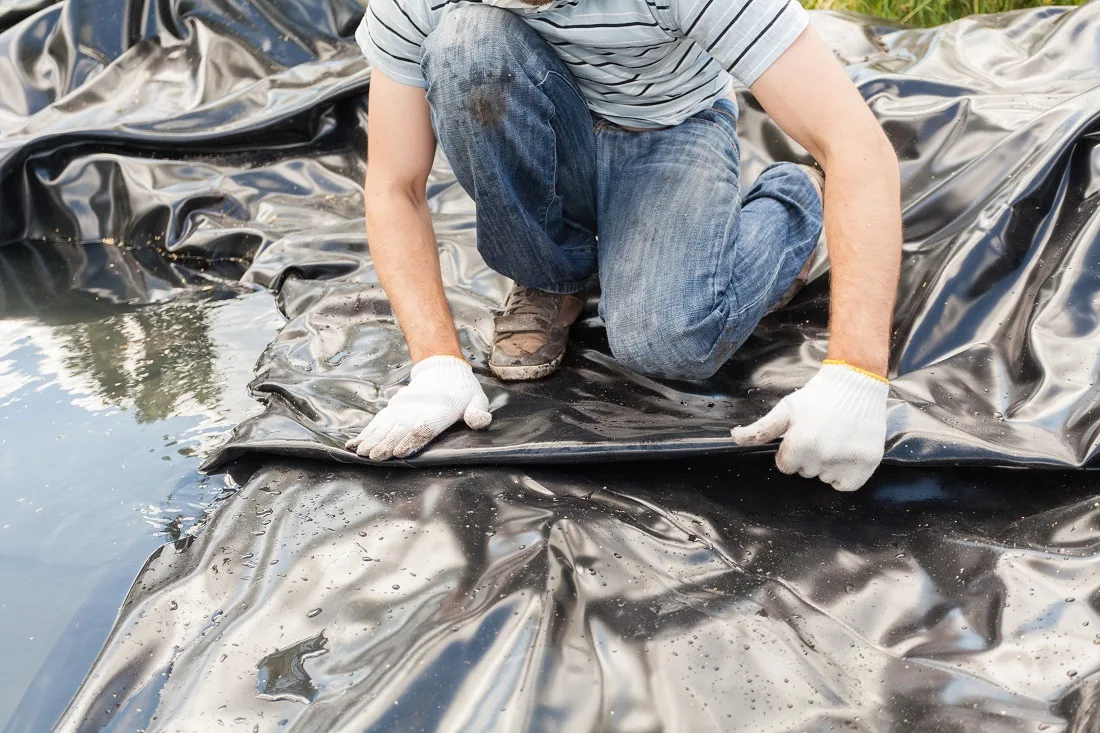
The liner acts as your pond's waterproof barrier. When you install it properly, it prevents leaks and extends its lifespan.
Laying Protective Underlayment
Spread geotextile fabric or old carpet across the entire excavated area, including shelves and walls. This material protects the liner from punctures caused by settling ground or sharp objects working up from below. Overlap pieces by at least 6 inches and extend the underlayment past the pond edge to ensure complete coverage.
Placing and Smoothing Your Liner
Calculate the ideal liner size using this formula:
Length + (2 × Depth) + 2 feet, and Width + (2 × Depth) + 2 feet
EPDM rubber liners are the popular choice for their durability and fish-safe properties. Drape the liner loosely over the hole, letting it settle naturally into corners and shelves. Press the liner into place while working out wrinkles where possible, leaving plenty of excess material around the edges that you can trim later once you’ve placed the rocks.
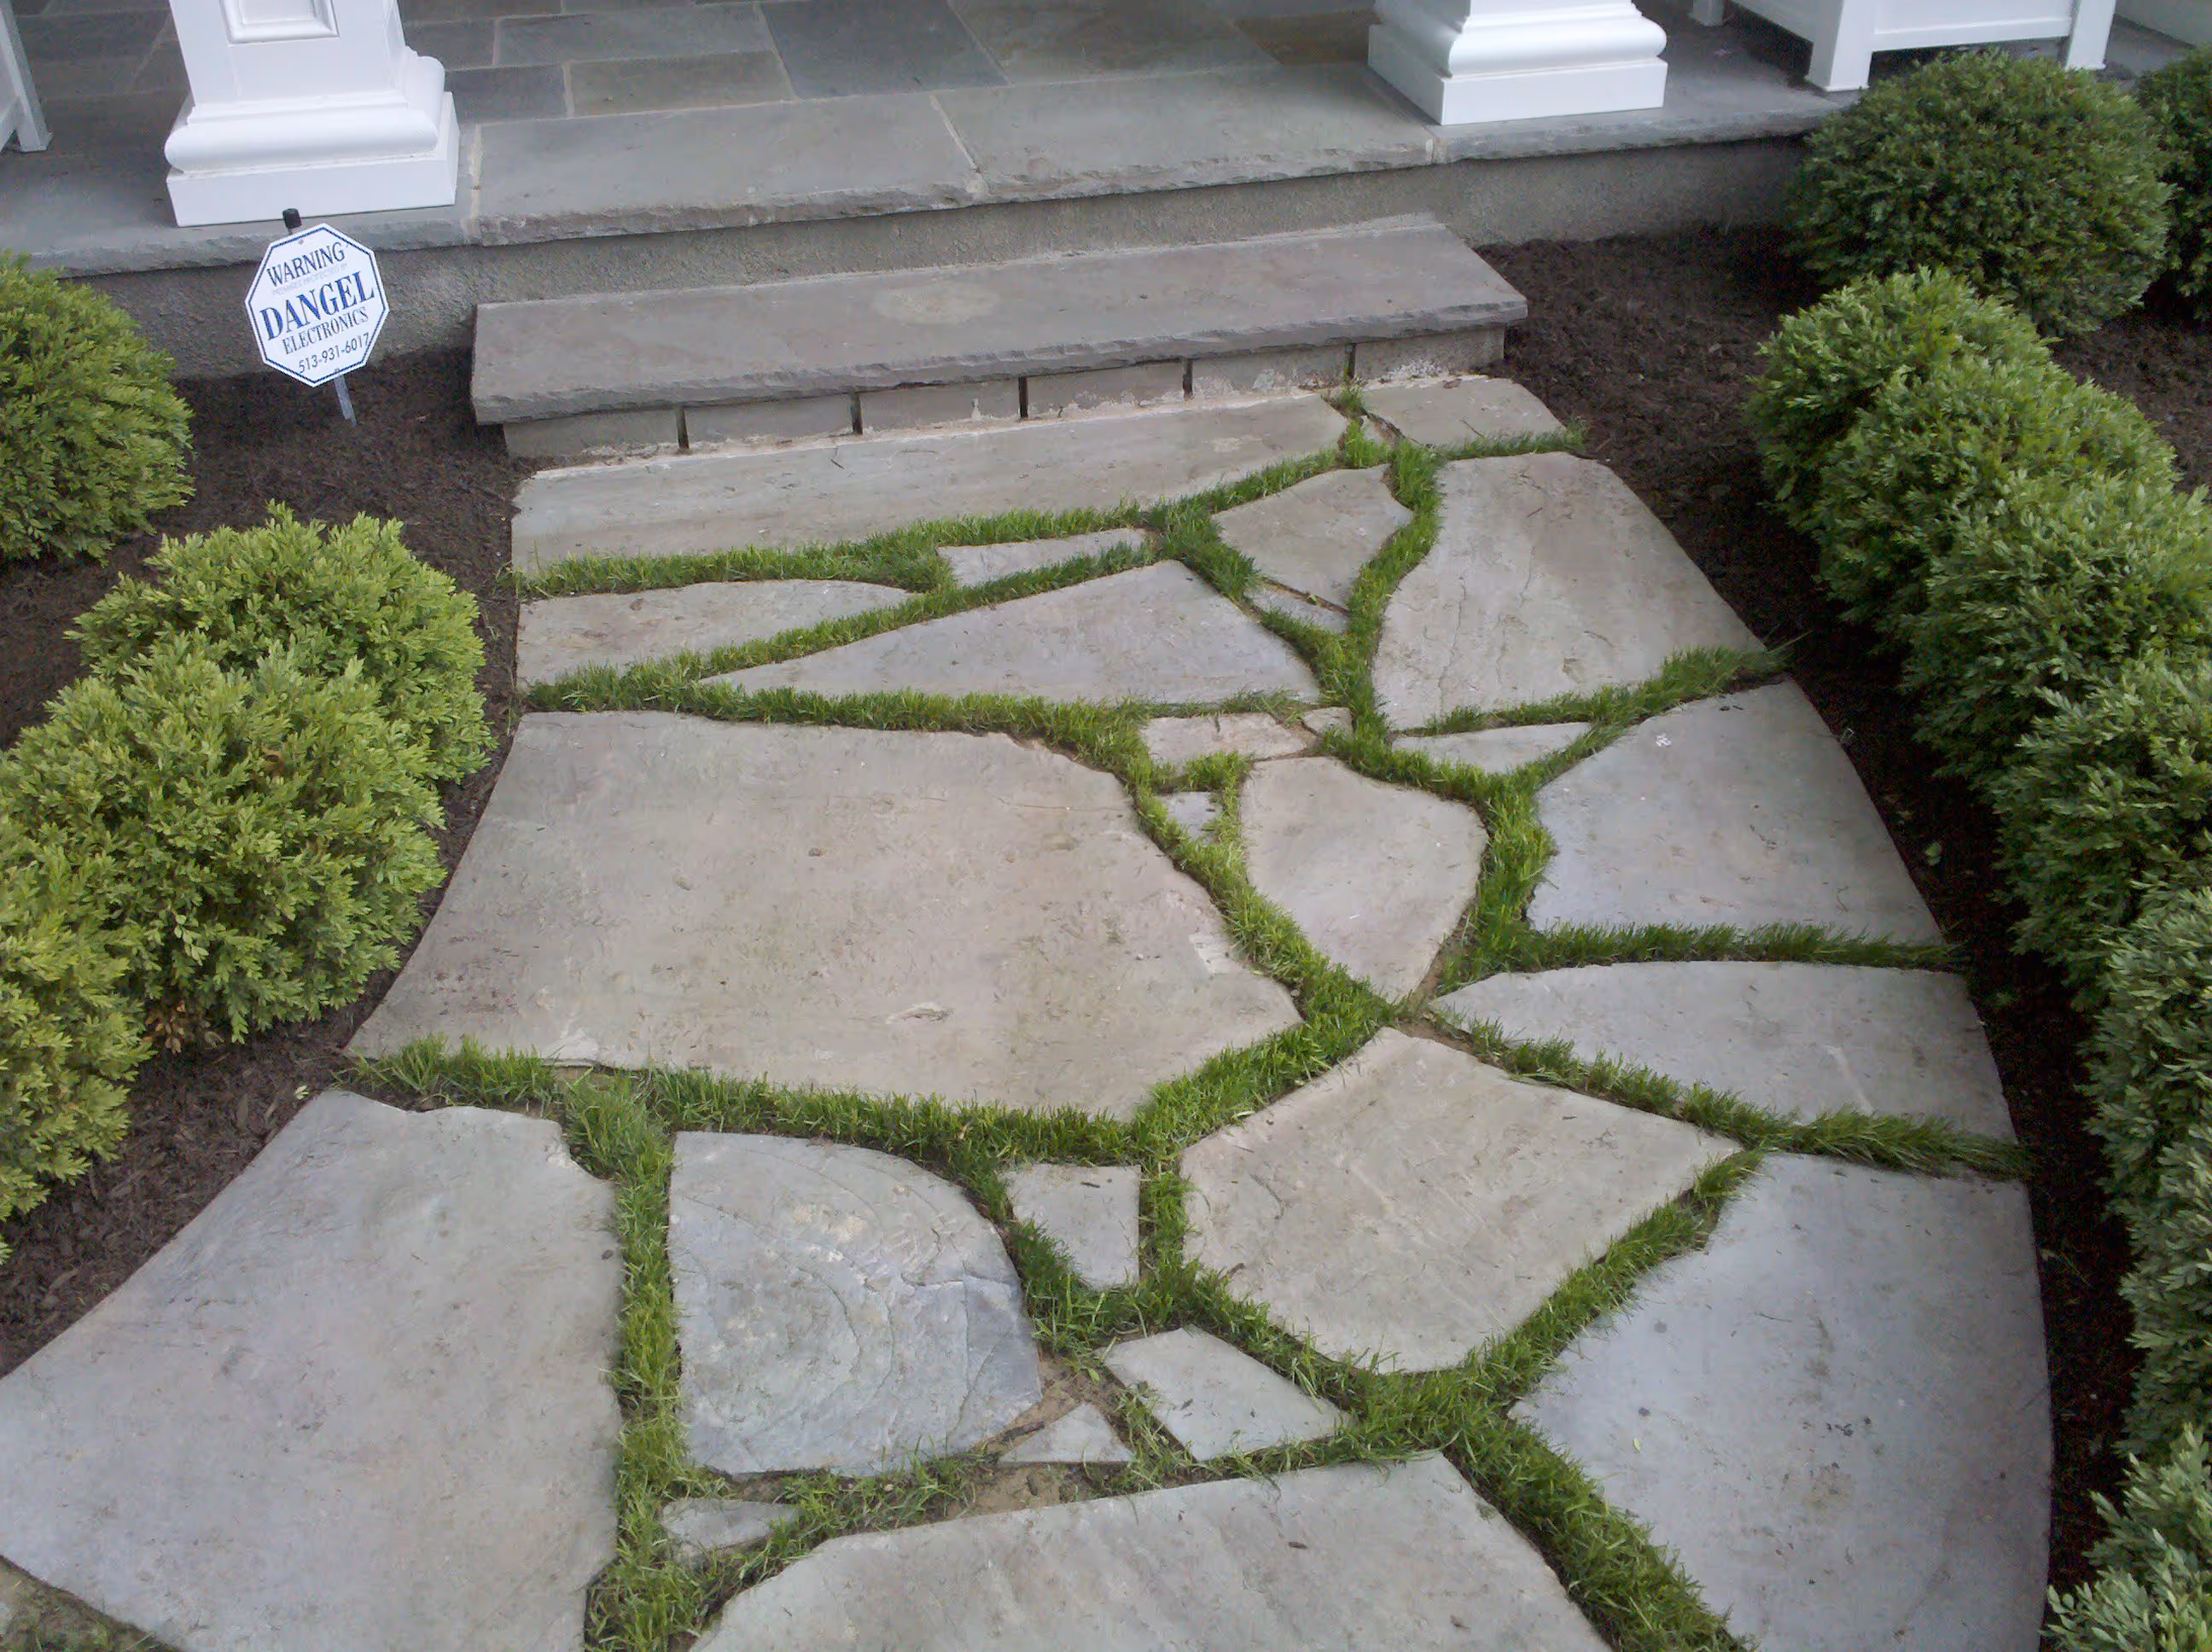
Step 3: Selecting Stones for Your Pond
This is a key step, as the right stones can transform your pond from a plastic-lined hole into a natural-looking water feature. This material not only impacts aesthetics but water chemistry as well.
- Limestone for natural beauty: Limestone blends beautifully with most landscapes and creates a timeless look, though it slightly raises water pH over time.
- Bluestone for flat surfaces: Bluestone creates stable shelving areas and level surfaces for placing potted plants.
- Boulders for structure: Large boulders anchor your design and create focal points. Position these first to establish your layout.
- River rock and smaller stones: River rock and gravel fill gaps and create natural texture without damaging your liner.
- Local stone for regional character: Native stone creates the most authentic look and is often less expensive than imported varieties.
Step 4: Placing Stones and Building the Pond Edge
Rocks transform your excavated hole into a beautiful water garden. Placing the rocks strategically makes all the difference in creating a natural aesthetic.
Placing Bottom Stones and Building the Sides
Start by placing flat stones across the bottom of the pond to protect the liner and create surfaces for beneficial bacteria to colonize. Layer larger boulders around the edge of the pond, angling them slightly inward to create visual depth while overlapping stones to hide the liner. Place your heaviest rocks first, then fill spaces between with smaller stones, similar to techniques used in stone wall construction.
Securing Stones for Pond Edging
Use waterfall foam or pond-safe silicone to secure stones on vertical surfaces and prevent shifting. This adhesive also seals gaps where water might seep behind the liner. Some builders use cement to keep boulders in place for larger projects, though this requires more skill to achieve a natural look.
Note: Layer stones naturally rather than creating perfect rows. Irregularity mimics how rocks appear in mountains and streams.
Step 5: Installing Pump, Filter, and Water Circulation
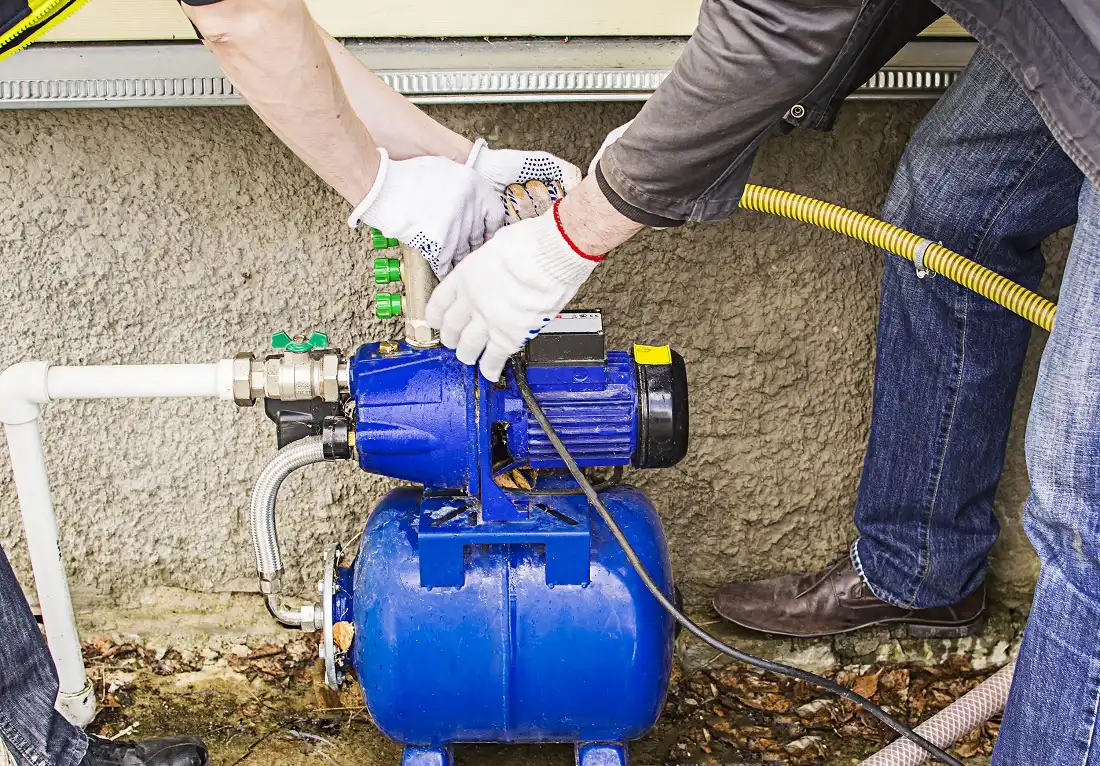
Moving water stays clearer and healthier than stagnant ponds. A proper circulation system keeps your pond vibrant and reduces maintenance.
Setting Up Pump and Filtration
Select a pump that circulates your pond's full volume at least once every two hours. Install a mechanical filter to trap debris and a biological filter to house beneficial bacteria that break down fish waste and organic material. Place the filter in an accessible spot since you'll clean it regularly, and consider digging a small trench near the pond edge to hide equipment and tubing.
Creating Water Flow
Position your pump to draw water from the bottom of the pond where debris settles. Return clean water through a waterfall, fountain, or stream feature for aeration. Moving water discourages mosquitoes and provides a pleasant sound. If you're building a waterfall, use flat stones to create natural-looking cascades that complement your outdoor living space.
Step 6: Filling and Establishing Your Stone Pond

We know that adding water is one of the most exciting steps, but patience during the establishment phase creates a healthier ecosystem.
Initial Water Fill and Plant Installation
Use a garden hose to fill your pond slowly, allowing the liner to settle under the weight while adjusting stones as needed. Tap water contains chlorine and other chemicals, so let the pond sit for 24-48 hours before adding fish or sensitive plants while running your pump to reduce chemicals. Place pond plants in the shallow areas you created on your shelves, using submerged varieties to oxygenate the water and floating plants to provide shade.
Introducing Fish and Wildlife
You’ll want to wait at least a week after filling before adding fish. This gives beneficial bacteria time to establish in your filter and on surfaces. Koi and goldfish are popular choices for backyard ponds. They eventually adapt to your pond's specific conditions and can thrive for decades. Your pond will naturally attract wildlife like frogs, dragonflies, and birds seeking water sources.
Note: Build your pond in autumn or winter if possible. Cooler temperatures help the ecosystem establish itself without the stress of summer heat.
Common Mistakes to Avoid When Building a Pond
Building a pond isn’t without its challenges. Learning from others' experiences helps you sidestep problems that plague first-time pond builders.
#spoilers_start
Inadequate Liner Size
Running short on liner material halfway through installation creates headaches. Always calculate generously and purchase extra material. You can trim excess, but can't easily expand a too-small liner. The liner should extend well beyond your pond edge to ensure it covers it completely, even after settling.
Poor Pump Placement
Positioning your pump incorrectly reduces circulation efficiency and creates dead zones where debris accumulates. Place the intake near the pond bottom and return clean water at the opposite end. This creates flow throughout the entire pond rather than simply circulating water near the pump.
Ignoring Local Conditions
You’ll face ongoing challenges if you build a pond while overlooking your specific environmental challenges. Research what thrives in your climate since certain pond plants and fish struggle in certain regions. Plan for rainwater runoff during heavy storms and ensure your pond has a slight overflow area to handle excess water, similar to proper drainage planning for patios. Check with your local Columbus or Cincinnati municipal office for any required permits or regulations before starting your pond project.
#spoilers_end
Tips for Maintaining Your Stone Pond for Long-Term Beauty
After it’s established, a well-maintained pond stays clear and inviting with minimal effort. Regular care keeps your water feature healthy and extends the life of all components.
- Regular water quality checks: Test water monthly for pH levels (6.5 to 8.5) and ammonia, topping off evaporated water during hot weather.
- Seasonal maintenance tasks: Remove fallen leaves regularly and trim spreading plants. In winter, keep a small ice hole open for gas exchange if you have fish.
- Managing algae growth: Some algae are beneficial, but excessive growth is a sign of imbalance. Add plants and ensure proper pump circulation.
- Pump and filter maintenance: Clean filter media monthly and inspect the pump intake for debris. Replace worn parts promptly to prevent failures.
Consistent maintenance creates a balanced ecosystem that requires less intervention over time. Your pond will naturally find equilibrium as plants mature and beneficial bacteria establish throughout the system.
Bring Your Backyard Pond Vision to Life
A thoughtfully designed stone pond adds property value while creating a peaceful space where you can relax and connect with nature. From the initial dig to placing the final boulder, each step builds toward a water feature that becomes the focal point of your garden.
Stone Center provides the quality materials that make exceptional ponds possible. As Ohio landscaping stone suppliers serving the Midwest for over 72 years, we understand what it takes to create outdoor spaces that last. Contact our team today to discuss your pond project and explore our expansive natural stone selection.
FAQ
.avif)
Jon, the owner of Stone Center, is a knowledgeable expert in natural stone products, specializing in various types of stone for landscaping and architectural projects. Passionate about promoting the beauty and versatility of natural stone, Jon aims to use these blogs to inspire readers with creative ideas to upgrade their homes.


Check Out Our Products You May Like
.avif)
Granite Boulders
$215 - $300 each
.avif)
Granite 4" - 8" (River Jacks)
$215 - $300
.avif)
Mexican Pebbles
$45-$55 (each bag)
.avif)
Ohio River Wash
$95 - $115
.avif)
Steps
.avif)
Bluestone Bullnose
$90 (each)
How much does it cost to get a stone restored?
How much you end up spending to restore stone varies on the type of stone, the technique, and the stone’s current condition. Stone in good condition will cost less to restore, whereas stone that has a lot of wear and tear may require a longer restoration.